On Orders $49+
On Orders $49+


Expecting a new Cricut machine this Christmas? Well lucky you! You'll soon be on your way to making all sorts of personalized crafts, home decor, gifts, and more. Imagine designing your own greeting cards, t-shirts, or even wall art! Cricut lets you add a personal touch to almost anything. You can personalize clothes, bags, mugs, phone cases, and more with your own designs, names, or monograms. You can even personalize your Cricut machine!
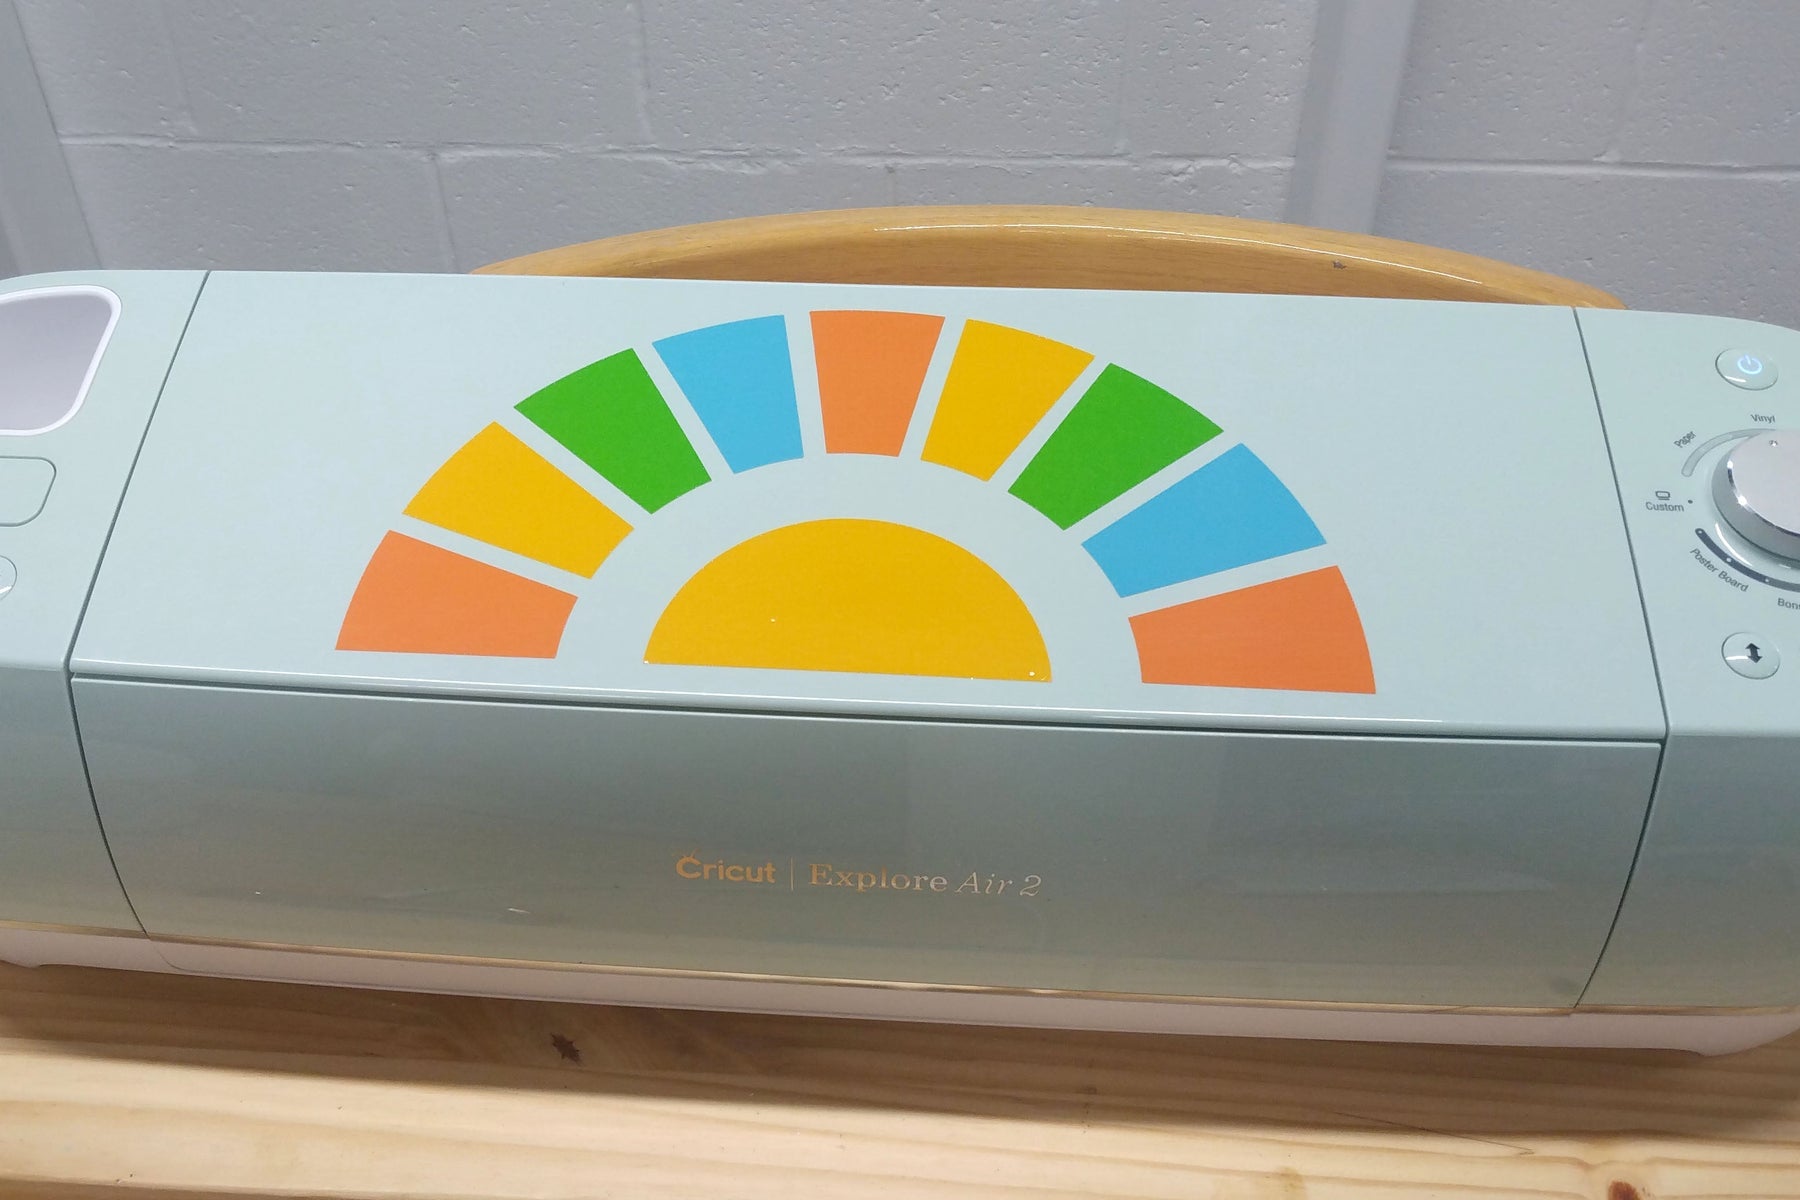
Join me in crafting a vinyl decal for your Maker, Explore Air or Joy machine using your favorite Cricut Vinyl.
Create your cut design in Cricut Design Space or go directly to this project. I have gathered templates for 3 Cricut machines there for you to use when designing your decals - Maker, Explore Air and Joy:


Or upload your own SVG or PNG design to Design Space as shown in our video, How to Upload Files to Design Space.
Select the template that matches your machine type and use it to size your cut design(s) and their preview layout. I feel in love with this simple sun design when making another project and opted to use it again for a machine decal.

Hide the template by clicking the eye icon in the layers panel and follow the prompts in Design Space to make the project.


Cut the design from your choice of vinyl. Use Cricut Removable Vinyl for temporary vinyl decals (that you might like to remove or change in the future) or Cricut Permanent Vinyl for a permanent decoration. Wouldn't the colors in this Beach Day Vinyl Bundle be super cute with this design?


Your decal is now ready to be applied to your machine! You can see see this in action in our short video, How to Use Cricut Transfer Tape.

And that's it! How fun is that? I'm a firm believer that your craft tools should be beautiful too, and this project is an easy way to match your Cricut machine to your style. Imagine a Maker adorned with a floral motif, an Explore Air rocking a geometric pattern, or a Joy sporting a playful quote - the choice is yours! So grab your favorite vinyl and turn your Cricut into a masterpiece that matches your crafting spirit.
Prefer a video format? Watch Courteny from our Design Team follow all these same steps when adding a cheetah print decal to her Explore Air 2 machine. And happy crafting!
Looking for additional ideas to transform your craft space? You might also like these other craft room projects from our blog.
Craft a DIY personalized tablet cover using neoprene fabric and Cricut Iron-on Heat Transfer Vinyl, perfect for protecting your BrightPad or tablet.

Use the Offset Feature in Cricut Design Space along with some colorful Cricut Patterned Vinyl to create these fun labels for your craft room cart.

Draw on Kraftboard using Cricut Pens and then cut out tags to label supply totes or baskets in your studio space.

Leave a comment