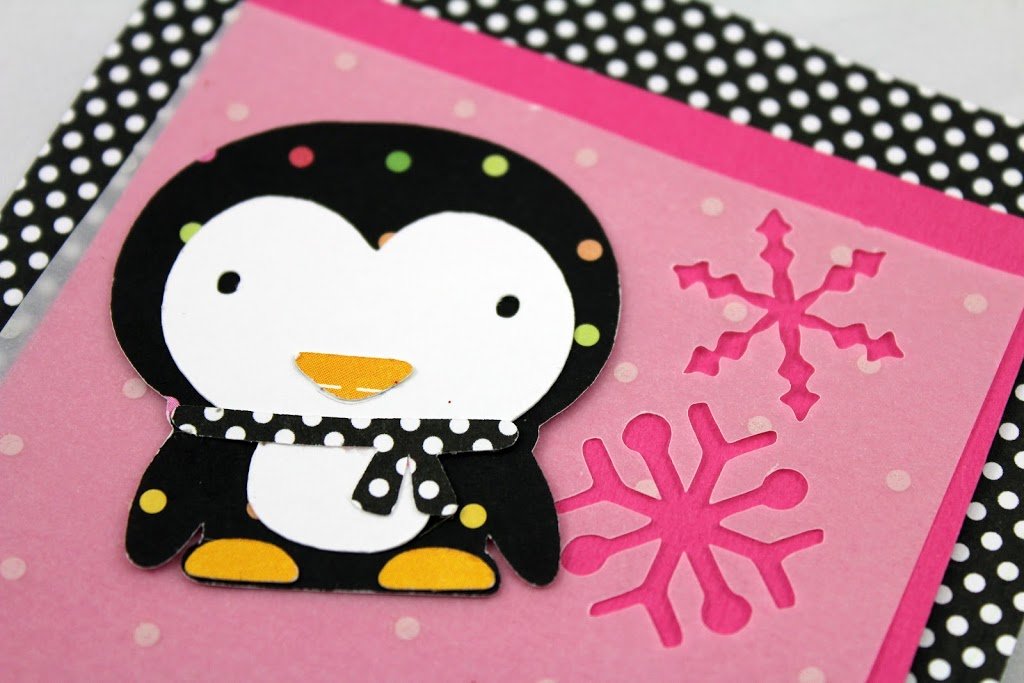
Create A Critter Penguin & Polka Dot Party Invitation
Happy Birthday to all you holiday & Christmas babies! My daughter Lauren was born last year, on December 18th, and it’s now time to celebrate the big O-N-E!
Even though her birthday is on the 18th, we are celebrating it this weekend to keep it separate from Christmas. Let me tell you though, with St. Nick on the 6th, Her Birthday on the 18th, and then Christmas on the 25th- Lauren is ONE lucky girl come December every year.

The theme for her birthday this year is Polka Dots & Penguins! Here is a mish-mosh of patterns and papers I used for inspiration for her invitations.

Here is one of the finished invitations. I ended up doing two different varieties, one embossed with snowflakes, and one embossed with polka dots.

I started out by cutting out a tri-fold card shape with rounded edges using my Cricut Expression 2 Machine and the Cricut Wild Card Cartridge. The penguin for the card was made using the Create A Critter Cartridge and the balloon shape is from the Birthday Cakes Cake Cartridge.

After cutting, scoring and folding all of the cards I embossed them using my Cuttlebug Embossing Machine. I just got this as an early Christmas present and LOVE it! I embossed half of the invitations with a Snowflake Embossing Folder and the other half with a Polka Dot Embossing Folder.

The next step is my favorite part of the entire card- the SPARKLE! Once all the cards were embossed I layed them flat in an empty box, and using Tsukineko Pssst! Shimmer Spritzers, I sprayed the entire front of the card! I used the Frost Shimmer Spray which is more of a white spray that leaves a beautiful shine without adding any color to the white paper. The picture above shows the sparkle a little bit, but really does not do the spray justice.
For the front of the card I layered first a strip of polka dot paper and then a solid pink strip of paper. Using the same pink paper I cut out 3x3in squares and inked them with my Megan Elizabeth Ink Edgerz. Then I glued on my little Create A Critter Penguin to the square. Using some large thick Pop Dots, I then adhered the square to the center of the card.
I also used a Pop Dot to adhere my pink balloon for some great dimension and a fun flair!

On the inside of the very first fold, I used Silhouette Sticker Paper and printed out the saying…
“Penguins, Polka Dots & Tons Of Fun.
Miss Lauren Harper Is Turning One!”
The sticker paper is AWESOME and can be used for so many things. I also used it to print out ‘melted snow’ penguin water bottle labels!

Last but not least, for the inside of the card I used a ‘Your Invited’ stamp with the details of who, what, where & time. I then hand wrote the details. I know after all that work it might seem weird to hand write details, but I truly believe it adds character and meaning when you hand write things, even if you have terrible handwriting like me…

I hope you loved the card and got some fun ideas for winter birthday cards and some fun holiday details!
What is your favorite detail on this card?

