On Orders $49+
On Orders $49+


This sewing project is a quick and easy way to spruce up your home decor with personalized pillow covers. With just one yard of fabric and a roll of iron-on vinyl, you can create two covers for 16x16 inch pillows. The covers feature an envelope design for easy removal and washing, and can be customized for any season or style using Cricut Design Space. Follow the simple step-by-step instructions to create your own custom pillow covers and add a touch of personality to your living room or bedroom.
Materials:
Directions:
Cut two 17x17 inch fabric squares. Each of these will be the front for one pillow cover. Cut four pieces of fabric measuring 17x12 inches. Two of these pieces will make up the back of each pillow cover.
Fold over ½ inch twice along the long side of each of the back cover pieces. Pin and then machine stitch in place.

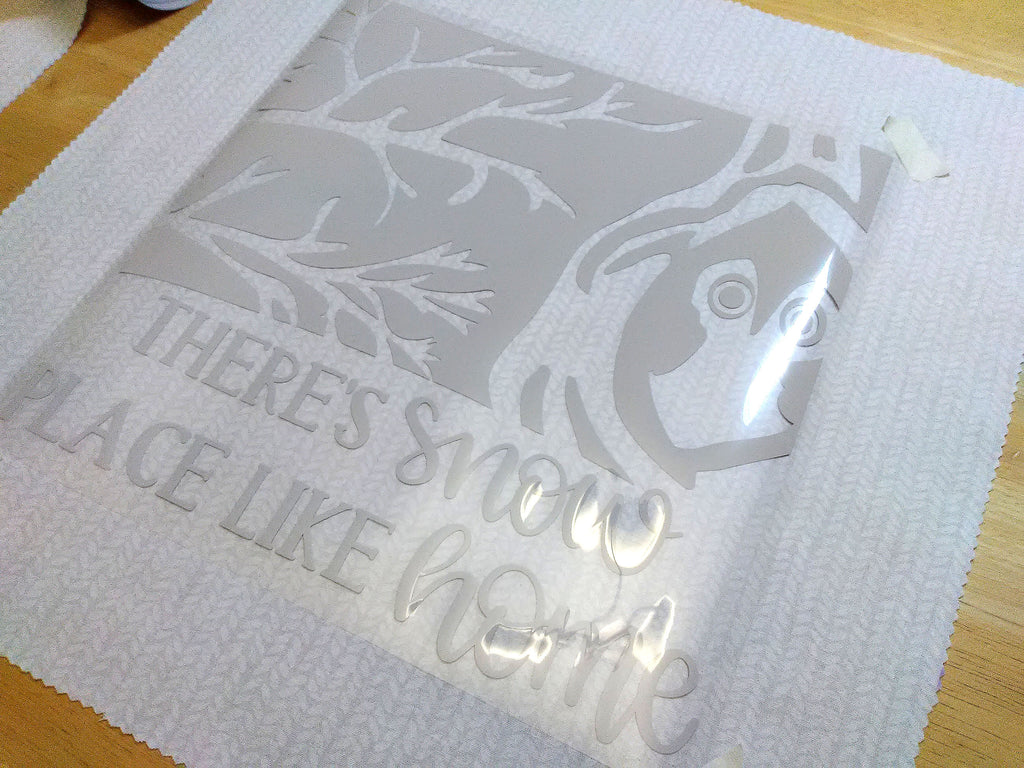
Create a cut design in Cricut Design Space. I’m using the following two designs, free with Cricut Access: #MF765765 (Owl Habitat) and #M8B28E79 (There’s Snow Place Like Home). Size the design 11.5x11.5 inches. Make the project, taking care to mirror the design before cutting and place the iron on face down on your cutting mat.

Weed the iron on. Center the iron on on top of each pillow front.

Adhere the iron on using your heat press or a household iron following the manufacturer’s directions.

Now it’s time to assemble the pillow cover! Put the cover right side up on a table surface. Lay one of the back pieces right side down on the cover, lining up the raw edges with the pillow cover. Place the other back piece right side down, lined up with the opposite raw edge.

Pin through all layers around the whole edge of the cover. Stitch using a ½ inch seam allowance. I like to double stitch over the hemmed edges of the pillow back because this is where the cover is most stressed when inserting and removing the pillow form.
Trim close to the stitching across each of the four corners.

Turn the cover right side out. The back of the cover will look like this:

Insert the pillow form and enjoy!


Winter Shadow Box: Cricut Mixed Media Project
Leave a comment