On Orders $49+
On Orders $49+

The Cricut Maker vs. Basswood… a Fathers Day Challenge
Dads are great, aren’t they? I love my dad with all my heart but with all that love, I still find it hard to express this through gift giving. If your dad is anything like mine, he is the type of guy who doesn’t divulge too much information to any gift giver. Especially when he is the receiver. Not to mention he is also the type of guy, who, when he sets his mind on wanting or needing something, he doesn’t just sit around waiting for someone to gift it to him. He goes straight out and buys it. Just like that! No warning, hinting or waiting for the current holiday to approach. It’s over before you even realized you had a chance at a good gift. Needless to say, gift giving, and my father have been a combinational thorn in my side for many years. So, this year, with the help of my new Cricut Maker, I decided; “NO MORE!” “I’m plucking you from my side, you troublesome thorn! This is MY year!” So, I went to work gathering intel and ideas for something that I could make for my father that he would truly appreciate.
Now it just so happened that I knew my dad was furnishing his new place with a “wolf” theme. I also know that his favorite color is green and Ford blue so I wanted to make him something he could display (not pack away in a memory box) that involved wolves and possibly had the colors green and Ford blue in it. Pretty vague right? I did have some materials that I wanted to try for this project, one was Cricut’s Basswood (coming soon to Craft-e-Corner!) and also Cricuts’ new adhesive foil. I had seen it used in another project and I was in love!
To start, uploaded a wolf image into Design Space. Then I used the eraser tool to block off all the area’s leading into the “negative space”. This is so that I could make an outline of my image that would be a solid silhouette but also fit behind my tribal art which I wanted to do with foil. Once I got this the way I wanted it, I brought in my tribal art and fit it over the silhouette but made it just smaller than the outside edge so that the image would fit inside the other image like so…


I also uploaded a moon image into Design Space, duplicated the image and welded one of the moons to my silhouette. The other I manipulated to the shape I wanted to fit and used this to cut from a gold colored foil for the crescent moon. Now my project is really getting somewhere!
Next, I think I am ready to start cutting!
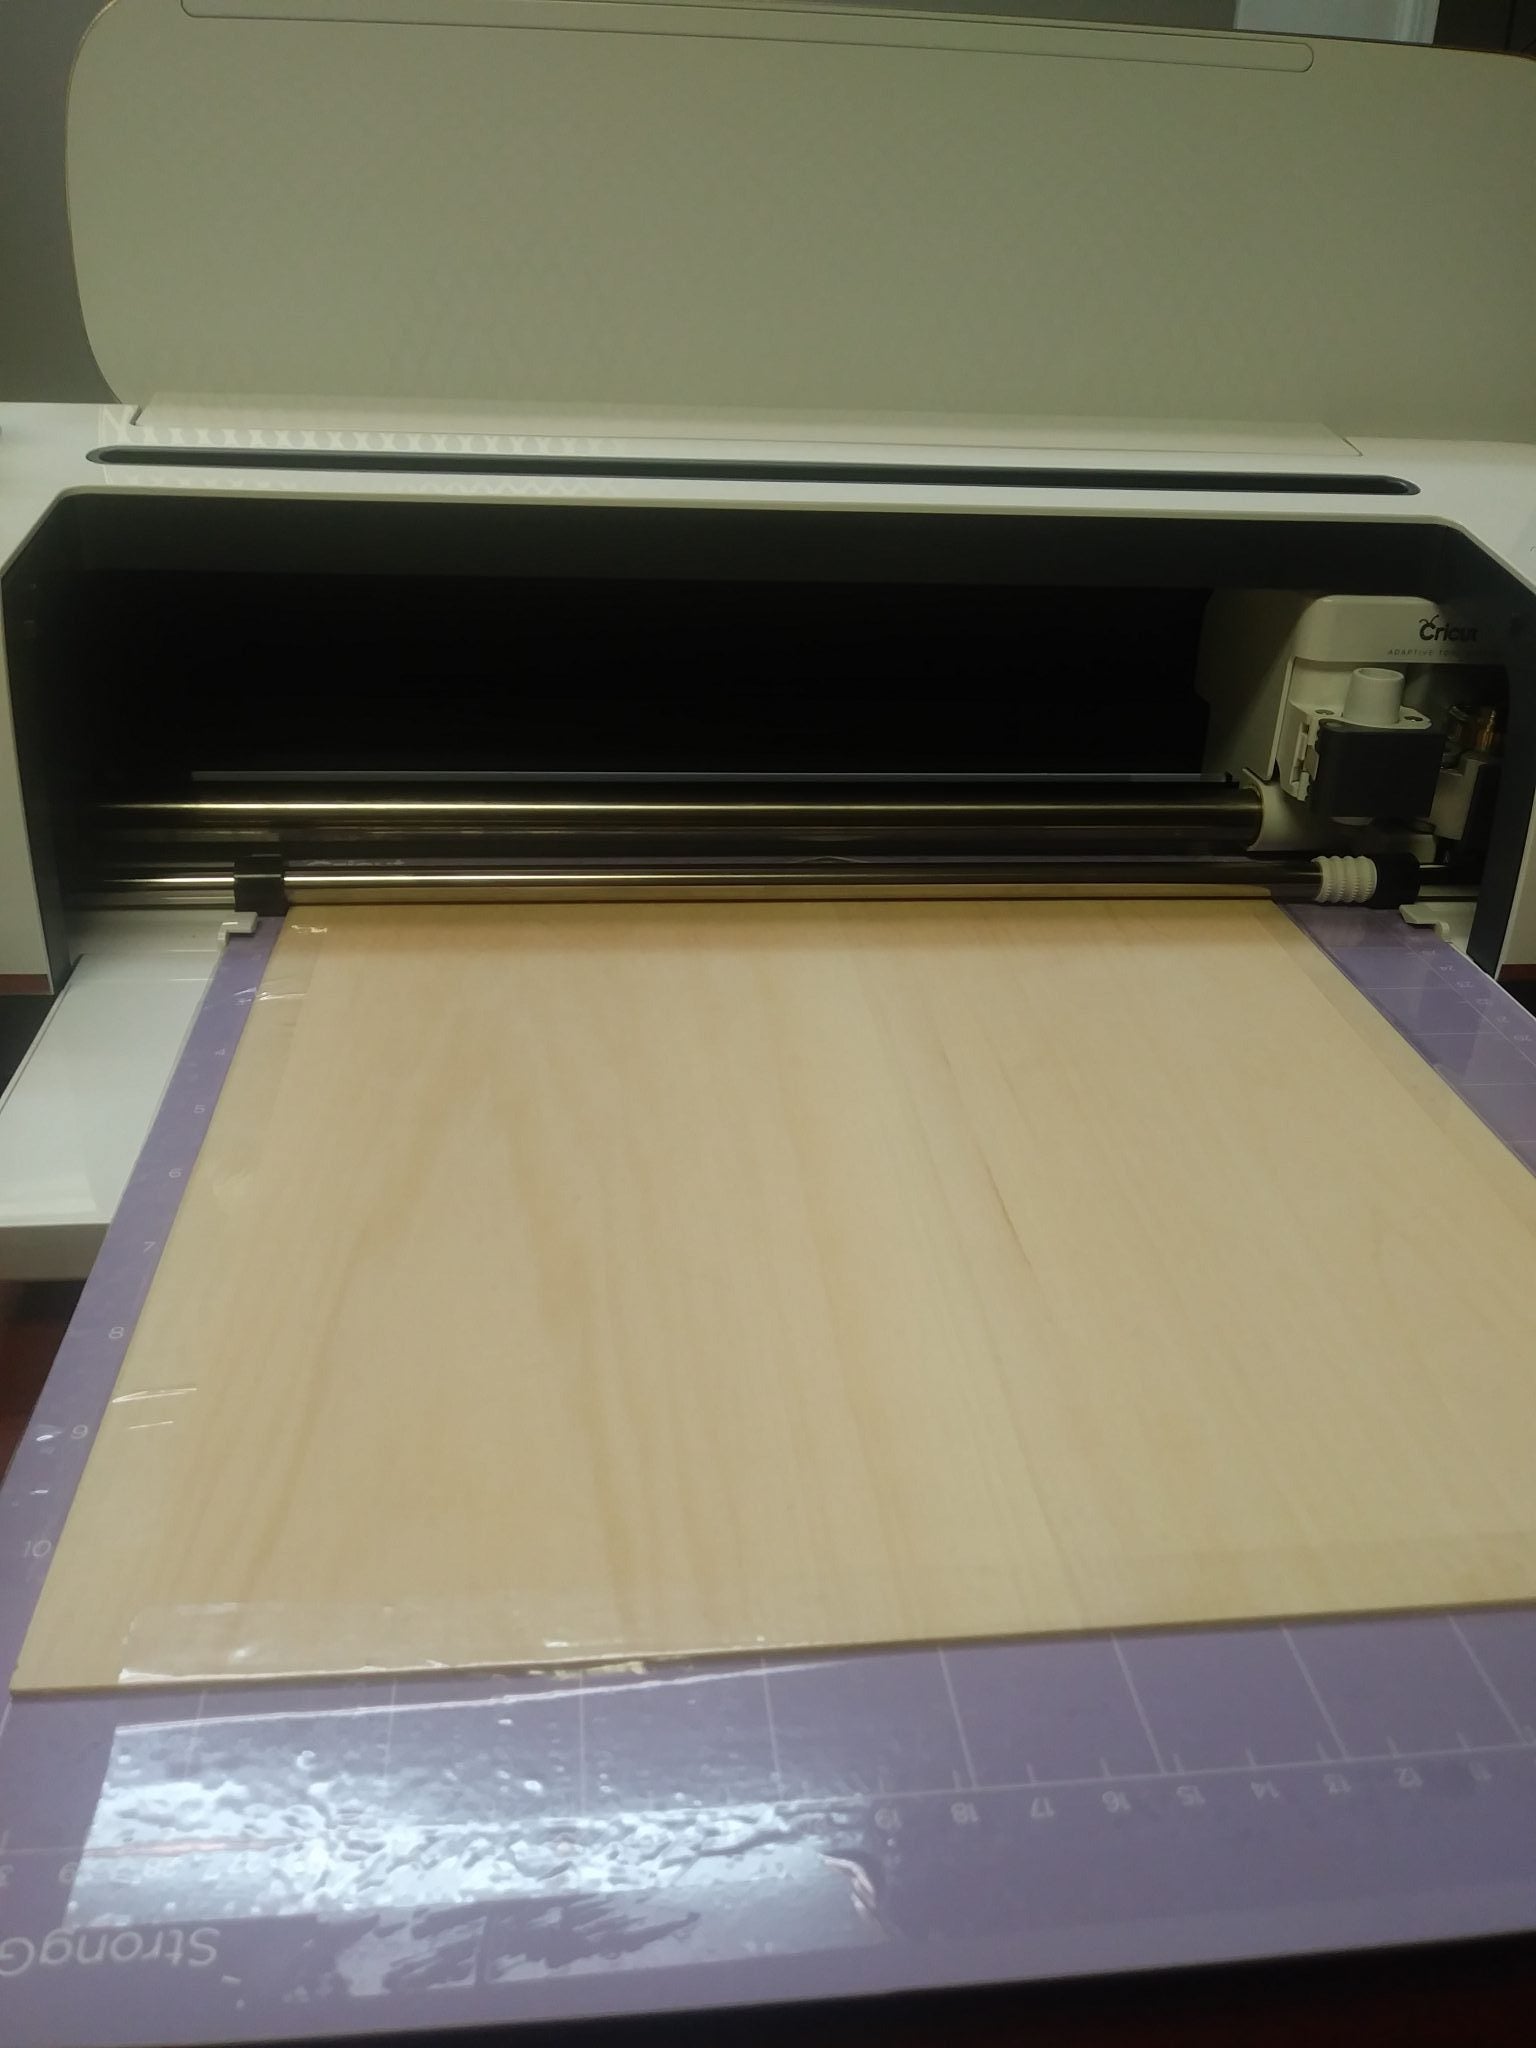
If you notice in the picture, I am using a purple, extra strong grip mat. Even this heavy duty sticky mat is not enough to hold something as thick and sturdy as this basswood, so we needed to tape the wood down onto the mat itself before cutting.
Now that we have everything nice and secure, we are going to go ahead with our cut. I am using the Cricut Knife Blade and have chosen the appropriate setting for this piece. (If this is your first time using the knife blade, please be sure to calibrate your blade first as advised by Cricut) This image took a little over a half hour to cut. It took several passes of the same cut over and over to cut all the way through the material. Once your cut is finished, it is important to check and see if your wood/material is cut all the way through. You may want to do this by bending your mat a little to see if your design is popping up from your mat and separating from the rest of your design. If you do not feel confident that the image is cut all the way through, you may now choose the option of an additional pass with your blade. This will do just that and make one last pass before ejecting your mat. Be sure you check this option first as once you disengage your mat you will no longer have the option!


Look how PRETTY!

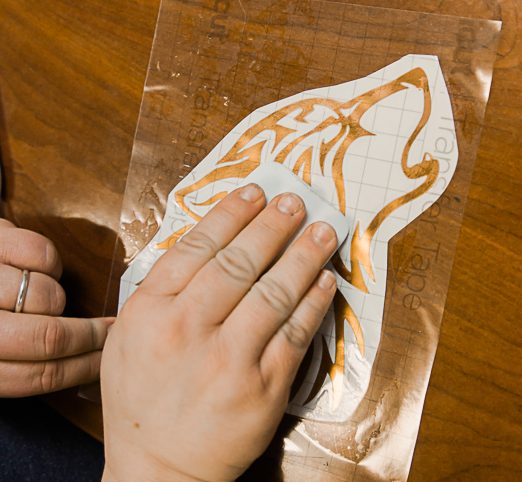
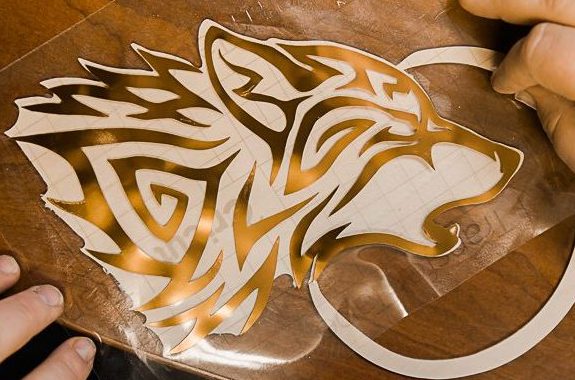
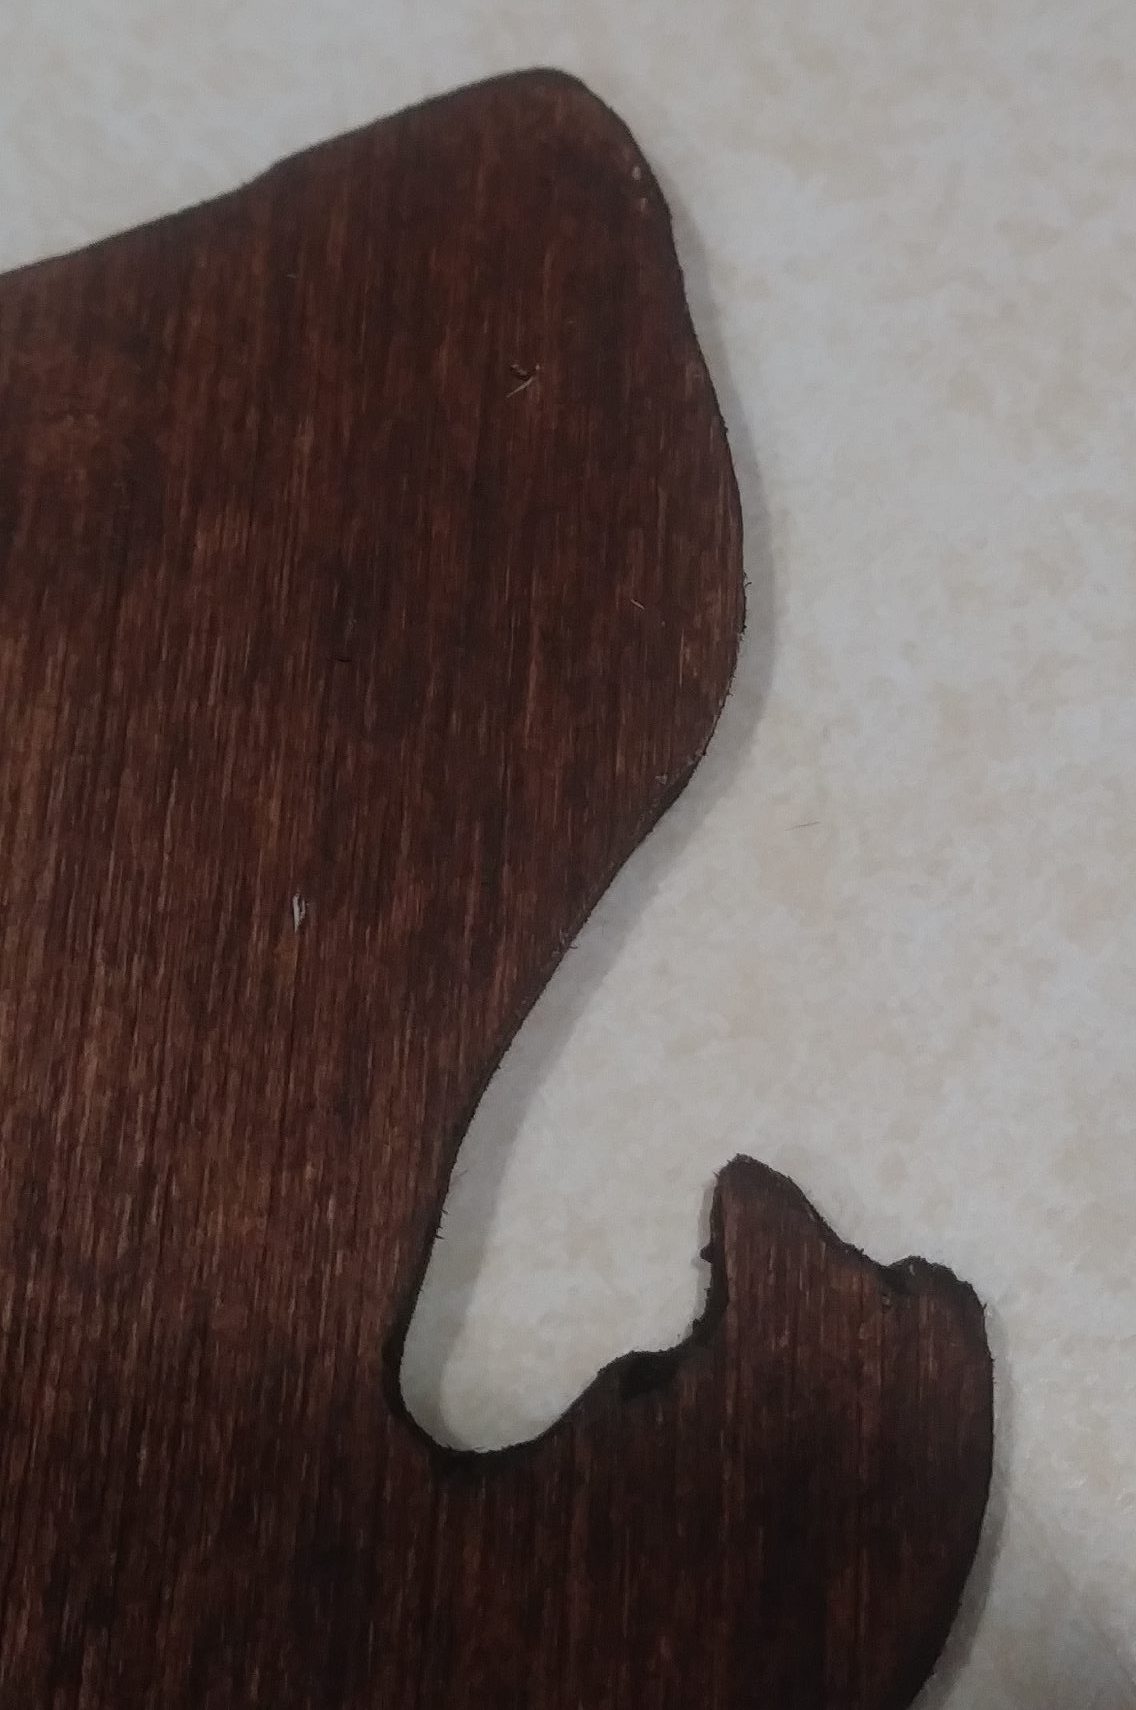
Next I sanded any rough edges then stained my wood with an antique wax and let cure. Then I cut out my tribal piece and my moon and carefully adhered to my design. I used Cricut Adhesive Foil. I think it really gave this project a unique look to it.



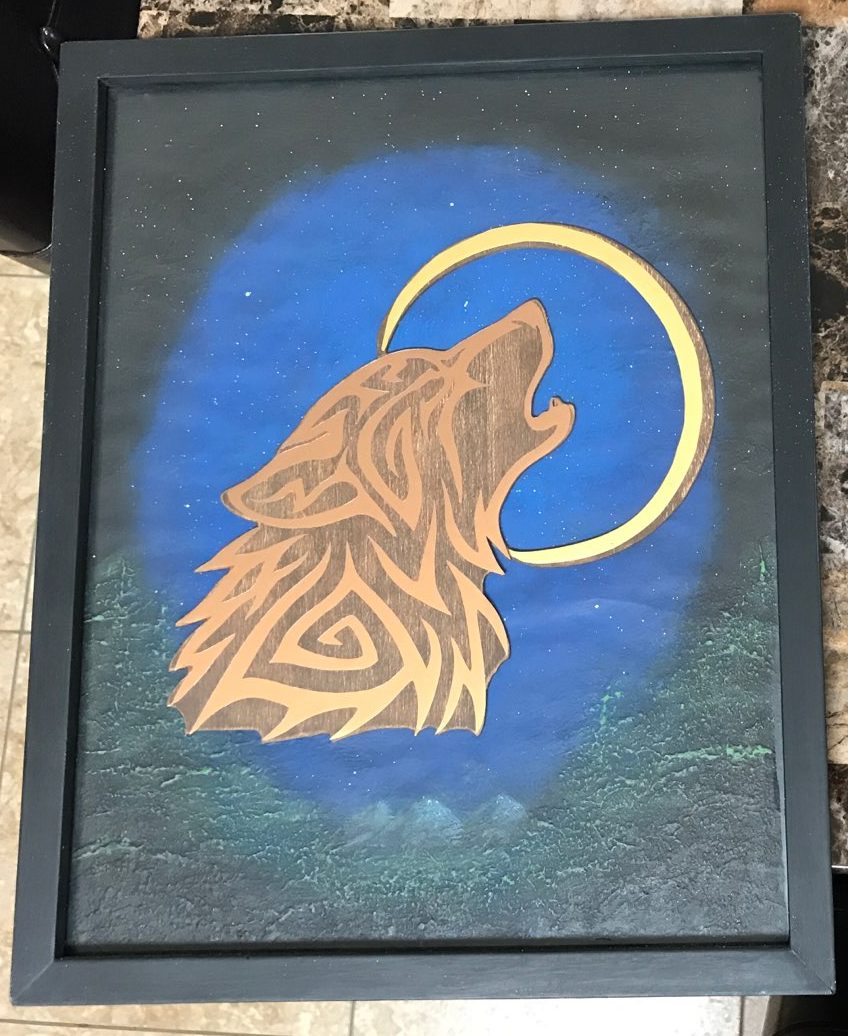
Now I have this super cool tribal wolf silhouette! What in the world am I going to do with it? I wanted to frame it somehow. So, I found an old frame, took out the insert and painted a nice background to frame it with. I think it turned out very cool! My dad is going to love it! Yay!
I used a think chalk like paint to build up the tree area. It is from a coastal line, made to imitate sand worn beach items. I really love this deep dark blue, so this is what I used as the base. I built up the edges with my fan brush allowing it to dry between applications. Once the layers were dry, I lightly brushed over the tips of the paint with green until I achieved a tree line look that I was happy with. I then came in around the edges with black and blended toward the middle. I used a chalk paint for this as well. I like the rich color it provides and if I make a mistake, chalk paint is easy to wipe or sand down to a point where you can recover if need be. Once I achieved the shadow effect, I did one last brushing of green to highlight the trees just where I wanted them and voila!


Here it is after I added some mountains and some star spatter…

Here it is completed in all its glory!

Thanks for reading!
Tips for Cutting Basswood with a Cricut Maker
Leave a comment