On Orders $49+
On Orders $49+


I was super excited when Cricut launched watercolor pens for all their cutting machines. I love pairing watercolor paints with my Cricut crafting - like with this other Thanksgiving-themed card using Cricut fine point pens.

But watercolor paint right in the pen? How awesome is that?
The new watercolor pens or markers come in a rainbow set of 8 colors - red, orange, yellow, green, blue, purple, brown and black. There are marker options for both Cricut Explore and Maker series machines and for Cricut Joy. Both pen sets include a Water Brush that you use to activate the watercolor pens by hand after drawing with your Cricut machine.

Want to see these markers in action? Check out this video from one of our design team members. She created some fun birthday cards in her post, How to Use the New Cricut Watercolor Cards.
Today's project takes a looser approach and capitalizes on the the exciting properties of watercolor markers to spread and blend. Not every card will produce a masterpiece, but they're fun to make and each one will be an absolute original.

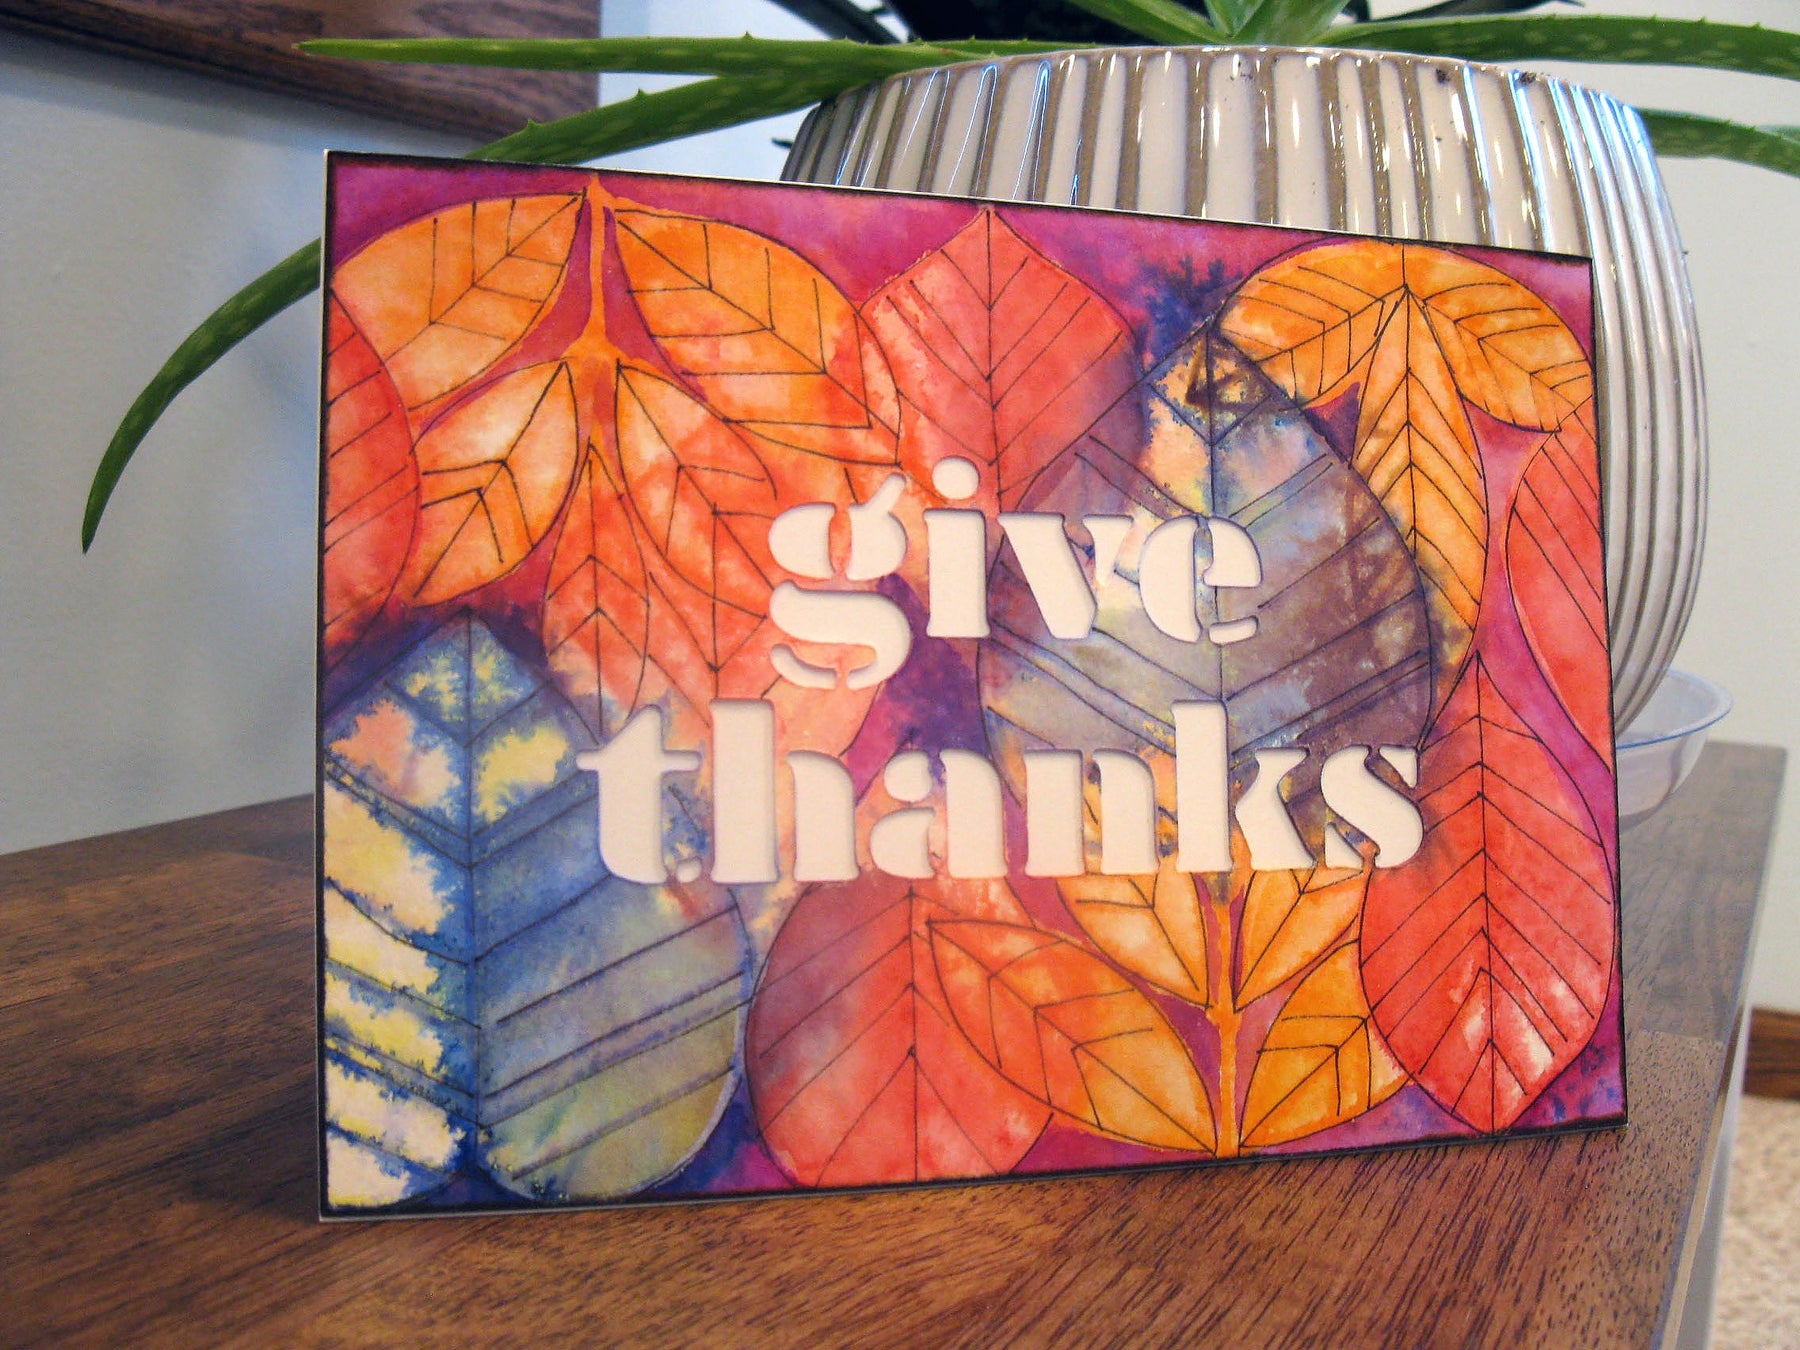
Create your leaves design in Cricut Design Space. I am using the images below, free with Cricut Access. Overlap the placement of your leaves on a 5x7 inch base to give each leaf an opportunity to blend into its neighbor when the watercolor marker is activated with water.
Copy the leaves and base design on your canvas, On the copy, slice a text message from the base written in a chunky stencil font. I opted for a simple "give thanks" message for the front of my card.

Make the original design (the one with no text message) - drawing the leaves with red, orange, and yellow watercolor markers on watercolor paper. Remove the card from the mat, leaving the rest of the paper in place on the cutting mat. You'll use it to line up the card for additional embellishment in a later step.

Spritz the card with water. Allow the ink to run and the water to sit on the card until absorbed.

Place the painted paper between 2 sheets of paper towel and press from both sides with your Cricut EasyPress on low heat (250 degrees) for 20-30 seconds. Or use your household iron. This will both dry and flatten your card on one step.
Put the card back into the opening in the paper sheet remaining on your cutting mat. This time, make the copy of the design - the one with the text message. Redraw the leaves using watercolor markers in red, orange and purple. Cut the message from the card and remove the excess paper.

Add additional color using your watercolor paint set or watercolor colored pencils or markers if desired. Again, spritz the card with water and allow it to air dry.

After the card is dry, you may need to press it with your EasyPress machine or household iron so it lies perfectly flat. Add pen marks or other embellishments if desired.

Adhere the painting to the front of a 5x7 inch folded card using a tape runner or your favorite paper adhesive.

I hope you will enjoy your own experiments with Cricut's new watercolor markers. For more Thanksgiving-themed projects, check out these other great posts on our blog. Happy making!
Personalized DIY Cricut Thank You Card
Leave a comment