On Orders $49+
On Orders $49+


Today we are continuing in our series on crafting with Starbucks cup. Last week I showed you how to use offset to make a vinyl decal for your cup and today I'm going to show you another way to decorate your cups! And the best part? I've included three free SVG files for you to use as well. If you missed the tutorial last week, click here to check it out.
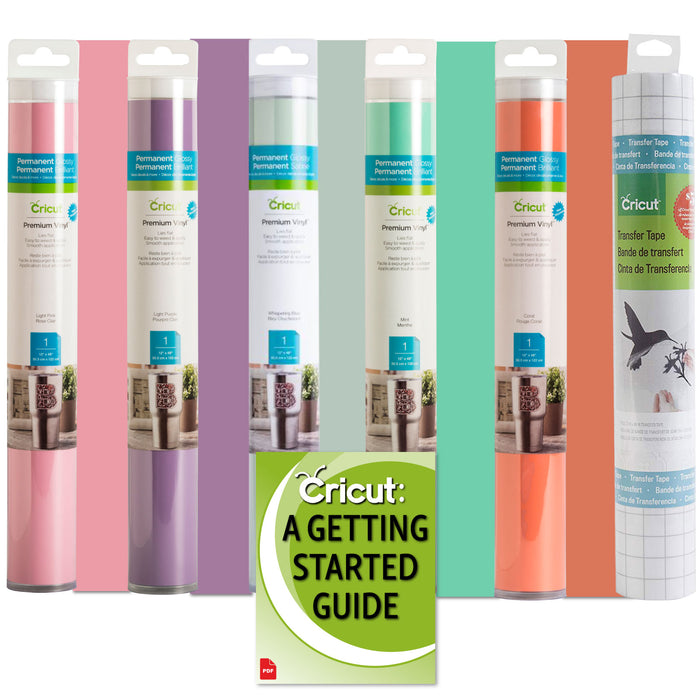
I also wanted to highlight one of our permanent vinyl bundles that I've been crafting with in this series. This is our spring pastels permanent vinyl bundle — it comes with four colors of vinyl and one roll of transfer tape. I'm using the green and yellow today!
I will be using this bundle for all three of our Starbucks cups in this little series. The colors are perfect for crafting this summer or spring — and the price is pretty dang good, so definitely go check it out! Click here to view it on our website.
Here are the links to the free SVG files:
Or if you prefer, here are the PNG files:
Tip: Not all Starbucks cups are sized the same. Measure your cup to ensure a proper fit.
Materials:
Next week, we'll wrap up our mini-series with a full wrap tutorial for a Starbucks cup. See you then + happy making!
-Courteney


How to Make a Vinyl Decal for a Starbucks Cup - Part One
Decorating Bottles, Mugs and Koozies with a Cricut
How to Make a Full Wrap Starbucks Cup with a Cricut — Part Three
Leave a comment