
Free Shipping
On Orders $49+
On Orders $49+


I made this super cute pumpkin décor out of splatter guards I bought at the dollar store. I bought a lot of the material at the dollar store actually. I love repurposing things into something cute!
Materials:
Cricut
Cricut Tools
Deep Point Blade
Strong Grip Mat
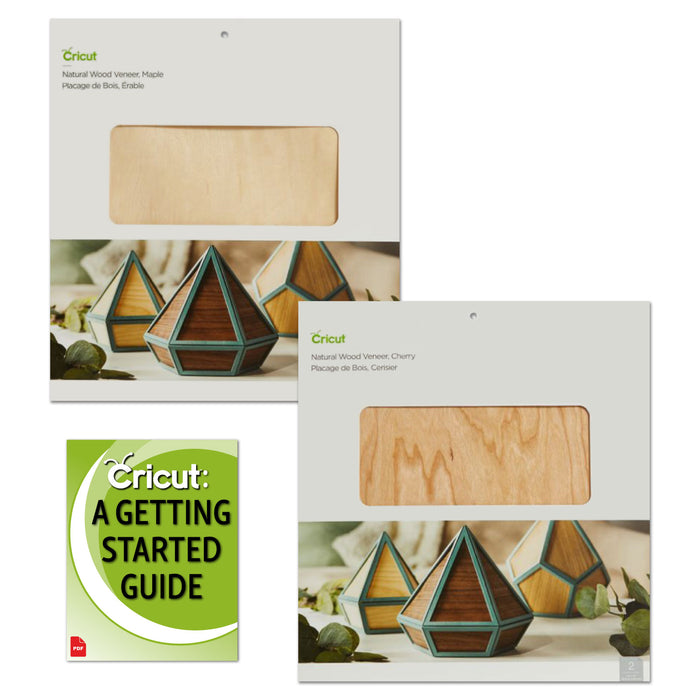
Cricut Wood Veneer
Splatter Guards (3)
Spray Paint
Floral Wire
Ribbon or Bow
Twine


I started by placing my 3 splatter guards on top of each other. I put two of them with the handle facing down, overlapping, and the other one I placed on top of those two with the handle facing up.


Using floral wire I connected them together. I pushed the wire through two of the splatter guards and then twisted it to keep it together.


Slowly, I bent the two handles that are facing down so that it would be the stand for the pumpkin to sit up with. I was careful bending it so that they wouldn’t break but it was pretty easy to bend them.

I then took the splatter guards outside and spray painted the whole thing orange. I did two coats of paint.

I then wrapped the handle with twine. I started at the bottom of the handle and hot glued it to the back side. I continued to wrap and glue as I got to the top. At the very top I decided to go inside the hole to make it look rounded at the top.

Next, I used Cricut Wood Veneer to make the word thankful to put on my pumpkin.

You will want to use the Strong grip mat when cutting wood.

I also use painters tape to secure the sides down.

Cutting wood veneer requires the Deep Point Blade. You can tell in this picture that the Deep Point Blade can cut much thicker material than the Fine Point Blade.

Just insert it into Clamp B.

Then I was ready to cut!

I cut two of them so that I could glue them together and make it a little thicker.

I painted it white after it was glued together.

Using E6000 permanent adhesive I glued the word onto my pumpkin.

Only thing left was to add my ribbon bow and I was done! It is such a cute little addition to my fall décor!
*No one ever made a difference by being like everyone else
~Beth
DIY Wood Sign with Iron-On Vinyl
Comments
Leave a comment