Quick and Simple Card Making – Colorful “I Miss You Card” in less than 5 minutes flat!
Have you ever needed a card to send out and needed it to be done quick? Like “the mailman is walking down the street right now” quick? That is the situation I found myself in yesterday, I needed to send out a gift for a friend and it needed to go out that day… and the mailman WAS coming… I pulled the card together in less than five minutes flat!

This card came together really, really quickly, but I didn’t want it to look like it did. Check out the directions below to see how I managed to make this card look well thought out yet still get it done quickly (and find out if I beat the mailman too)!
I am a self proclaimed overdoer when it comes to crafting. I struggle to keep it simple sometimes all the time. I am actually glad I had a serious time crunch when I made this card because when I thought about this card, I really felt the need to add more to it… I wanted to pull out my Cameo and create flowers that matched the envelope paper and add some brads and then maybe ink the edges… but with no time to spare, I had to stop myself from going overboard. There is beauty in simplicity… it’s almost like finding crafting Zen!

My secret that helped pull this card together quickly, without it looking like I pulled it together quickly, is actually the envelope. Remember when I showed you how to turn any pack of cardstock into a stack of envelopes? The envelopes turned out awesome:

Most of these envelopes went off to my friend for her daughters birthday party, but I was able to save a couple for myself and used the envelope to pull colors together for the card. To make this card, you’ll need a few supplies and tools:

- 1 Envelope (I used the City Park Paper Pack to make this one)
- Coordinating paper – I used the Textured Brights Mat Stack
- Clear Embossing Powder
- Embossing Tool
- Megan Elizabeth Wrap Me In Chocolate Ink Edger
- Pop Dots
- Paper trimmer
- Corner Rounder
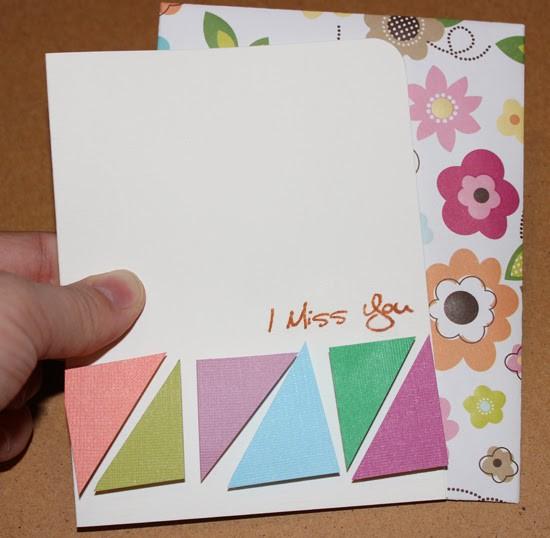
The first thing I did was take my paper trimmer and lopped off a corner from all the coordinating paper. This made little triangles/pennant shapes. I lined them up where I wanted to put them on the card and then decided where my sentiment would go. I used the “I miss you” stamp from the Megan Elizabeth “I’m just saying” stamp set which is included with a lot of other goodies in the Megan Elizabeth Cards DVD Bundle. I used the Megan Elizabeth Wrap Me In Chocolate stamp pad and then heat set some clear embossing powder to give the sentiment a little “something extra.”
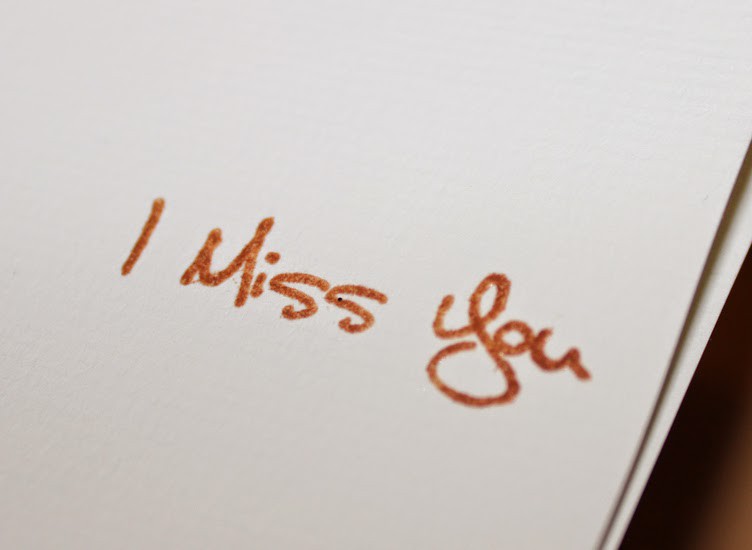
I love using Ink Edgerz for heat embossing. The ink pads are so juicy, and the colors are so vibrant, you can just stamp and heat emboss with clear embossing powder to get a great result.
Next I grabbed all my triangles and stuck some pop dots to the back of them:

These pop dots have a LOT of dimension- a little less probably would have been better since this card was going in the mail, but I didn’t have any others on hand! But I liked them because the pop dots really gave the card some depth:

To finish the card off, I rounded just the top right corner with my corner rounder. I jotted down a quick note on the inside, added the long overdue gift and sealed up the envelope. I added an address label and a stamp to the outside of the envelope and I popped it in the mailbox, just as my mailman was coming up the walkway!
Phew!

Sometimes it really pays to keep it simple!
Do you struggle to keep things simple? How do you keep yourself from going overboard?
