On Orders $49+
On Orders $49+

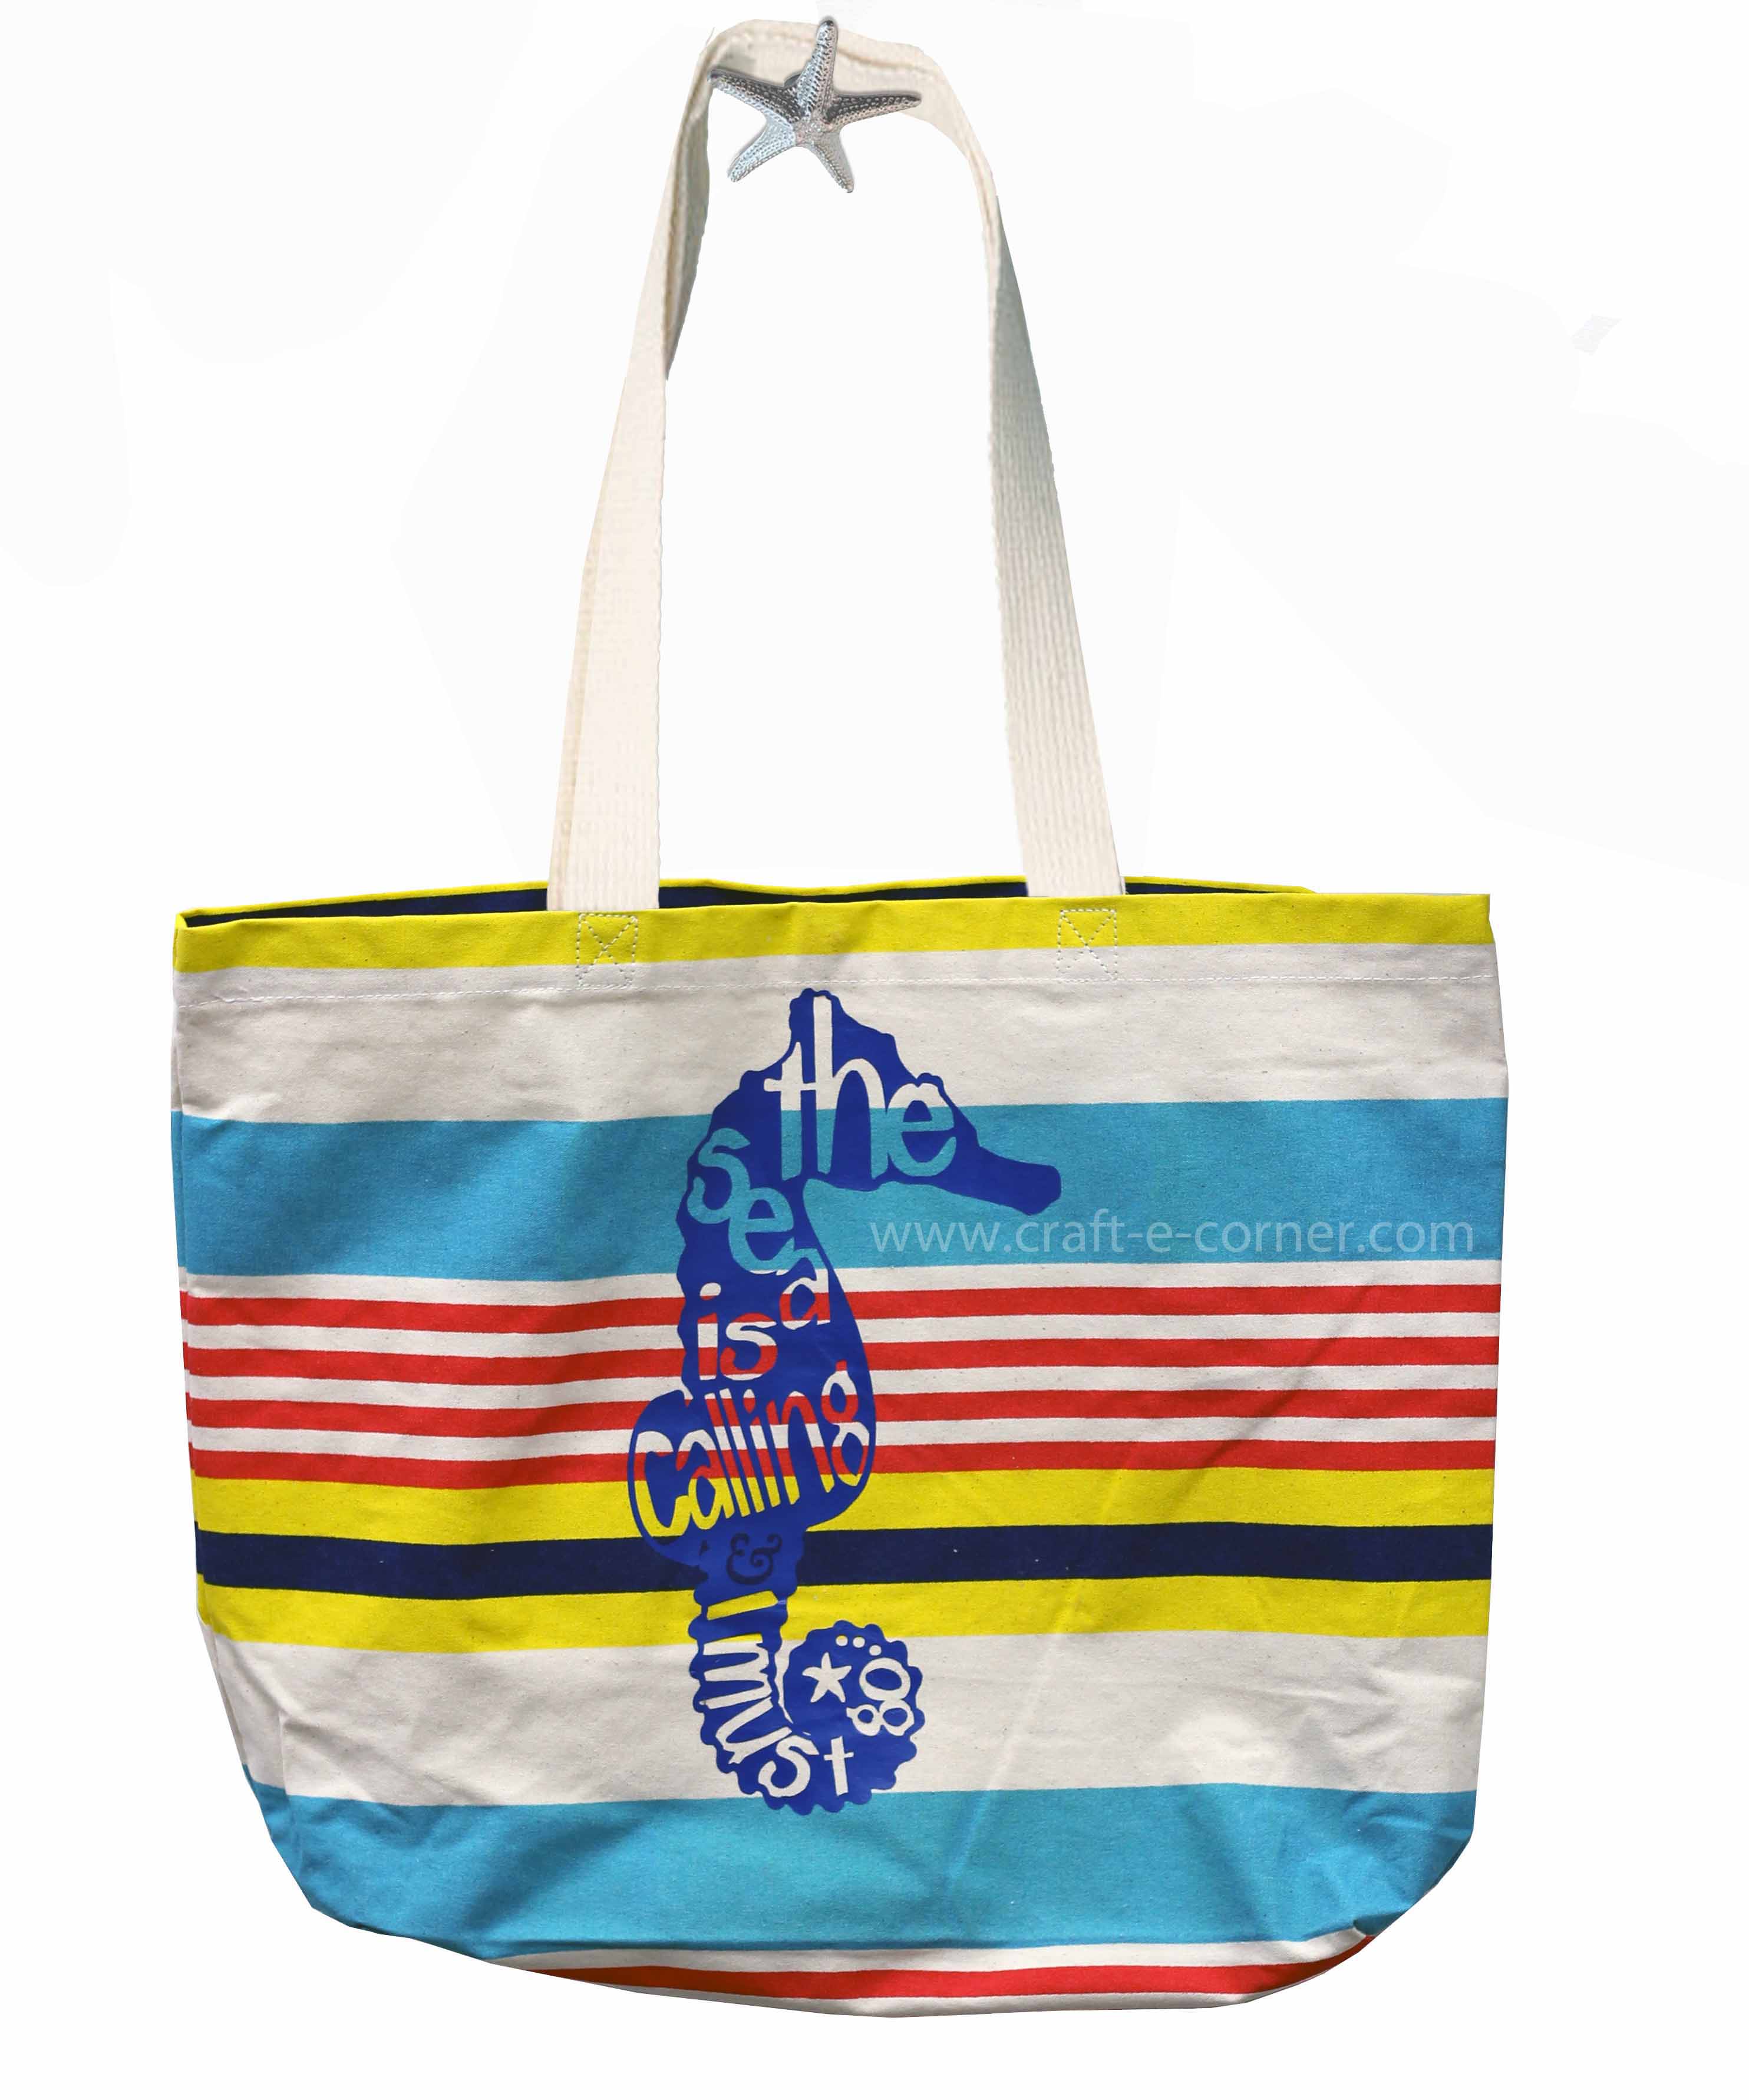
I wanted to show you a project using the heat press pillows, just for fun! We spend a lot of time at the beach and this fun striped canvas bag that was just calling to be personalized. Here’s a look at the final bag:

I used the seahorse design that is part of the 12 Exclusive Heat Transfer Vinyl Designs that I created for Craft-e-Corner. When you open the file, you’ll see this fun seahorse:

John Muir, the famous naturalist/photographer/founder of the Sierra Club, is known for saying “The mountains are calling and I must go.” I decided to change the classic saying to fit our beach bag, so this little seahorse says “The sea is calling and I must go.” To put this design on my bag, I flipped the design and then cut it out of smooth navy heat transfer vinyl. I lined the design up on my bag and pressed it like I would normal, but noticed when I finished that the top part of the seahorse didn’t stick well:

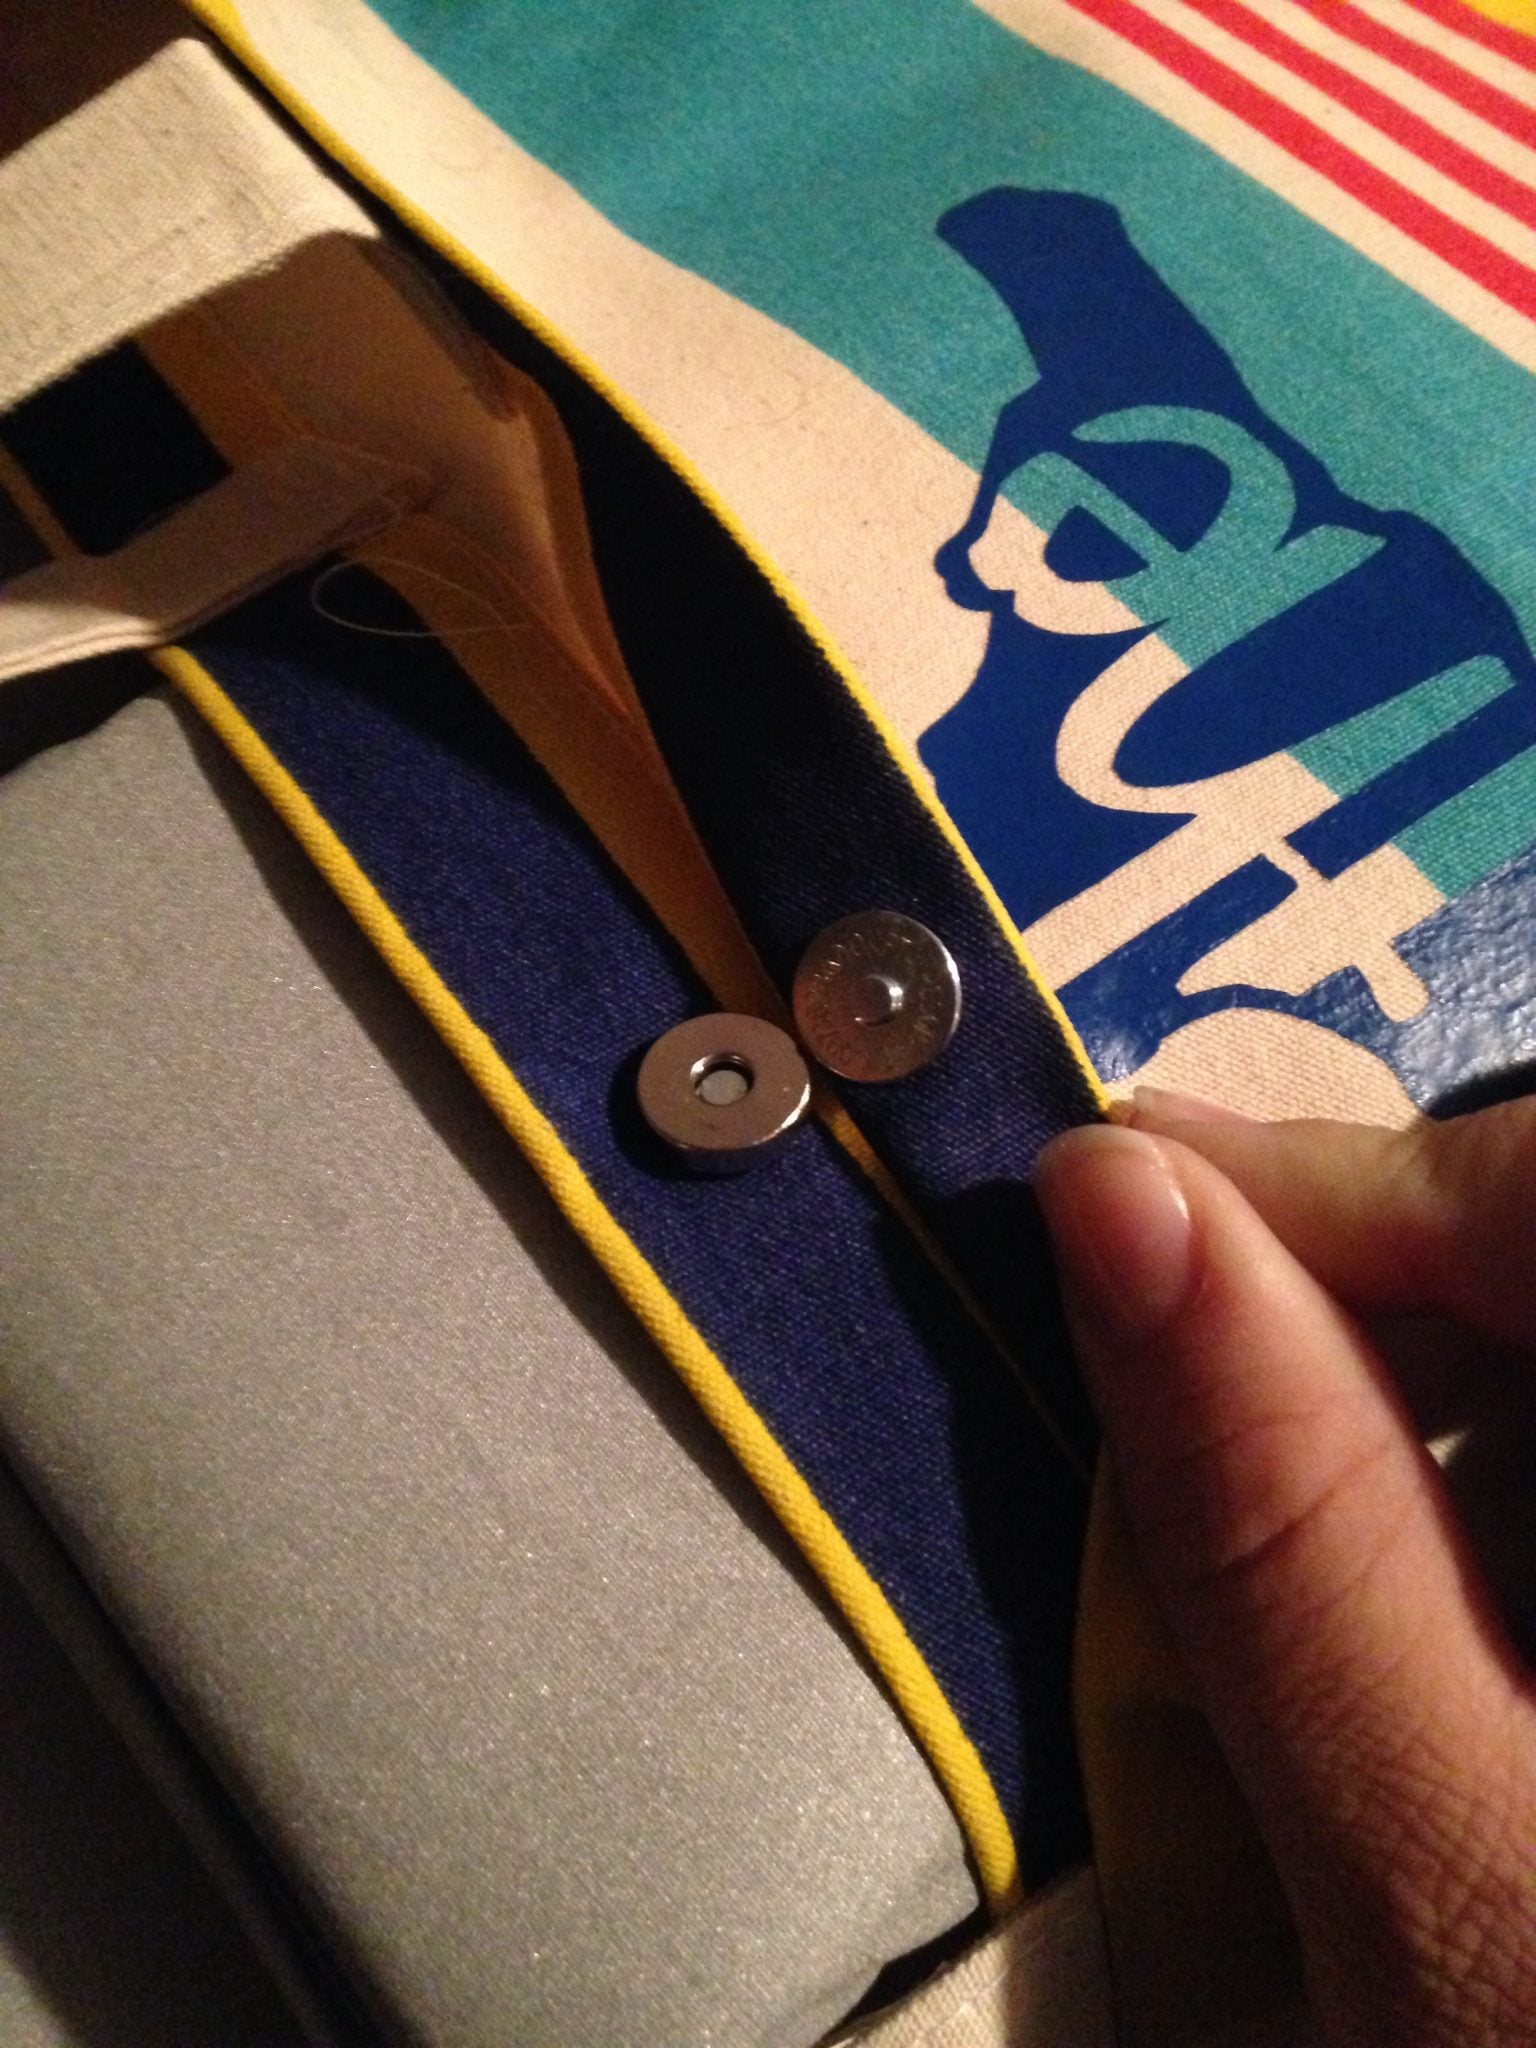
It was lifting just a bit near the seam. There is a magnetic clasp inside of the bag that was preventing my heat press from getting enough pressure on this part of the design:

To get the pressure I needed, I used a pressing pillow:

This pressing pillow came with my heat press. It’s a squishy, heat resistant pillow that helps give you extra squish for your materials. If you are adding HTV over a seam on a shirt, over the stitching on a hat, by a zipper or button, or have a weird magnetic clasp thing in your bag like I did, you can pop the heat press pillow under the trouble spot and press your design. The pressing pillow will give you the extra pressure you need.
I centered the pressing pillow under the clasp, and covered everything with a thin tea towel then pressed again:

Now you can see that the heat transfer vinyl is correctly adhered to the bag:

I just love the way the bag turned out! We are beach ready (just in time for winter

Leave a comment