On Orders $49+
On Orders $49+


I designed my project using my Silhouette Cameo software. I used regular 9″ Silhouette brand vinyl and knew that I wanted to have 3 different colored Peeps: pink, yellow and purple. Here is a great time saving tip: you can cut all your vinyl pieces at once, just spread out your images on your mat! Or you can use a PixScan mat!

Utilizing your whole mat keeps you from having to load and unload your mat and vinyl. I cut everything out all at once using this technique and saved so much time in the process! The key, I found, is to space things out enough so you don’t have to worry about it overlapping or missing your vinyl.
I didn’t have transfer paper handy so I knew I had to come up with another way to get all these pieces on straight. I decided to cut the whole design out of regular paper first to make myself a paper template! This made is super easy to line everything up straight!


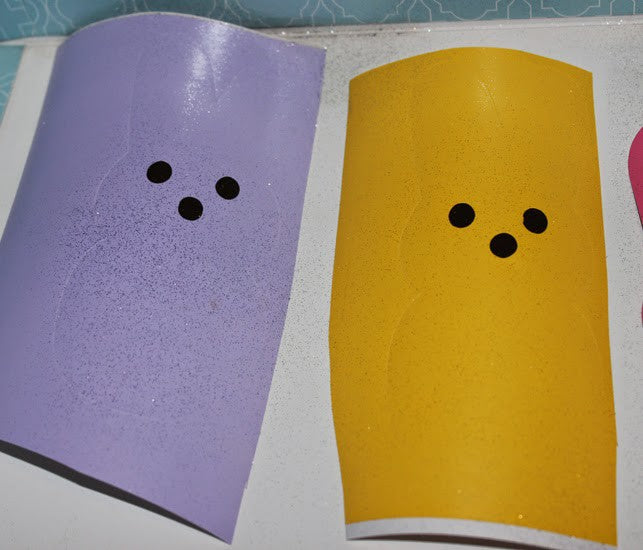
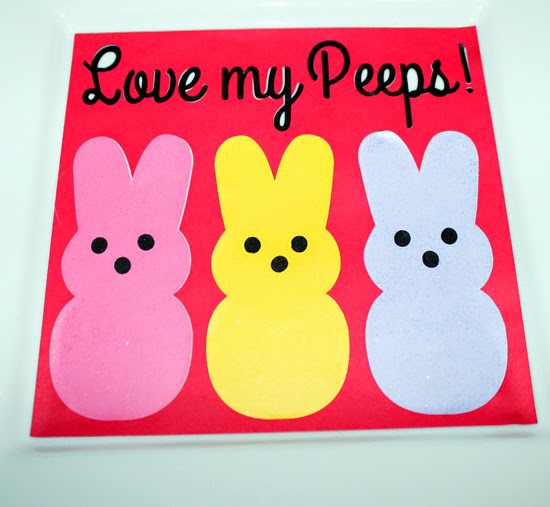
The eyes needed to go on the Peeps first because once all the eyes were on, I decided to turn my vinyl into GLITTER vinyl! Now the final plate photo above doesn’t show it well, but the finished Peeps are sparkly! Look at that shimmer:


Now I didn’t weed the Peep before I sprayed the glitter because I was hoping that the excess vinyl would help protect the Peeps from the aforementioned curling my friends had warned me about. I don’t know if it really helped or not, but it worked so maybe it did the trick! I did a very light mist of spray glitter, just enough to give them a nice sparkle! The eyes need to go on first because the vinyl won’t stick to the glitter, so layer all your pieces first, then spray the glitter.
Let the glitter fully dry, I let it sit overnight. The next morning, I was ready to assemble. I taped my paper template to my charger with a little bit of tape, just enough to hold it in place:

I then carefully weeded my Peeps (removed the extra vinyl from around the design) and then gently placed them down in the Peep spaces in the template by hand:


Just focus on getting one part of the word lined up, if you can do that, the rest of the word should fall right into place! In this case, I made sure to line up the bottom of the p in “Peeps” and the y in “my.”

I love the way this turned out! It’s so sparkly and will look great on display! Despite the spray glitter drying time, this whole project took less than 15 minutes to do.
A word of caution- this is strictly a display piece only. The glitter sticks and does what I want it to do for this charger, but it CAN rub off if you handle it too much. Put the charger in a plate stand and admire, this is not safe for food!

Comments
Leave a comment