On Orders $49+
On Orders $49+


If you're looking for a fun and easy way to add some patriotic flair to your home decor this July 4th, try making a wreath using heat transfer vinyl and a wooden base. With the help of a Cricut heat press machine, you can easily apply iron-on vinyl to wood, and the results are smooth and professional-looking. In this blog post, we'll share the heat press settings that work best for wood projects and provide step-by-step instructions for making a July 4 wreath using a wood round as the base. We'll also give you some inspiration for other wood projects you can make using heat transfer vinyl, including plant pot stakes and signs. Happy crafting!
Because my cut designs were longer than 11.5 inches, I needed to use an extra-long cutting mat with my Cricut Explore Air 2. You can purchase these 12x24 inch mats in a set of 3, one each of 3 different adhesive types – LightGrip, StandardGrip and StrongGrip.
Or skip the mats altogether, with one of Cricut’s full size Smart Machines, Explore 3 and Maker 3. Both these machines make long, continuous cuts when used with new Smart Materials - no mat needed! Interested in learning more about Smart Materials? Check out Everything You Need to Know About Cricut Smart Materials on our blog.

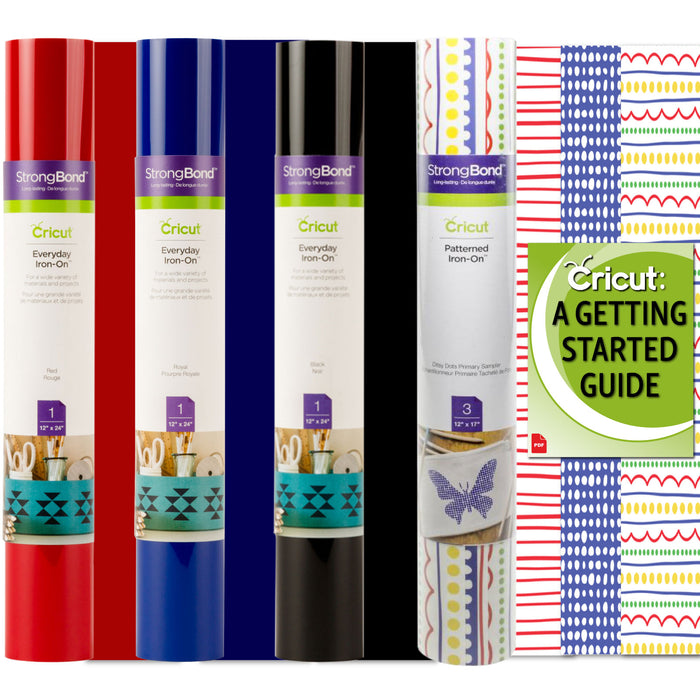
I wanted a quirky take on July 4th colors, so I’m using the Cricut Everyday Iron-On Red, Yellow, Royal, and Black Bundle plus a roll of Cricut Patterned Iron-on Sampler Ditzy Dots Primary for my wreath.

However, if you’d like something a bit more traditional, check out the following bundles featuring the ol' red, white and blue. Find these and more for your patriotic craft projects over in our Patriotic Collection.
Cricut Joy Smart StrongBond Iron-On Bundle - Red, White, Blue

Cricut Everyday Iron-On Red, White and Blue Bundle

Cricut Smart Iron-On 9ft Patriotic Bundle

I sized my design to fit a 14 inch wood round using the following basic shapes - circle, rectangle, and star - plus the text from design #M8B6B06B, "Land of the free because of the brave." Use the slice function in Design Space to trim and cut the basic shapes to fit your own circle, or find my project in Design Space here.

Apply iron-on to the cutting mat liner-side down. The liner side is typically the shiny and/or more colorful side of the heat transfer vinyl. Take care to mirror the design prior to cutting.


Preheat your EasyPress heat press machine to 300 degrees. Place your wood round on your pressing surface and preheat the wood for 5 seconds.
(Did you know? EasyPress mats are the ideal pressing surface. These durable mats do more than just protect your work surface. They also promote even heat distribution for your best iron-on transfers ever!)
Place your iron-on liner-side-up on top of the warm wood and apply the EasyPress with firm pressure for 30 seconds. Carefully check and remove the liner from the iron-on after it cools. If the vinyl is not fully adhered, replace the liner and apply heat in the same manner for an additional 15-20 seconds.
I decided to use the patterned iron-on for a base on my wreath. Then I applied my cut designs on top. I like to use parchment paper to protect underlying layers of iron-on from direct contact with the EasyPress when applying multiple layers. Or you could opt to paint your wood round white to make a neutral base for your cut designs.

Paint the edges of your wood round if desired. You can also paint or glue some felt if you want to finish the back of the wreath. Glue or screw a picture hanger to the back of the wreath and enjoy. Handmade holiday home decor!


Check out these additional wood projects on our blog. And happy crafting!


Comments
Leave a comment