On Orders $49+
On Orders $49+


How to Use Infusible Ink to Create Custom Can Koozies
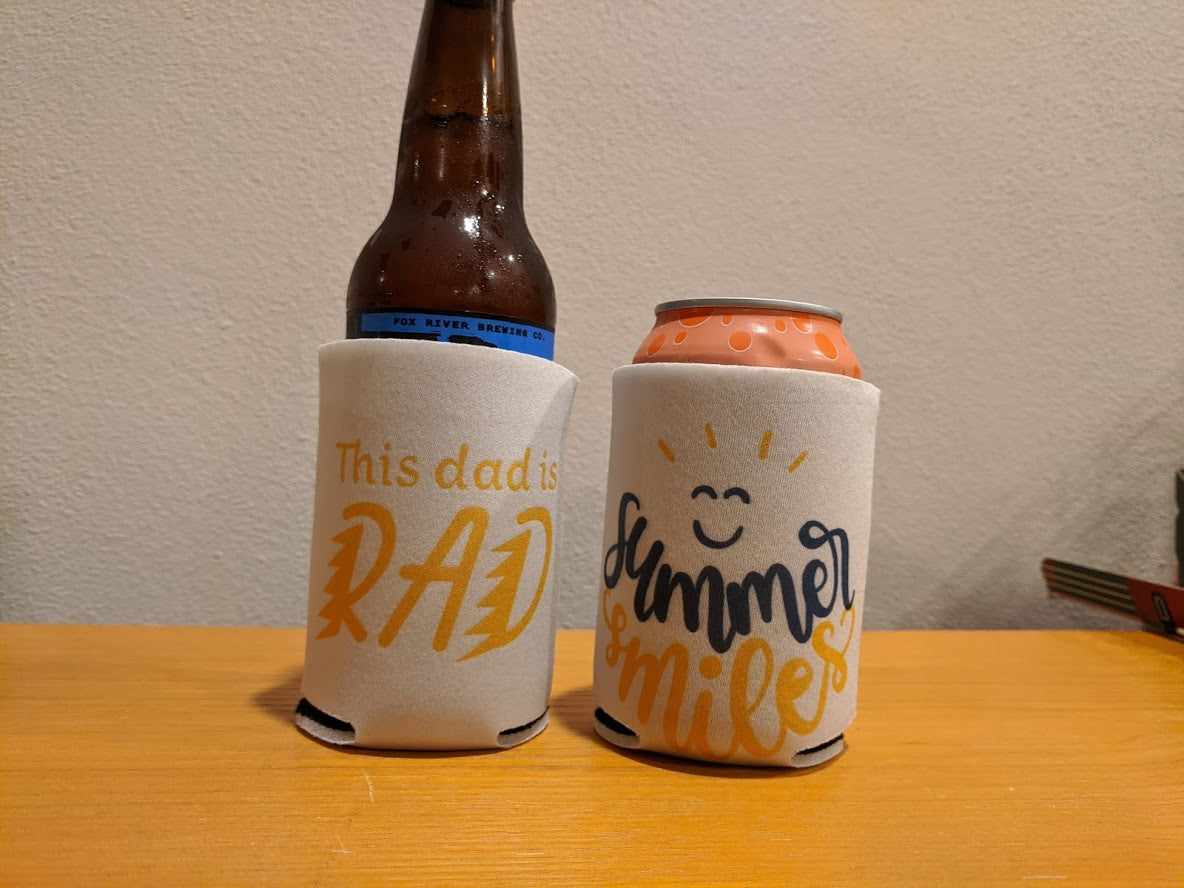
We want to customize things we use, to tell our story, what we do that is personal to us. This Cricut Infusible Ink project is about the dad or guy in our life and the favorite things to him: summer sun, boating, water sports and a cool drink. It might be a great gift for Father's Day or his birthday.


Why would you make with Infusible Ink with Koozies? Well the use of Iron on material on top of something you hold might have your hand feeling the material, but with Infusible ink, the color attaches right to the fabric of the koozie, so you don't feel it, no cracking and no peeling.
This Polyester Koozie was purchased online to use with Cricut's Infusible Ink Material.
Here are some simple steps we took to create these fun koozies.
My daughter selected a few designs from Design Space and combined a few selections for the front and back of Koozies for dad.

After washing her hands, she opened the infusible ink material:
Infusible Ink Patterned Sheets - Wildflower
She placed the Liner Side of the Infusible Ink material on the mat.
She selected which color she was going to cut from Design Space.
She mirrored the designs, so that when applied to the koozie it would face the right direction.
Because she was cutting with an Air Machine she put the dial on Custom and selected within Design Space the material she was cutting. If using a Maker machine, select Infusible Ink as well, but no machine dial change is used.

When the material was removed from the mat, I taught her how to turn the mat over and remove the mat from the material, so the material wouldn't bend. Then we weeded the cuts from the paper. We did this by bending and twisting the Infusible ink to hear the cracking sound. This allowed the excess material to remove from the backing to leave only the image, which is much better than trying to use a weeder tool.

Tips and Tricks we used before, during and after Applying Heat
Placed white cardstock under our protect surface to protect from transferring ink.
Used a lint roller to remove any lint from surface of the koozie.
Preheated the koozie to remove any potential moisture.
Used heat protective sheet between transfer and heat press to protect surface of heat press from getting any ink on it.
Waited for koozie to cool so that your transfer doesn't start transfer ink until using your Easy Press/Iron to heat surface.
Held our hand still so no movement occurred which could make a shadow during design transfer and impact ink fusing process.

Getting the right heat settings for your Easy Press is made simple with the online Cricut Easy Press Heat Guide. I reference it every time for a project and know that my results will be right the first time.
**Note we are using an old Easy Press, (version 1), so our settings shown in the image aren't the same as the correct settings shown below from the Heat Guide Directions.
Cricut Easy Press Heat Guide Link
Easy Press Directions we followed:
We selected Tote Bag Material - as it is most similar to koozie polyester product

My daughter is quite excited to share some summer fun can koozies with dad this Father's day. We hope we gave a few tips to inspire you to use Cricut Infusible Ink.

How to Make An Infusible Ink Mug In Your Oven
Comments
Leave a comment