On Orders $49+
On Orders $49+


I recently cleaned out my craft space area— it was WAY overdue! It just feels so good to open my closet and not get overwhelmed by the big mess. I guess spring cleaning is starting now for me!
While I was cleaning, I found a ton of scraps, specifically scrapbook paper scraps. I didn't want to just throw out the paper, so I set it aside and have been trying to decide how to use it. I finally decided to turn it into Cricut Joy cards and also gift tags! In this blog post today, I'm going to walk you through my process— but of course, you can customize your scraps to whatever kind of projects you want!
Step One: Cut your paper down

The goal here is to maximize what paper we have to work with! Basically, we are just going to cut away the actual scraps. As you can see in the photo above, I used a paper trimmer to trim off pieces that were used for other projects. I found a paper trimmer to be really helpful for this because I could keep everything straight, but you could definitely use scissors as well.
Step Two: Separate your pieces into piles
As I was cutting, I tried to keep the paper as large as I could while I was cutting. Since I knew I wanted to make Cricut Joy cards, I knew I needed bigger pieces of paper. In the end, I had three piles: large pieces of paper that I could use for Cricut Joy cards (dimensions at least 8.5x5.5"), pieces of paper that would work for insert cards (dimensions at least 4.25x5") and then the actual scrap pieces I would throw away.
Step Three: Create your Joy cards and gift tags
Let's start by creating the Cricut Joy cards!

If you didn't already know, you can create your own Cricut Joy Insert Cards. You can purchase pre-made kits like THESE, but since I had scrap paper, I thought this would be a perfect use to make some cards! I have an entire tutorial on how to do this, including a video tutorial, so make sure to check it out HERE if you need further instructions on how to make your own cards.
To create the card, I am cutting my paper to 8.5x5.5". Then simply fold it in half and you've got your card! I like to run a pen along the crease to help it stay down. For the insert card, I am cutting the paper to 4x5.25".
Here's what the cards look like:

Here's what the insert cards will look like:

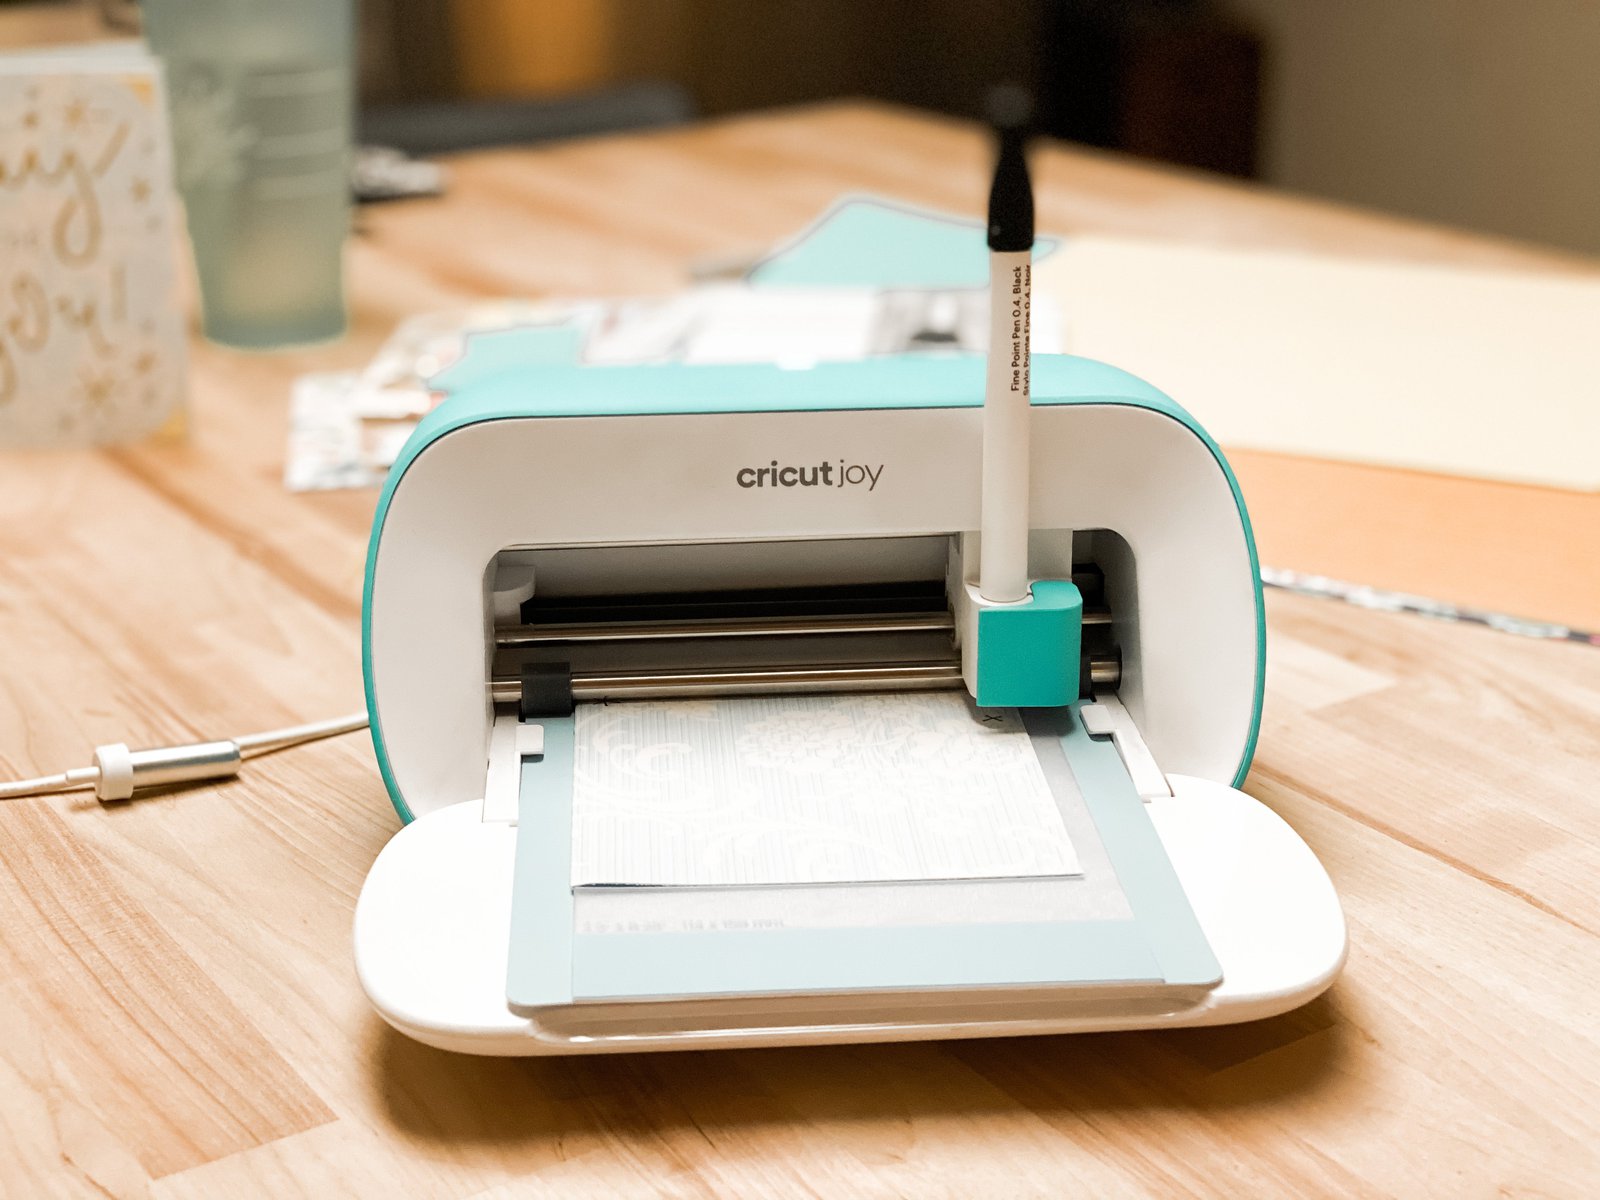
Then from here, we are ready to create the cards on the Cricut Joy! I am using the Joy card mat to do this. Simply find the cards you want to make in Design Space and then place your card onto the card mat and get creating.

Wa-lah!
If you're wondering about envelopes, you can't make them on the Cricut Joy. You would either have to purchase some or make some on a Cricut Maker or Explore. I found a giant stack of envelopes, so I am going to tuck those away with these pre-made cards.
- Create Gift Tags -
The last thing I am doing is creating gift tags! I saved random scraps for this, so it's going to take me a little longer since everything is not one size, but I think it'll be worth it to have a nice stock pile of gift tags in the end.

I included the link to my project in Design Space HERE if you want to check out what I designed! If you have Cricut Access, it will be free for you to make, too. Here's what my project looks like in Design Space. I sized each tag to be 3.5" at its biggest length.
For this, all I did was place the scrapbook paper on my Joy StandardGrip mat. I loaded up my mat with the paper! Then I arranged the gift tags on my mat preview screen to cut where I placed my mat.
As you can see in the designs, some of them I just cut out a basic shape, some I added some drawing too— but you can customize this however you want!
And that's about it! How else do you like to use up your scraps while you're crafting? This was a fun little challenge and I'm excited to see what I'll come up with next time for something similar like this.
Happy making!
-Courteney
Leave a comment