On Orders $49+
On Orders $49+


There are many different ways you can customize your Starbucks cups — you can add circular decals, do full wraps, add name decals and I'm sure so much more. We've been doing a little mini series on different ways to make them. In this post here, I created some mom-themed Starbucks cups (hint: there's free SVG files on this blog post!) And in this post here, I added a decal with my name using the offset feature in Design Space.
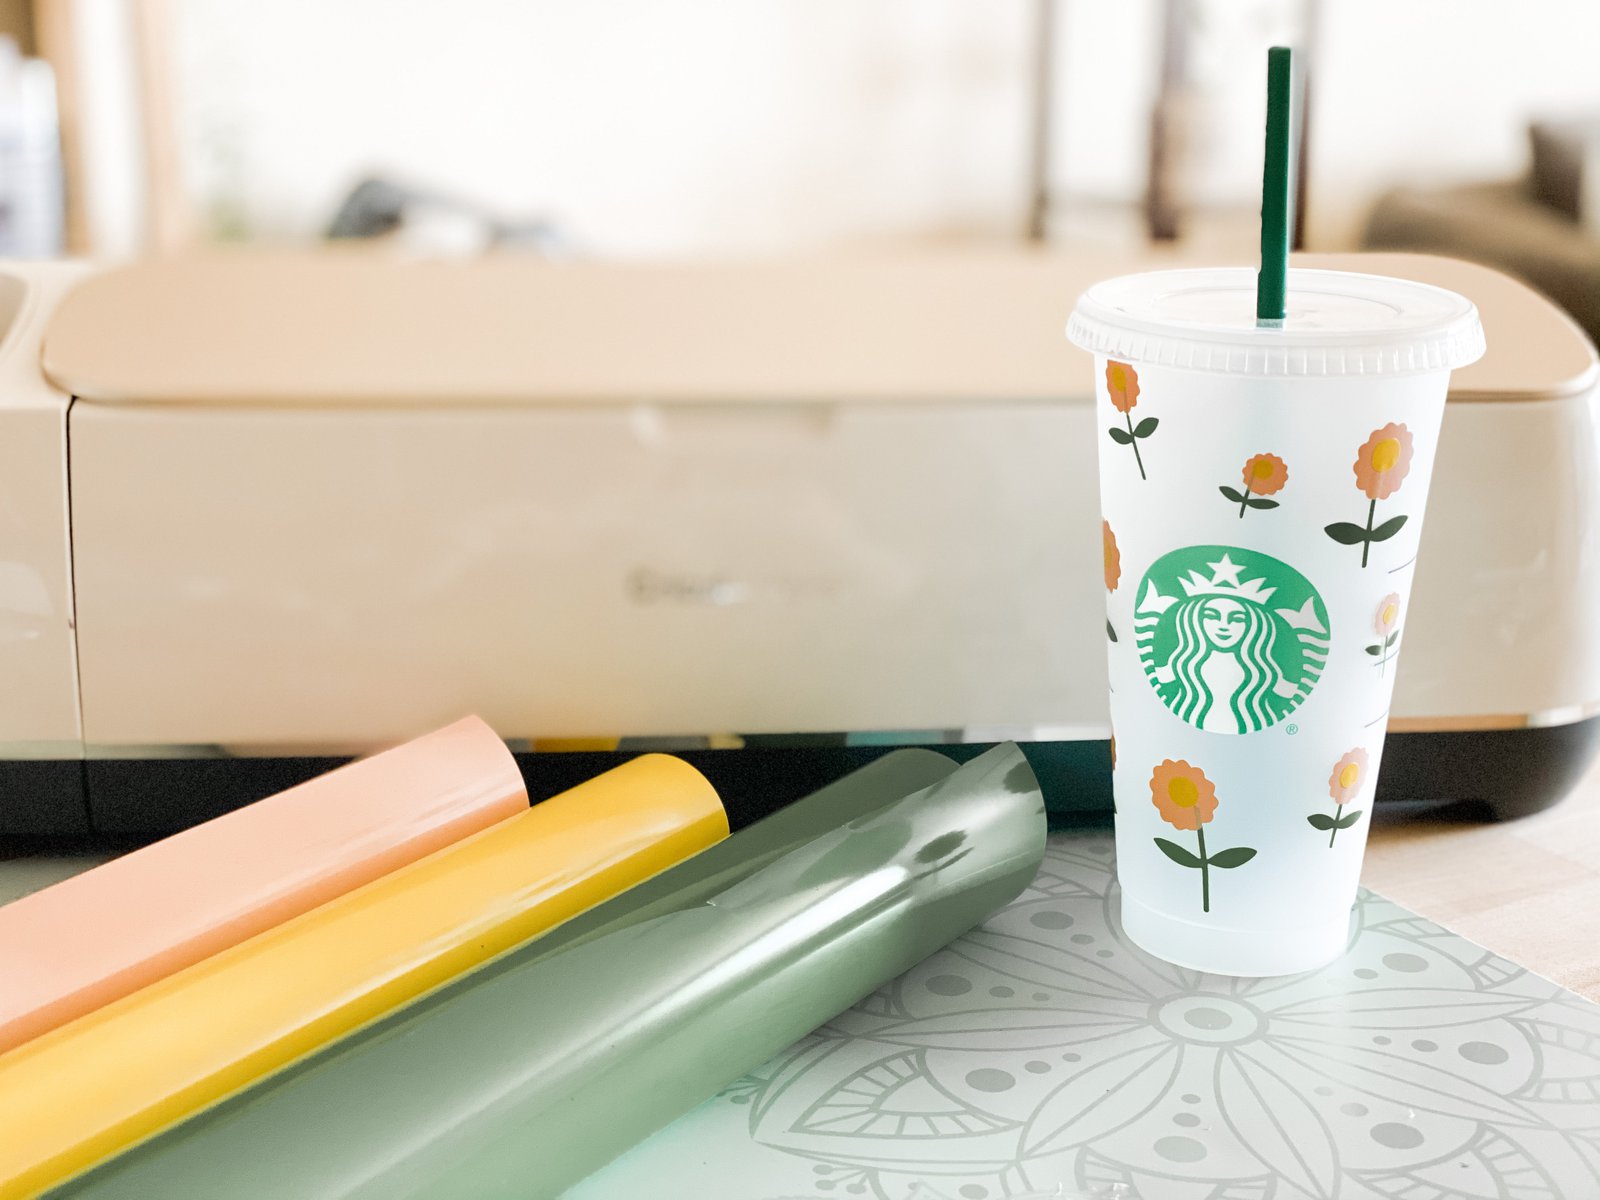
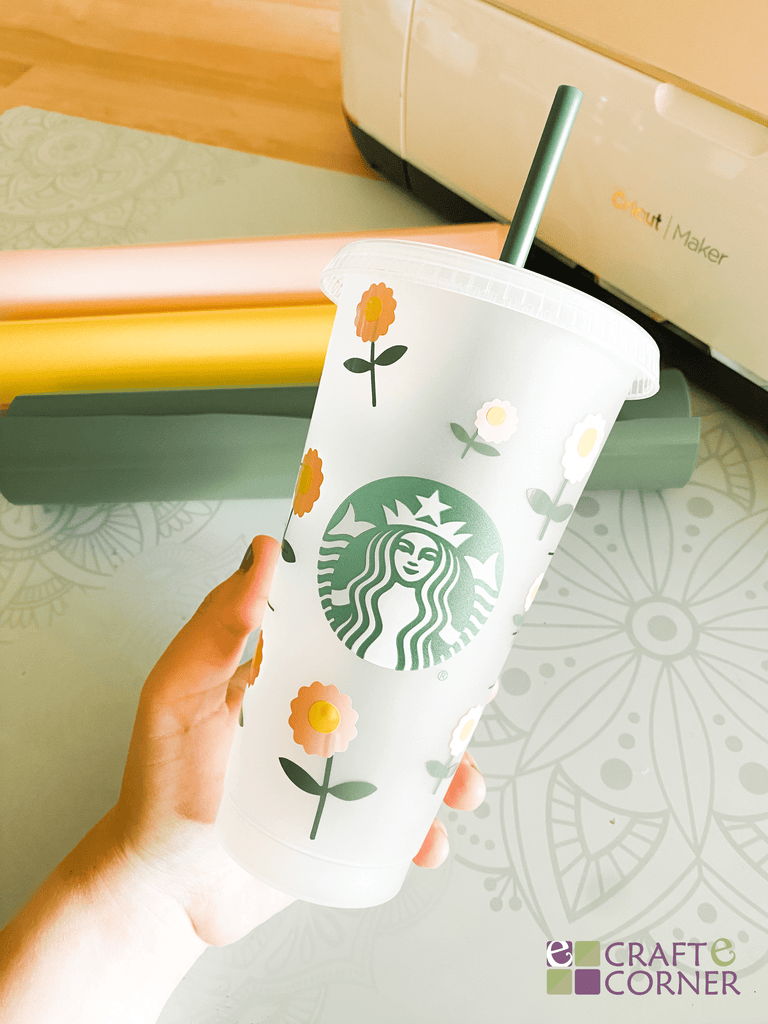
In this tutorial today, I'm going to be doing a multi-layered full wrap on a Starbucks cup. If you've been following along on the last two posts, you know I've been using one of our spring and summer bundles. Here's a peek at the colors of vinyl I'll be using from that bundle. Today I'm using the green, melon and yellow colors. You can purchase it on our website here.
Here's my warning: this project requires a little bit of patience, especially if this is your first time layering vinyl and applying it on a curved surface. It took me several, several attempts to get it right — so make sure to give yourself some grace! And maybe it's just me, maybe it'll come super quickly to you :)
Download the free SVG file here!
Materials:
That concludes our little mini-series on how to make Starbucks cups. I hope you've enjoyed what you've learned. If you make these projects, make sure to join our Facebook group here and share what you've made with us!
Happy making!
-Courteney


Starbucks Cold Cup Tutorial — Part Two + 3 Free SVG Files
Comments
Leave a comment