On Orders $49+
On Orders $49+


In this project tutorial, I'm going to show you how to use offset in Design Space to make a vinyl decal for a Starbucks cup! If you aren't familiar with what offset is, you can go to this post to read more. Throughout the next few weeks, I'm going to show you how to make three different kinds of decals for your Starbucks cup. This post is the first of three! I will update this post when the other two projects go live with the links to those as well.
As you can see, I am making a decal using three different colors of vinyl and also using the offset feature in Design Space. Offset is by far one of my favorite features and I'm so excited it's finally in Design Space!
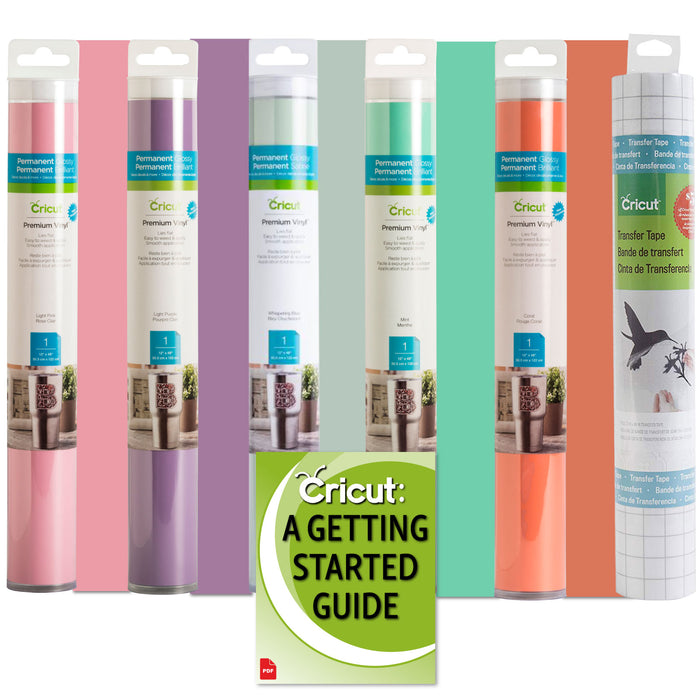
Before we get started, I also wanted to highlight the vinyl that I am using. I am using Cricut's Premium Permanent Vinyl in our Spring Pastel Colors Bundle. This bundle comes with five different colors of vinyl and one roll of transfer tape. The vinyl colors pair so well together and I'm going to be using them in my next few projects. If you want to snag the bundle, check it out on our website! It's a steal of a deal, I promise!
Materials:
Stay tuned for the next two cups, coming in the next two weeks! Happy making!
-Courteney

Glitter Dipped Coffee Mug and Wine Glass with Cricut Vinyl
How to Make a Full Wrap Starbucks Cup with a Cricut — Part Three
Leave a comment