On Orders $49+
On Orders $49+


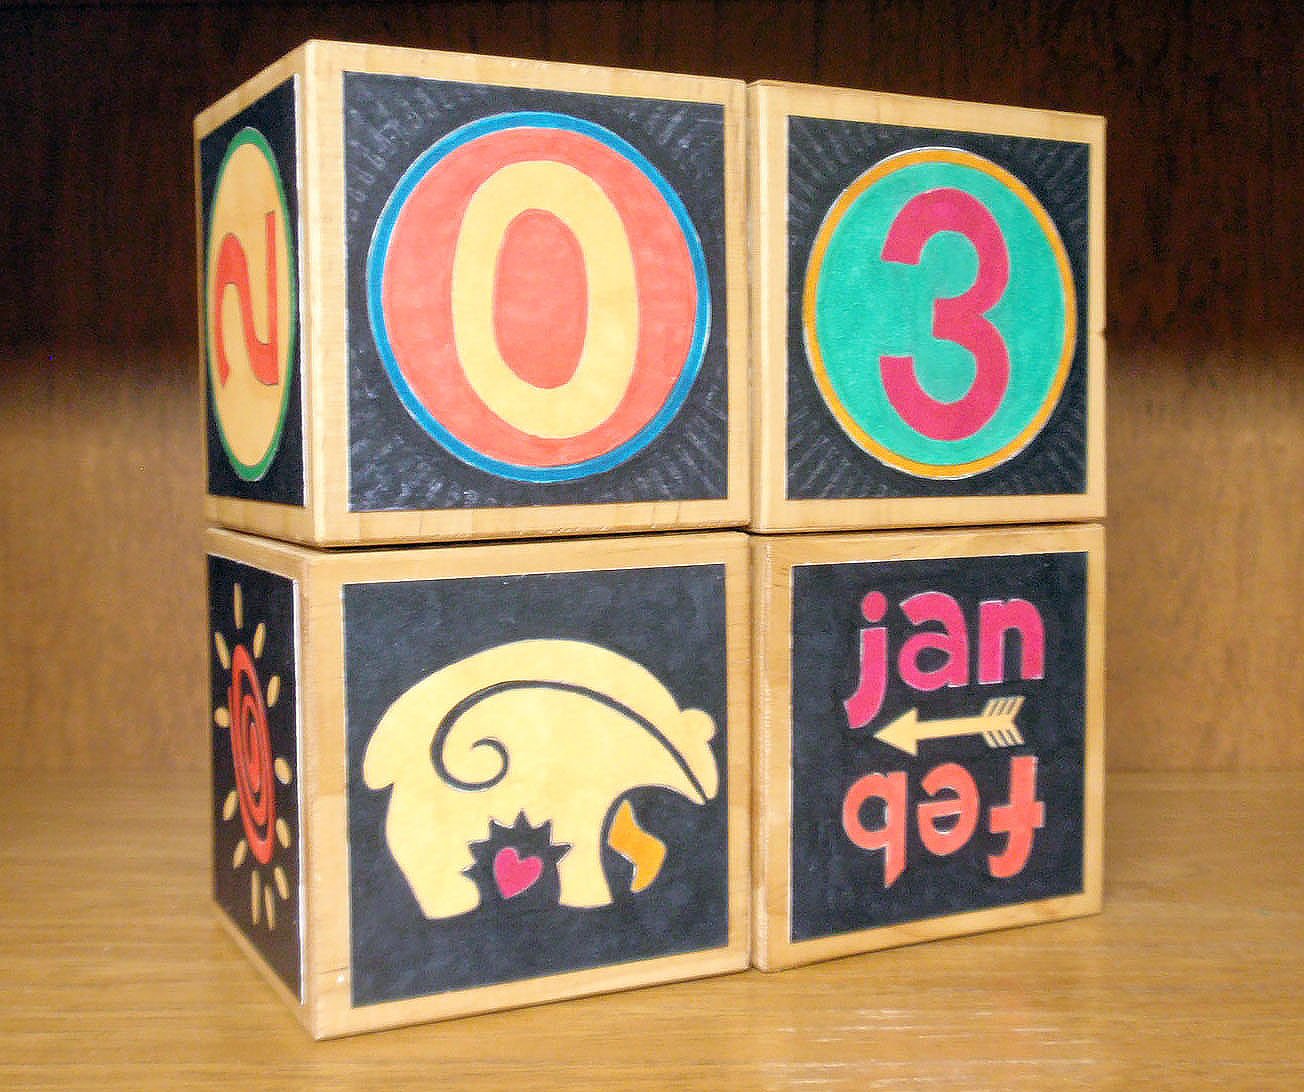
Whip up this perpetual calendar for your desk or office shelf in colors to match your decor. The calendar uses basic wood blocks and permanent markers to create a fun accessory – and the pattern is included!
Supplies:
4 wood blocks, about 3 inches in diameter
Paper copy of designs
Permanent markers
Decoupage glue or adhesive of choice
Paint or stain of choice
Patterns
Directions:
Print a copy of the design patterns on heavy paper. The designs are created at approximately 3 inches in diameter for use with 3 to 4-inch diameter blocks. If you’re using a different size wood block for your project, you can resize the designs as needed to fit.

Cut out the designs and color using your favorite permanent markers.

Paint or stain the wood blocks in the colors of your choice.

Glue the paper designs to the wood blocks using your adhesive of choice. All the designs from one sheet of printed images should be arranged on one block. Block one should include the numbers 0, 1, 2, 3, 4, and 5. Block two should include the numbers 0, 1, 2, 6, 7, and 8. (The number 6 will also serve as the number 9 when positioned upside down.)


If you printed the designs on very heavy paper like 140 lb. watercolor paper, you can spread white glue evenly on the back of the paper to glue it to the block. If your paper is thinner, you can attach the papers to the block by spreading decoupage glue under and on top of the paper and pressing it well to the block using your damp finger.
Apply a finish varnish or sealer to the blocks if desired. If you used decoupage glue as described above, no additional varnish should be required.

Stack the blocks in any configuration that suits you, and enjoy your colorful calendar all through the coming year.

DIY Double-Sided Porch Sign with Vinyl as a Stencil
Leave a comment