
Free Shipping
On Orders $49+
On Orders $49+
Yesterday I showed you how to make your own DIY Fizzy Bath Bombs. Today I want to walk through how to make a cute jar for them to go in! Bath bombs are a perfect gift for Mother’s Day! I wanted to make them look cute in the bathroom too, so I decided to make a jar for them to go in.

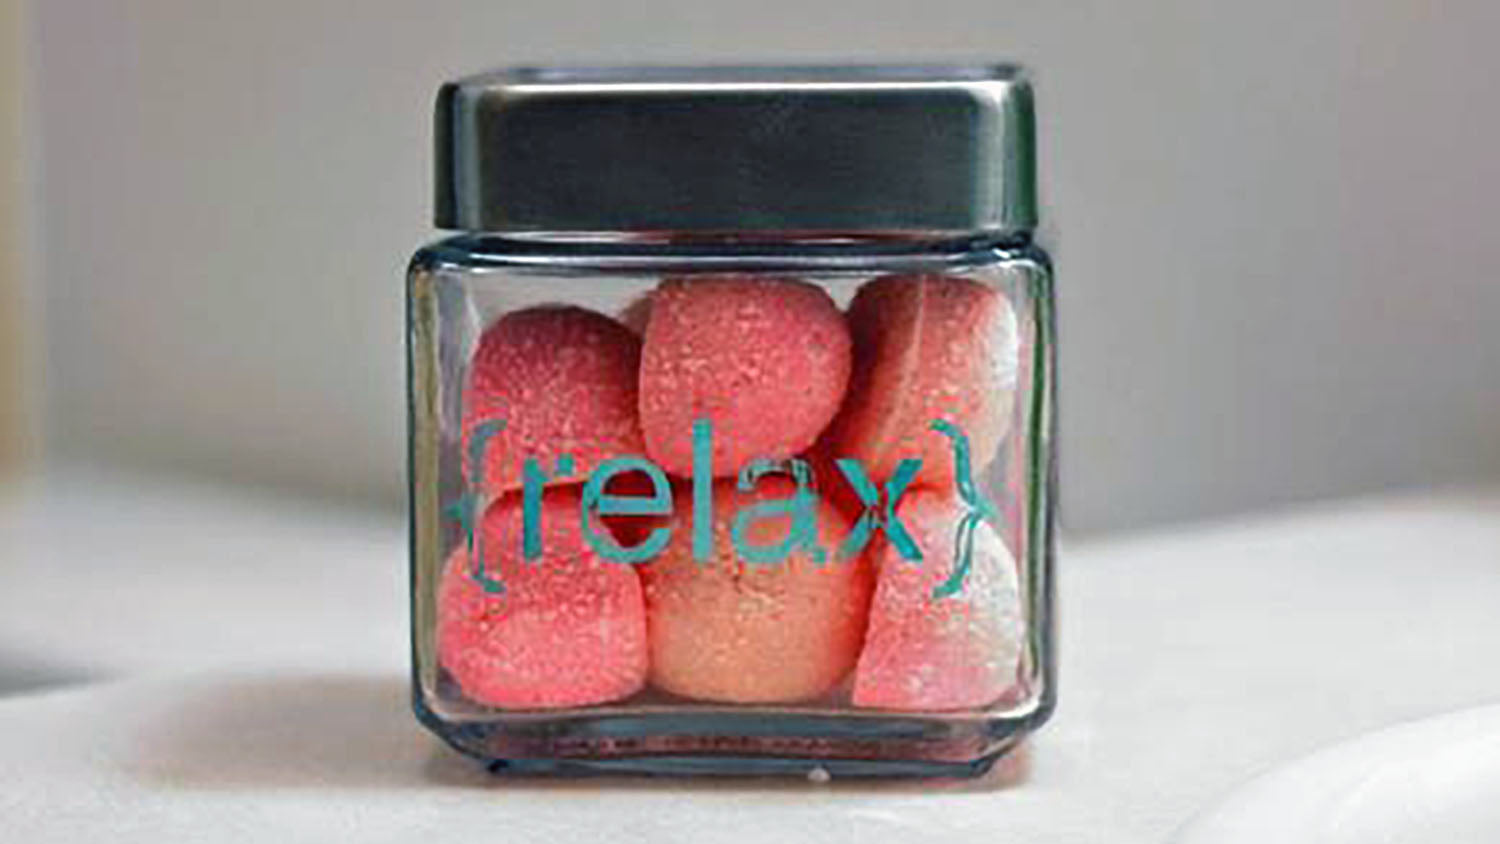
After a lot of indecision, I chose to keep it simple and etch “{relax}” on the jar. I created my cut design in Cricut Design Space. I measured my jar and drew a rectangle to fit the front of the jar, then centered the saying in the middle. For anyone interested, the font I chose was Helvetica.
I can’t say I use Helvetica that often, but I do love a good font! But Helvetica seemed to fit well for this project. I know that was an off tangent about fonts, but I think a font can really make or break a project, don’t you?
So back to our jar…
Tip: Once I applied the vinyl, I heated it up the entire design with my embossing heat gun. I always do this step when using vinyl for painting or etching, it helps to adhere the vinyl and seal up the edges to prevent the paint or etching cream from leaking under the stencil.
Next I used my favorite etching cream to etch my words into my jar. I painted on an even layer of etching cream using an old paint brush.
Tip: Shake your etching cream a lot to ensure it’s mixed well before you use it!
After letting the etching cream sit for just one minute (it works fast!), I washed the etching cream off in the sink with a little running water. You can now peel off the vinyl.
Dry your jar well. You can see the etching without color, but it’s a more subtle look. At this point I saw that my etching cream didn’t etch evenly in all areas. I didn’t clean my jar was before etching, which likely caused it to not etch evenly.
Tip: Use rubbing alcohol to clean you surface and remove any finger prints before etching!
Put a very small blob of Rub ‘n Buff on your finger. Rub ‘n Buff comes in a lot of different colors - I love this stuff! I used Patina Rub ‘n Buff and can’t wait to use other colors for different projects. A little bit goes a long way. You can use a soft cloth to apply it, but your finger works just as well too.
Rub the Rub ‘n Buff into the etching in a circular motion. Work quickly, and in sections if you have a large project.
Use a soft cloth to wipe away the excess Rub ‘n Buff. It will come off the glass surface, but stay in the etched areas! Don’t let it sit for too long or it won’t want to come off.
Fill the jar with bath bombs and give as a gift or display in your bathroom!

In the end, my jar came out a little more shabby chic than I had originally planned, but I love the way it turned out! Rub ‘n Buff can be used on all sorts of surfaces, from wood to metal and more. It’s a wax finish that you can use for antiquing, crafting, decorating… You just rub it on, then buff it with a soft cloth to make it shine! This stuff is awesome for updating door knobs, picture frames, lamps, tables, candle sticks - too many places to list! I just discovered this stuff and love it already!
What will you etch on your jar? Humor me and share if you have a favorite font choice! Happy Crafting! - Kala
Christmas Candle Shade with Cricut Vinyl & Recycled Glass

Comments
Leave a comment