On Orders $49+
On Orders $49+

Polymer clay is such a fun medium to work with. With just a little bit of clay and an oven, you can make so many different things, your imagination is your only limitation here!
I created this clay Santa ornament with polymer clay and I’ve complied a step by step tutorial, just for you! Let me show you how fun this material is to work with!
Polymer clay is a great medium to work with because it’s inexpensive, strong and comes in a ton of colors. Plus, you can mix your colors together if you’re looking for a shade that you don’t have. I haven’t worked with a lot of polymer clay, but I found it easy to form different shapes with the clay and had a lot of fun working with it.
To create this Santa ornament, I used beige, black, white and red Fimo clay. Of course you can also shake it up (see the bottom of this post)- who says Santa can only wear red?
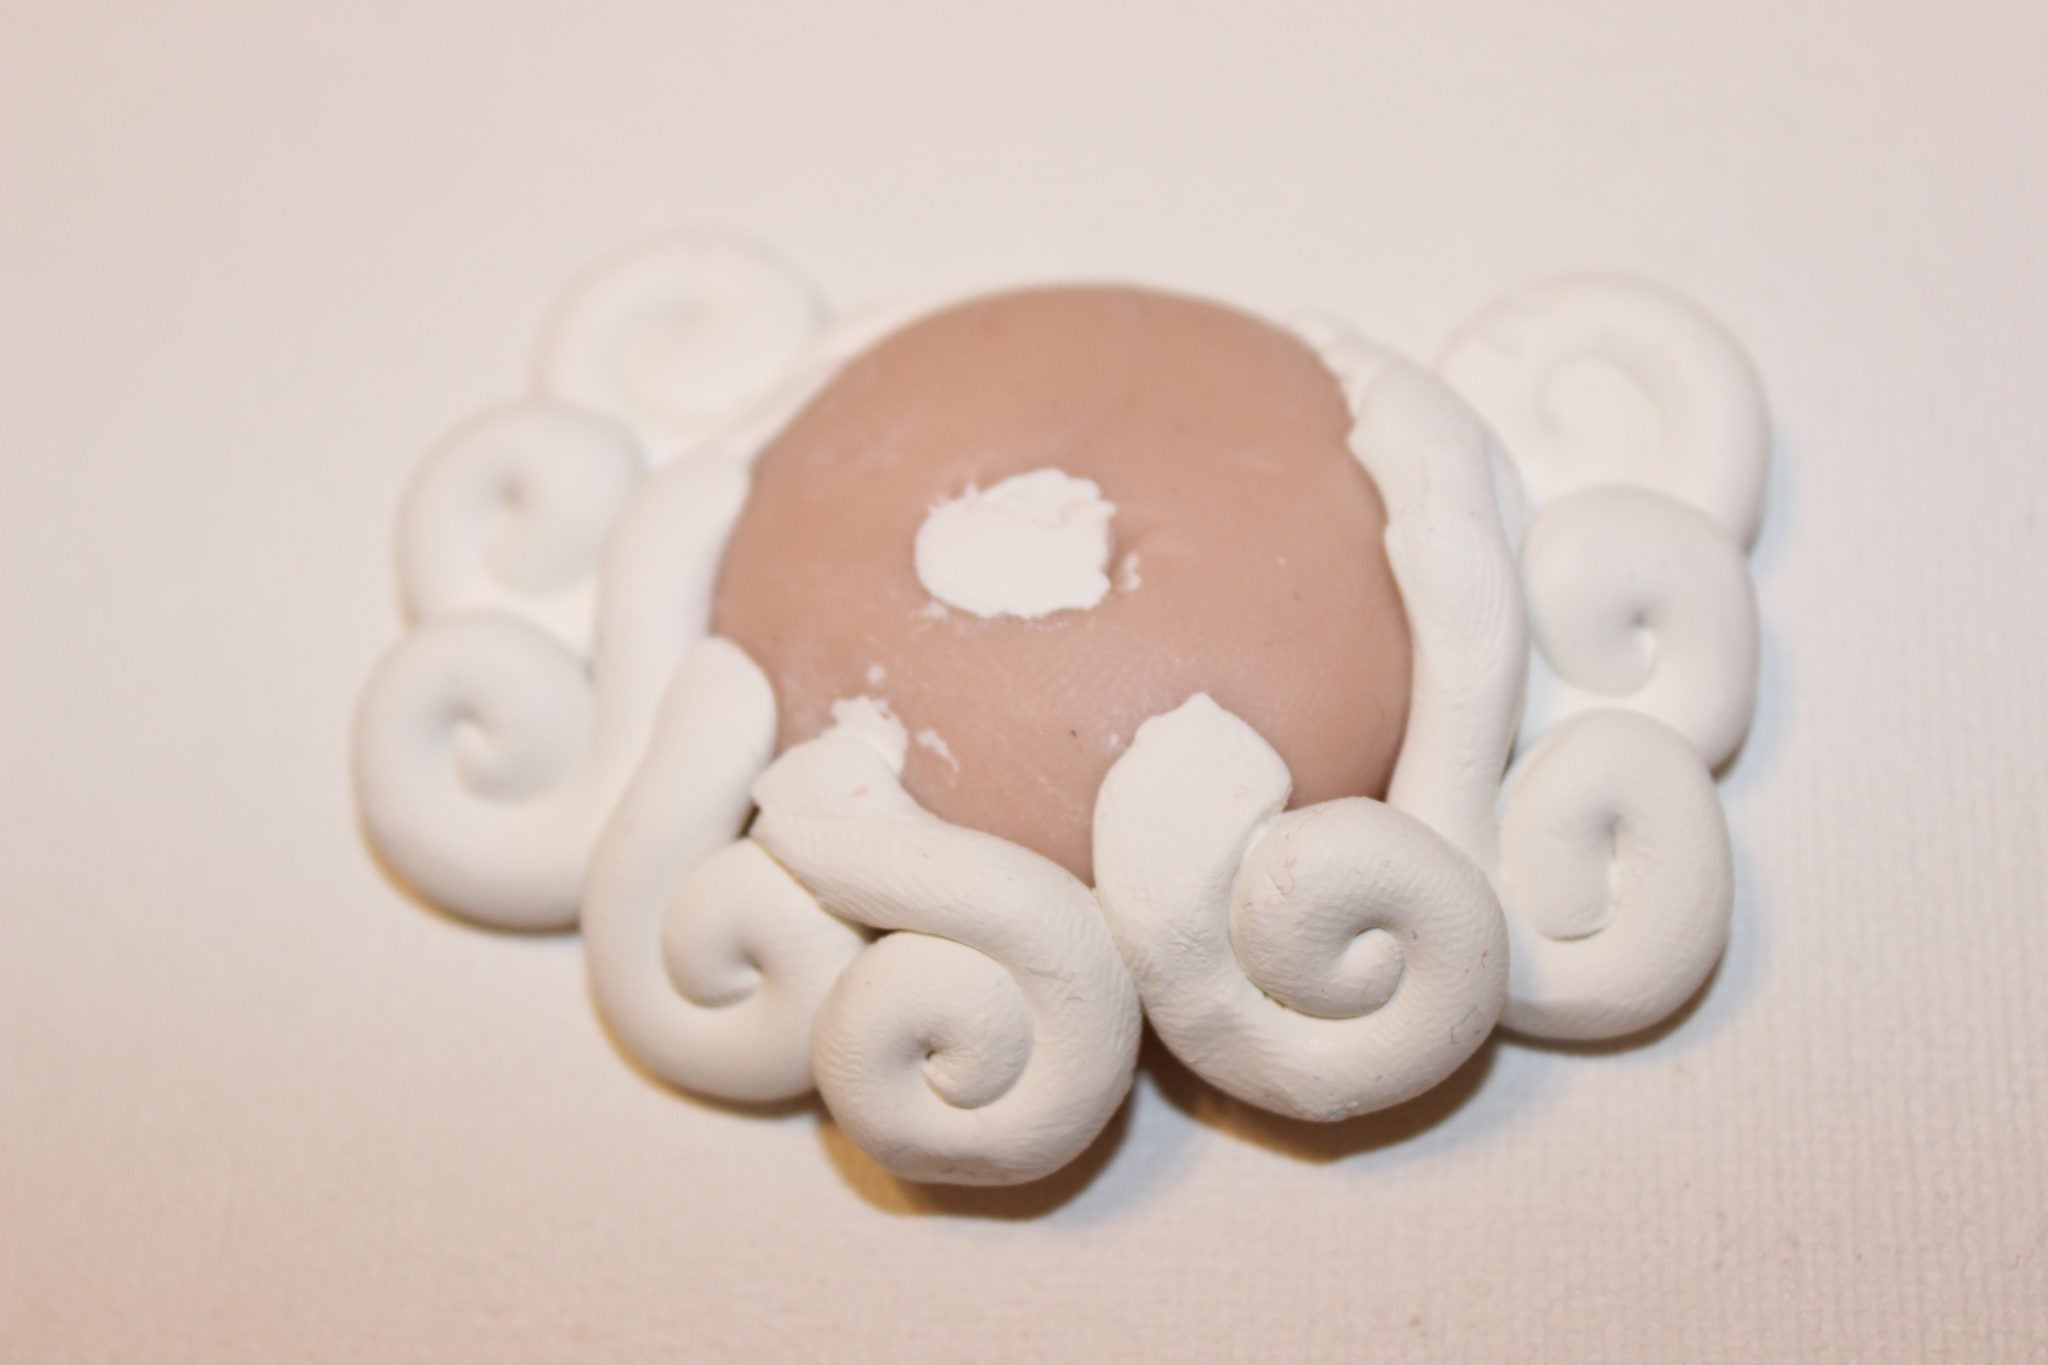
To start, I made a disk of the beige clay- I made it about a quarter inch thick and slightly larger than a quarter:

Next I used a Makin’s Ultimate Clay Extruder to make Santa’s beard. The Makin’s Professional Clay Extruder is super easy to use, it comes with 15 different disks with different holes in each one- you can make hair to square ropes, thick or thin round ropes and more. This works a lot like the Play-Doh extruders you might have used as a kid.
To make a rope for Santa’s beard, I stuffed the barrel full of white clay and twisted the top part of the extruder. The clay comes out the disk attached to the bottom in a perfectly even rope! While you could conceivably roll out a rope by hand, this is so much easier for a newbie like me.
Once I extruded everything in the barrel into one long rope, I curled one end of the rope over in a curl and pinched off a segment of the clay leaving a little tail. I attached the tail end to the side of Santa’s head.

Keep repeating this step and build up Santa’s beard. Note: I had attached Santa’s mustache and nose, but then decided those need to go on last, so I removed (but the white from his mustache was left behind, whoops!).

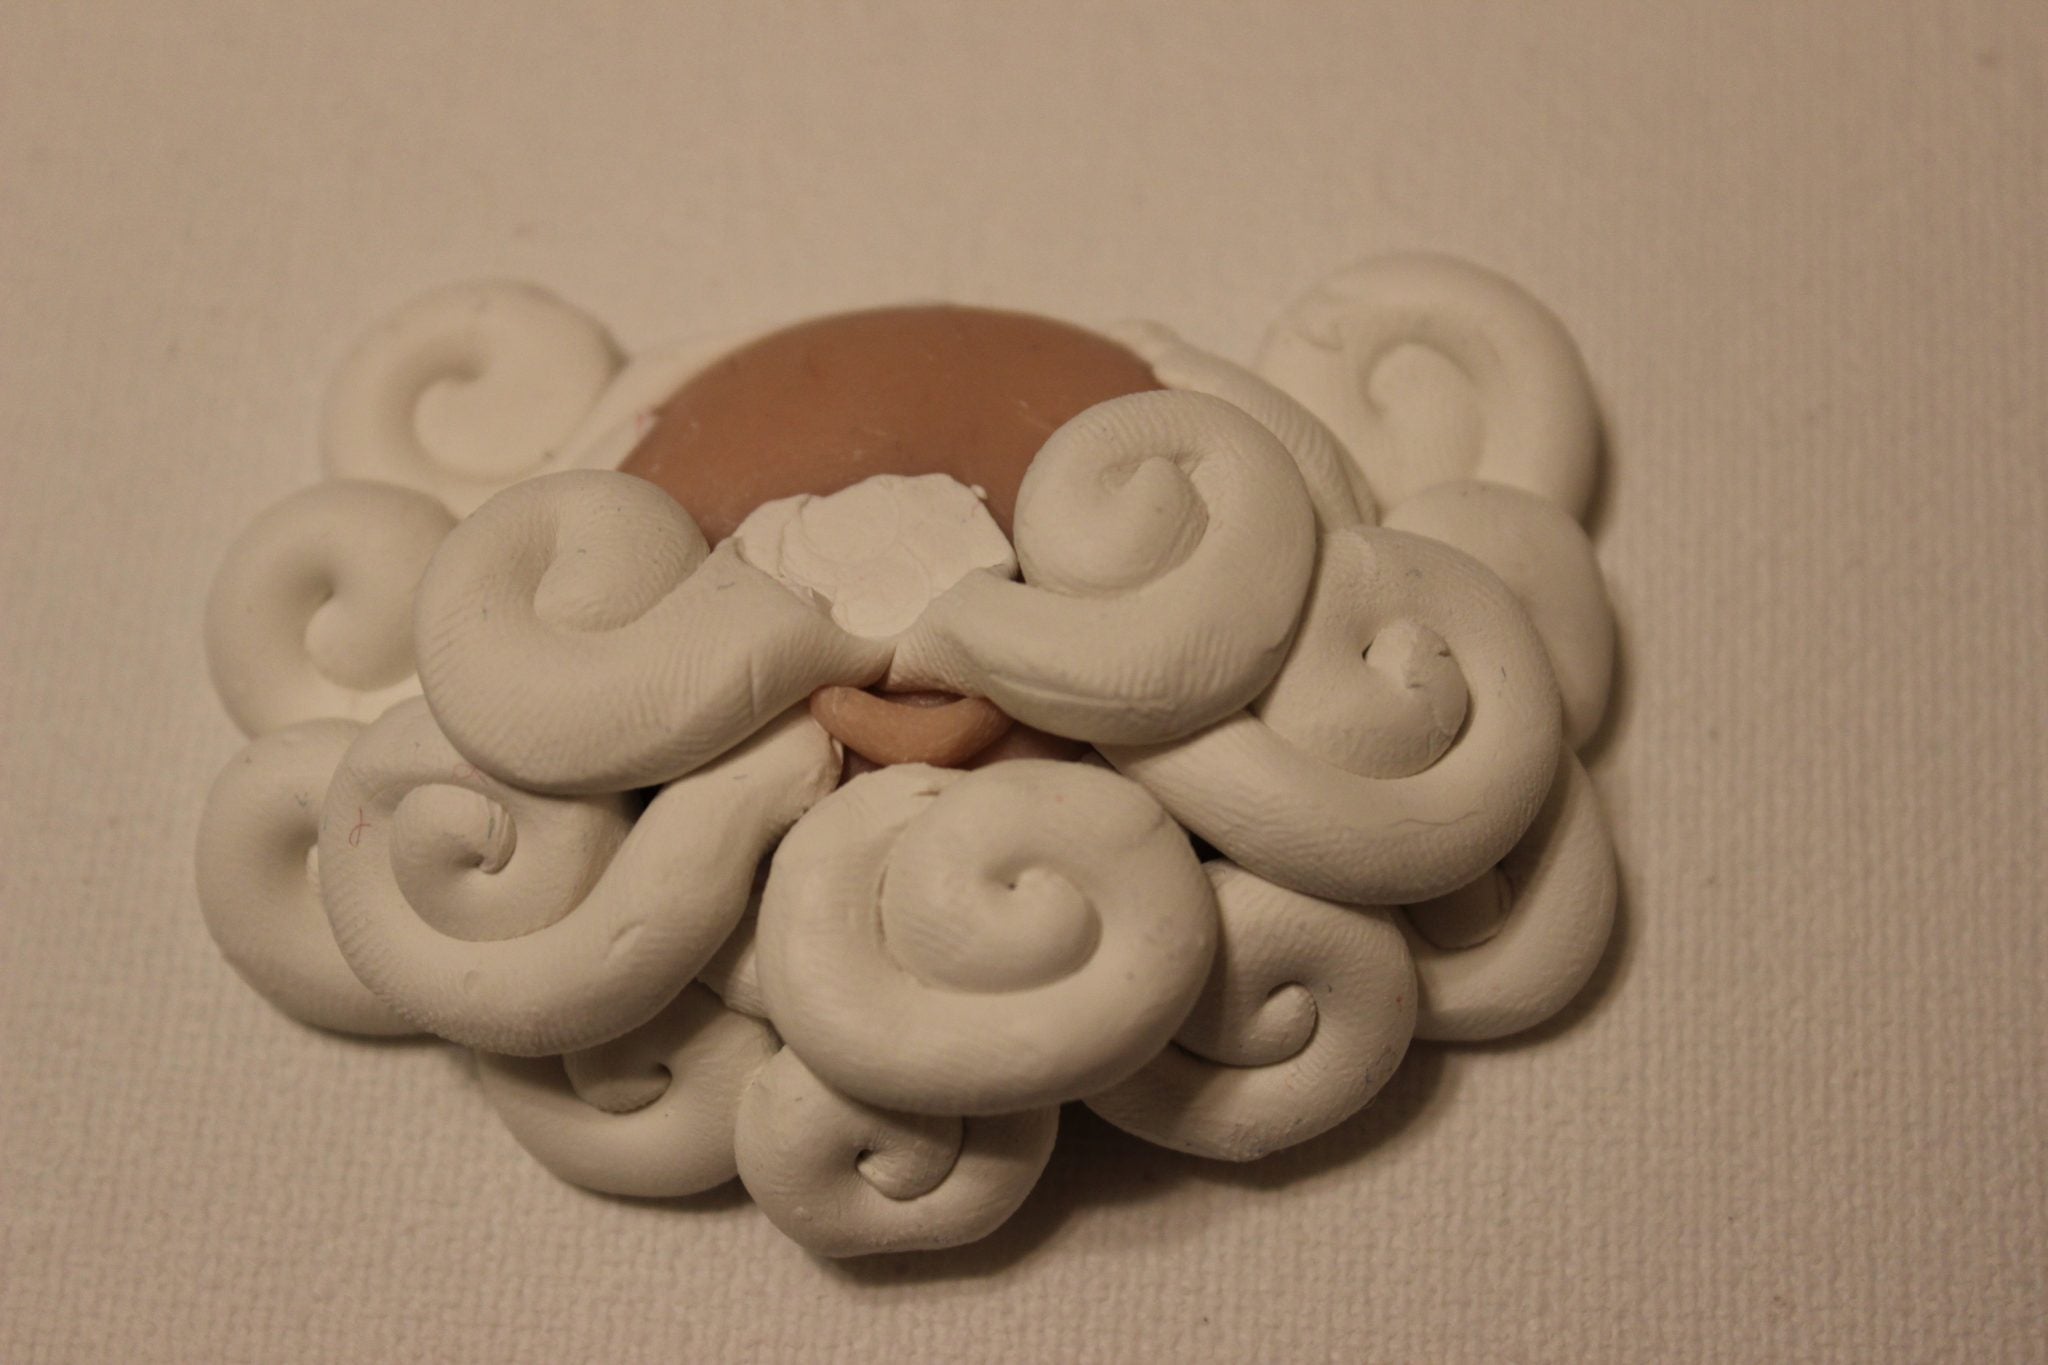
Keep building the beard all around Santa’s head.

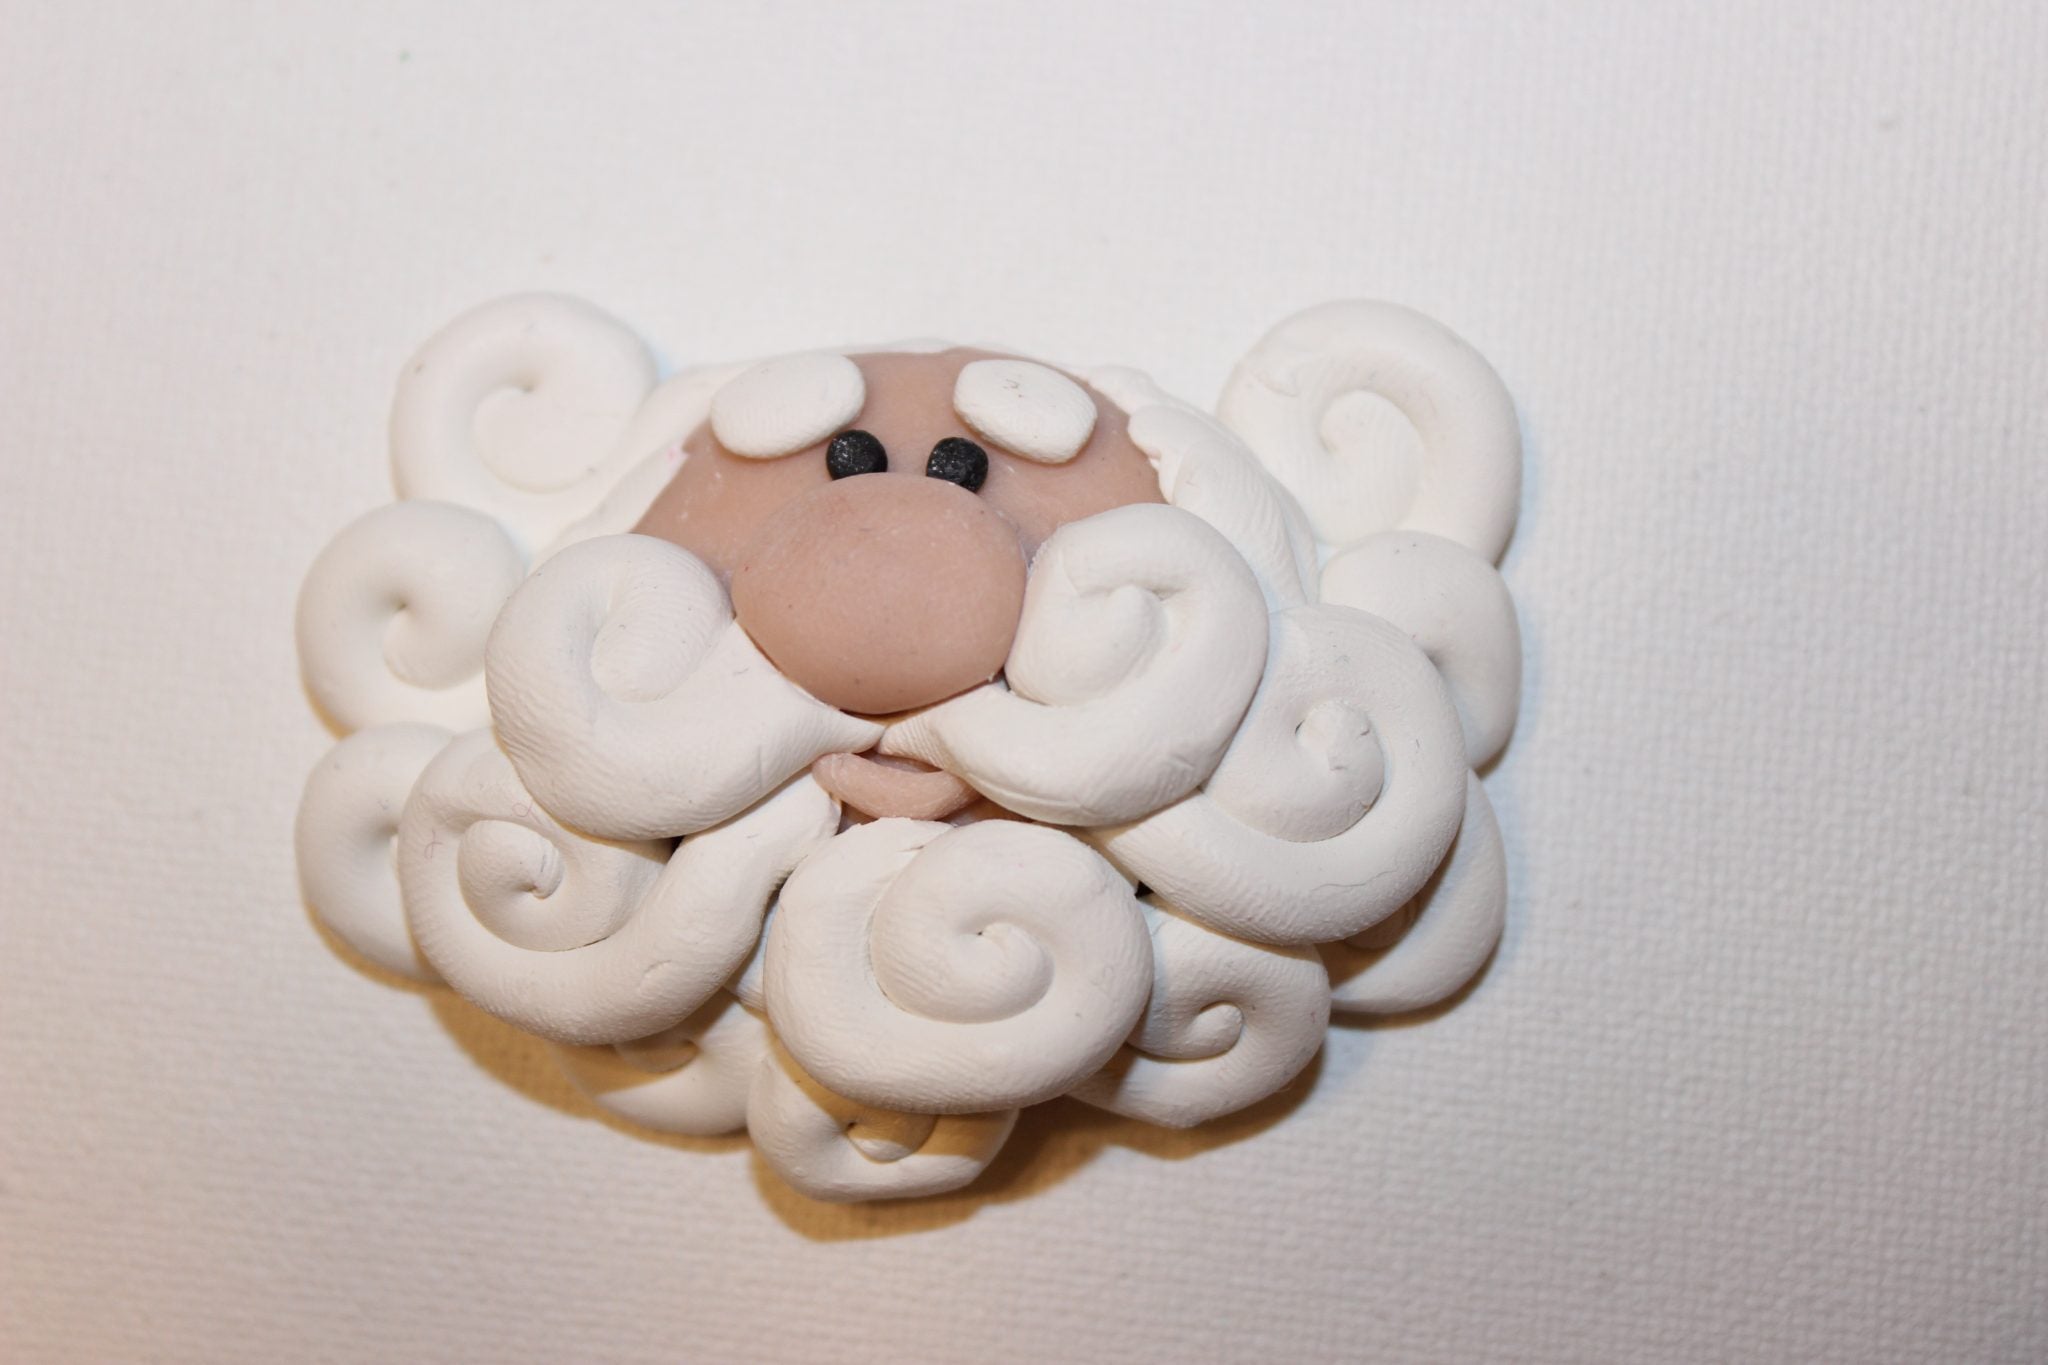
Once you finish the bottom layer, add a second layer. Squeeze in a bottom lip (roll a small beige rope and curve it in to a lip shape). Once you add the mustache, tamp down the ends to make them flat (so the nose fits flush with the face). I used part of the clay extruder to do this, but you can use a pencil or finger tip.

Now you can add in the nose, eyes and eyebrows. This is where he really gets personality and starts to look like Santa!

Now let’s make Santa’s hat! I used some red clay for this Santa, but this ornament looks great with any color- choose your favorite!
Tip: red is really hard to “contain,” especially when you’re working with white or other light colored clays. Try to keep your red clay away from your other colors and wash your hands after working with red (I turned more than a little bit of my white clay pink by getting it “cross contaminated.”

Once I had shaped my hat how I liked it, I used the end of a chopstick to squish it down into the top of Santa’s head. This also helped flatten down the brim area so I could add the brim onto the hat.

For the brim and ball of the hat, I took a ball of white and a little bit of yellow. I mixed these two colors together by hand until they were a uniform color and slightly off white. I wanted the brim and the ball of the hat to be a different color than the beard and eyebrows. You could also add in glitter at this point, if you would like to add a little sparkle.

Form a slightly tapered log for the brim and a ball for the tip of the hat. I rolled my pieces on a towel to give the clay some texture. Press the clay onto the hat and you’re all done!
To finish up the ornament, I cut a little piece of wire, formed it into a loop and stuck it into the top of the ornament. You don’t need to glue the hanger into the clay, it will be held in securely.
Bake your Santa according to package directions. My package stated to bake at 275 degrees for 15 minutes per 1/4 inch of thickness. This Santa baked for about an hour- I’m not sure if I calculated that correctly, but from the research I did, I found it was better to over bake the clay a little than under bake (of course, if you can figure how exactly how much clay you used, follow the package directions for best results). Under baked clay can have troubles staying together, but properly baked it will be very durable when cool.
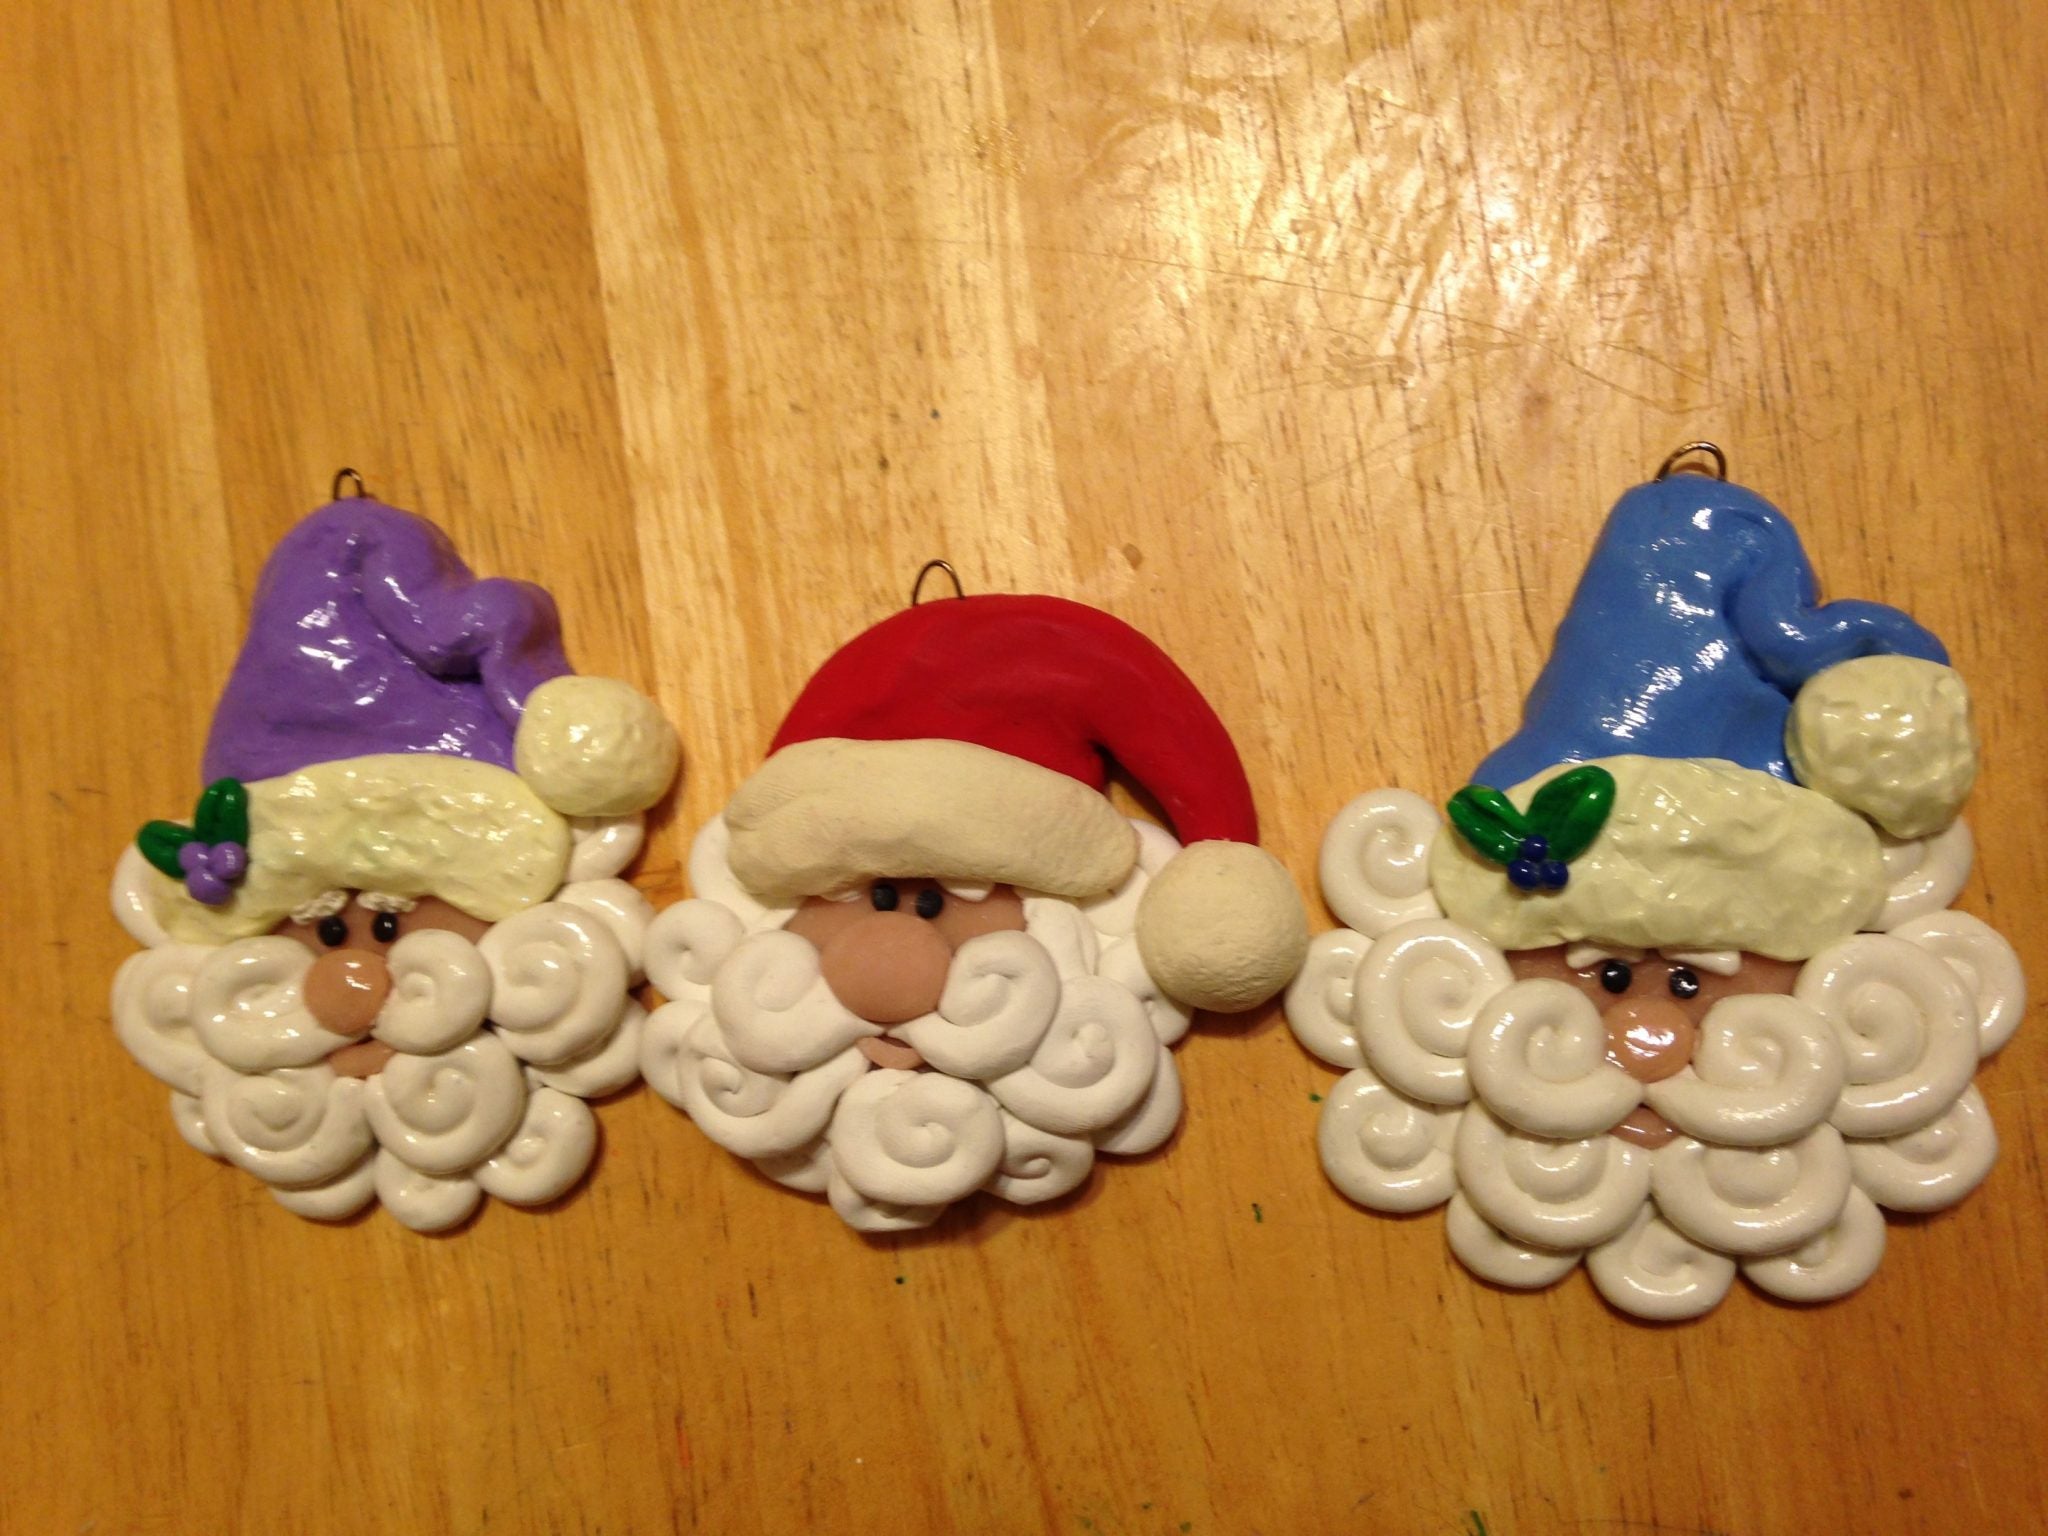
 I created a few other ornaments in different colors, just for fun. For the purple and blue ornaments, I finished the ornaments with Sculpey Glaze. Polymer clay does not require sealing, but if you want a glossy finish, you can paint on the glaze to the baked ornament. Whether or not you glaze your piece is completely up to you, it’s a completely optional step.
How cute did these ornaments turn out? I hope that breaking down each step helped to make these ornaments easy to tackle and recreate! Will you give it a try?
Leave a comment