On Orders $49+
On Orders $49+


Welcome your guests with a touch of Grinch-inspired charm by creating a whimsical 'Welcome-ish' sign for your door using Cricut vinyl! In this DIY guide, we'll walk you through the step-by-step process of designing and crafting a delightful sign that captures the mischievous spirit of everyone's favorite holiday character. Pair the sign with a cute, themed door mat for an enchanting entryway that is sure to bring smiles to your neighbors and visitors alike.
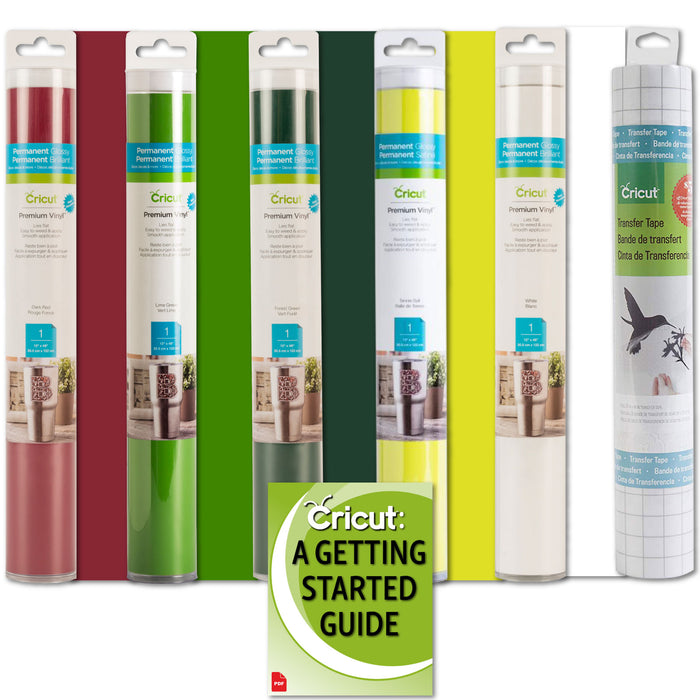
Find all of our Christmas-themed bundles (like this Christmas Colors Vinyl Bundle shown below) in our Christmas Collection.

Create the design in Cricut Design Space. I am using the "Grinchie" smile and hat from this free svg generously shared by PerfectStylishCuts.com as well as the text from Cricut Access design Welcome-ish #M4122BFEC. Add a cricle to the Canvas the same size as your wood round so you can size the cut design appropriately. The circle is primarily a design aid; if it is larger than what may be accommodated by your Cricut cutting machine, it does not need to be cut. 
When you are happy with the size and organization of your design, make a copy, weld the copy, and slice the copy from another blank circle. This creates a template that you can cut from cardstock or scrapbook paper to help you line up the cut vinyl pieces when transferring them to the sign. (Read more about using a paper template to help align vinyl designs in our post, Line Up Vinyl Using a Paper Template: Easter Wreath.)

Make the project, cutting the sign elements from permanent vinyl and the template from scrapbook paper or cardstock. Use your favorite weeder tool to weed the vinyl.

Cover the wood round with green vinyl. If your round is 11.5 inches or less, allowing you to cut it with your Cricut machine, then you can simply transfer a cut circle of green vinyl to your base. Otherwise, apply the green vinyl from the roll, butting the edges of 2 sheets if the size of the round exceeds the wdith of the roll. Trim the excess vinyl from the round using a pair of scissors.
Lay your template on the green base to guide where to transfer the cut pieces. You can use transfer tape to help move the vinyl to the project, or place the simpler shapes using only your hands.

Finish the edges of the wood round with a bit of craft paint, trim, or leave it natural. Attach a jewelry bail (or two!) to the back using contact adhesive and enjoy!

As you hang your Grinch-inspired 'Welcome-ish' sign adorned with its mischievous smile and festive hat, and pair it with a delightful Grinch-themed floor mat, you're not just decorating your door; you're creating a warm and whimsical atmosphere for all who enter. As your guests approach, let the Grinch welcome them with a grin, setting the perfect tone for a season filled with warmth, laughter, and shared merriment. Happy crafting and happy holidays!

Searching for additional inspiration for your Christmas party? Explore these festive projects featured on our blog

Check out this fantastic Cricut project for decking out your Christmas table! Create a personalized tablecloth with elegant snowflake decorations for the adults using Cricut Glitter Iron-On in silver. Add a touch of fun for the kids with a Cricut Table Tic Tac Toe game. The result is a festive table for everyone to enjoy!

In a time crunch for Christmas decorations? These adorable Christmas trees are incredibly easy to make. Grab some Cricut Kraftboard, and you're ready to start. After the season, disassemble them for convenient flat storage. Consider experimenting with various shades of green or even patterned cardstock for a unique display. Check out the video tutorial for step-by-step instructions!

Learn how to create Christmas-themed coasters using Cricut Infusible Ink Transfer Sheets. The ink adheres seamlessly to Cricut Coaster Blanks, creating adorable designs. Imagine having these charming coasters for Christmas or any other holiday party. Or personalize them with a family name for a thoughtful gift. Check out the video tutorial for a step-by-step guide!
Leave a comment