On Orders $49+
On Orders $49+

Art markers are easy to use and store. They dry quickly compared to other art mediums and can be used on-the-go. Complex layering and color blending are possible, and some products offer refillable ink and parts replacement for a long-lasting piece of art equipment.

The bodies of virtually all markers are manufactured from plastic and polyester and the tips from a powder and water mixture. What distinguishes one marker from the next is the type of colorant and the shape of the coloring tip or nib. Two of the most popular colorants are ink or dye in either an alcohol-based or water-based solution.
Alcohol-based markers include Copic, Spectrum Noir, Prismacolor, and Sharpie brand markers. These markers contain ink suspended in an alcohol solution. Alcohol-based markers are fairly permanent and waterproof. Though impervious to water, these inks can be affected by alcohol, and colorless blender pens (containing alcohol without ink) are sold to do just that.
Alcohol-based ink dries quickly, but most can be blended while wet. The blender pen can be used to further soften the lines between colors if desired and correct small “mistakes” by pushing color back into the paper.

Water-based markers include Tom Bow, Crayola, and Sakura brand markers. These markers contain ink mixed with water or with water plus glycerin. Water-based markers may take longer to dry than the alcohol-based ones and care must be taken not to over-wet the paper.

All these markers come in a wide range of colors and sets. Copic markers and others are created around color families which offer an easy method to identify markers that are suitable for blending to create dimension in your work. These coloring “systems” label their markers with letter and number designations. The letter(s) indicate color family. The first number on the Copic marker indicates how vibrant the color is – lower digit markers are more vibrant than higher digit markers, which produce a greyed or toned version of the hue. The second number on the Copic marker indicates how light or dark the color is within the color group.
Some markers like Copic and Spectrum Noir are refillable. Streaking while coloring is one indication that a pen may be getting low on ink. Additional signs that a marker might need refilling include squeaking while coloring and pale or whitish nibs. Follow manufacturer instructions for refilling ink. Copic refills, for example, are created to allow you to dab ink directly on the nib to refill the pen or remove the broad nib and drip ink into the marker for quicker refilling. Copic refills will refill Copic markers 10-12 times and allow you to mix your own custom colors if desired.

Markers feature a variety of coloring tips known as nibs. One type of nib is the chisel nib, the broad tip featured on the Spectrum Noir marker below. The chisel nib is designed to lay down swathes of color quickly in large open areas. Other tips are smaller and designed for more detailed work. These include the brush nib, bullet nib, or fine point tip. The brush tip is long and flexible, like a paint brush, and produces soft lines. The fine point tip is short and ideal for line work and small details. The bullet tip falls in between these two.
Dual end markers are a popular option for coloring. These markers have a different coloring nib on each end of the marker.

Some artist-quality markers offer replacement nibs to extend the life of the marker. One sign that a nib needs replacing is when it frays or behaves like stray bristles that don’t stay together on an old paint brush. Worn out nibs can be removed using tweezers and replaced with a new tip. Refer to manufacturers’ replacement information for instructions related to individual products. Some nibs include both an outer soft nib and an inner hard core that must be removed before inserting the replacement nib. After replacement, allow ink to flow into the new nib before use.


Care
The most important thing you can do to care for your art markers is to keep their tops on when not in use, even for brief periods of time. Store your markers in a cool, dry area away from heat and sunlight. Storing the markers horizontally is also suggested to help keep the ink from drying out too fast. This is especially important for markers with tips on both ends to prevent one end of the marker from being without ink. Marker racks make it easy to store markers in the recommended orientation as well as access them quickly while working on a project.

Paper
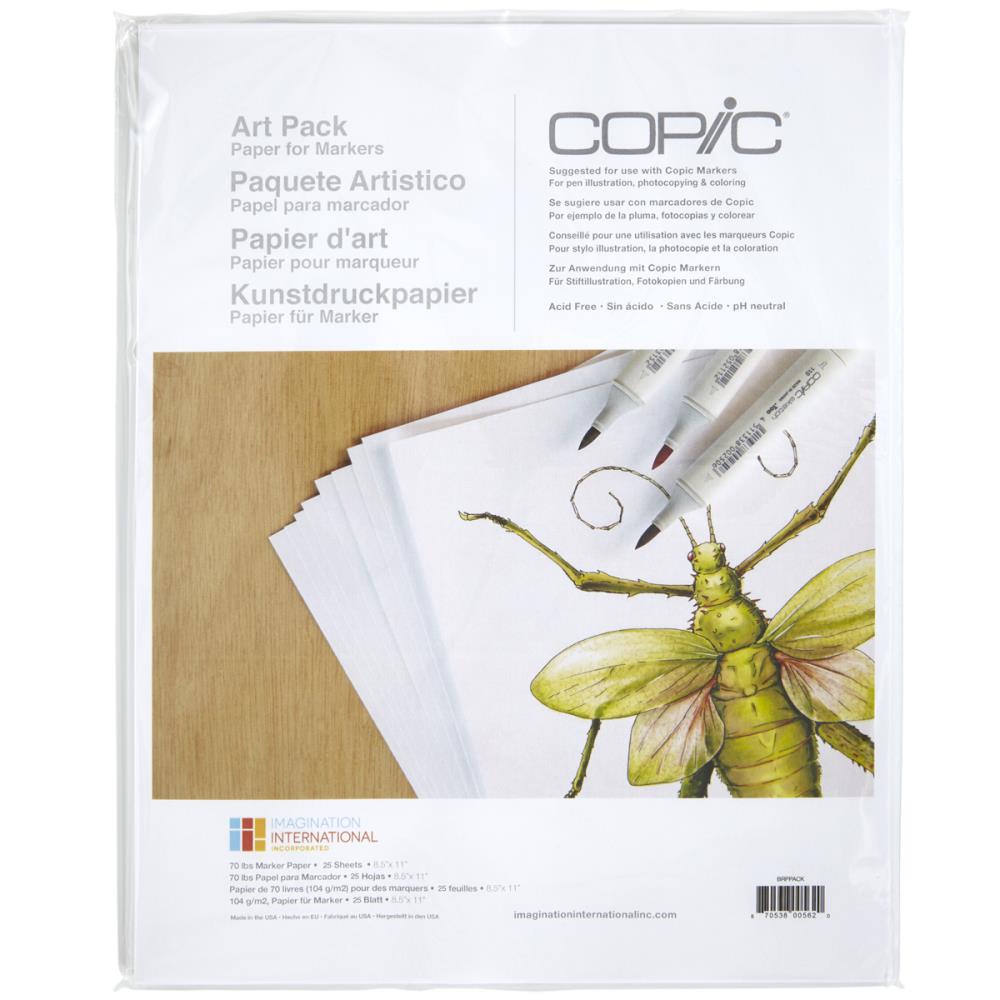
You can purchase paper specially designed to work with art markers. Papers like the Copic Marker-Coloring Foundations Art Paper Pack can be used in a printer to print line art for coloring and are well-suited to blending. Thick, uncoated, smooth cardstock and Bristol paper are appropriate for many applications, from basic illustration to paper crafting. Markers can be expected to bleed through even good quality and substantial papers, though, so you should always color on top of scrap paper to protect your underlying surface.
Alcohol-based markers can also be used with glossy papers for a different effect. Glossy paper does not allow ink the penetrate in the same way as cardstock or Bristol, so colors will appear softer and layering of color will be limited. Manufacturers suggest selecting a darker marker than you’d otherwise choose for coloring on glossy paper.

As with most art media, doing and experimenting is the key to discovering what supplies work best for you. Check out this easy coloring project to get started on your own marker journey.
Ice Cream Cone Note Cards


Supplies:
Marker paper or cardstock
Alcohol ink markers
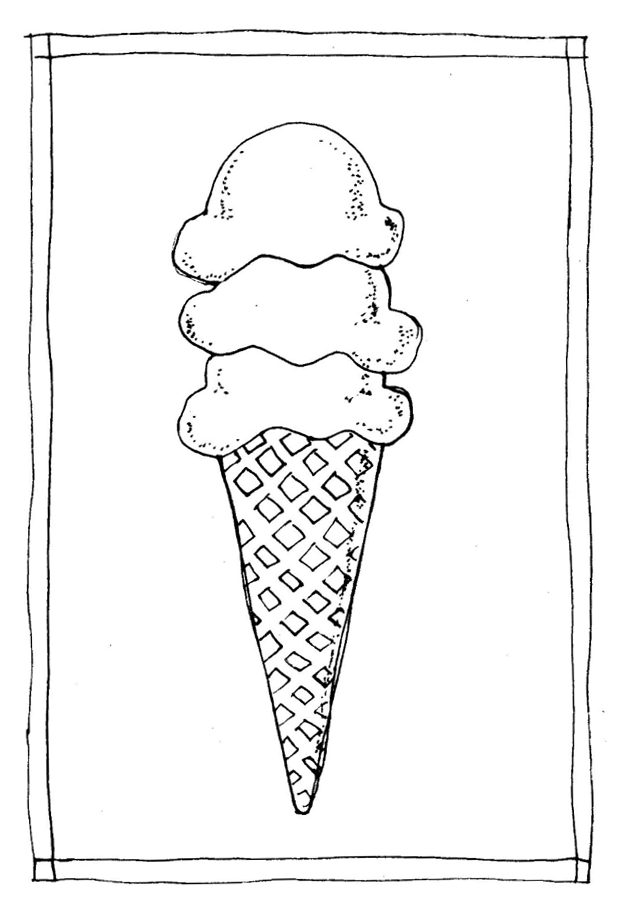
Ice Cream Cone Pattern
Step 1
Print the black and white pattern on marker paper or smooth cardstock.

Step 2
Select 2 pens from the same color family for one of the ice cream scoops.

Step 3
Outline a coloring area to help keep the ink from bleeding outside the line.

Step 4
Color using the lighter color and small circular strokes, saturating the paper. Ink will bleed through the back side of the paper, so be sure to color on top of a piece of heavy scrap paper.

Step 5
Add shadows near the edges of the ice cream scoop using the darker color pen.

Step 6
While still wet, use the lighter color pen to blend the dark color into the light.

Step 7
Select 2 golden brown colors for the ice cream cone.

Step 8
Color the spaces between the square in the drawing using the lighter color.

Step 9
Color the squares on the cone using the darker color gold brown.

Step 9
While still wet, layer the darker brown along both edges of the ice cream cone.

Step 10
Color the remaining ice cream scoops and the background in the same fashion.
Cut out the drawing using scissors. Layer with additional scrapbook paper on the front of a blank greeting card and adhere using double stick tape or a glue runner.

Santa Ornaments: A Step By Step Coloring Guide
Leave a comment