On Orders $49+
On Orders $49+
Today is officially the first day of SPRING! Unfortunately we still have snow on the ground here in Wisconsin and the forecast is calling for more this weekend… it’s hard to think spring when it’s still cold, but warm weather will come eventually!
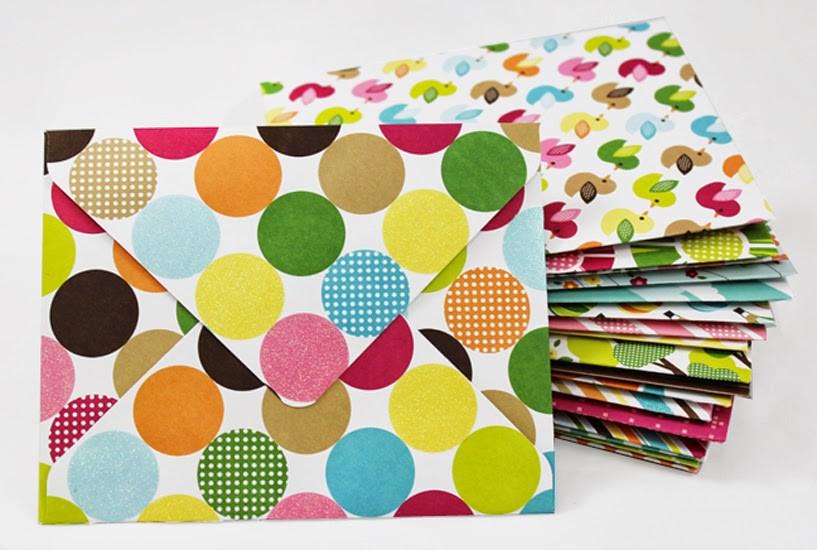
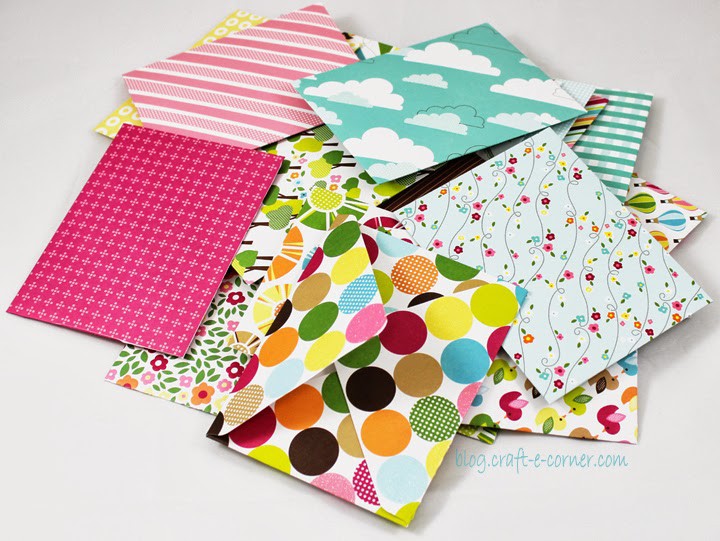
My friend Jess is having a birthday party for her little girls spring birthday and she asked me to make envelopes for her invitations. She requested something fun, different and really colorful! I picked up a pack of City Park 12″x12″ Paper by American Crafts and pulled out my We R Memory Keepers Envelope Punch Board and Glue Glider Pro and got to work! Check out these cute envelopes!

Who wouldn’t love to get an envelope like this in the mail? It is so SUPER EASY to turn ANY paper stack into a pile of custom envelopes…
Read on for a good how-to!
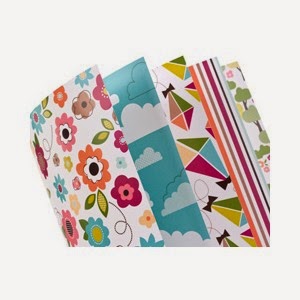
I picked the City Park 12″x12″ paper pack by American Crafts because I just LOVE this paper! There are so many cute designs and full of color- just what Jess was looking for! This paper is a high quality, medium weight paper making it ideal for envelope making. There are 48 sheets of paper per pack, 2 of each design. This paper has embossed designs as well as glitter accents! Unlike some glitter paper, American Crafts is great because the glitter DOESN’T rub off! You can really run your hand over it and won’t see a fleck of glitter afterwards! (We also carry American Crafts 12″x12″ glitter paper, a heavy weight card stock which is great for making cards!)
This paper is 12″x12″ but you’ll want to trim it down to 8″x8″. If you start with an 8″x8″ pack of paper, this project can be even easier!
Next, I grabbed my We R Memory Keepers Envelope Punch Board.
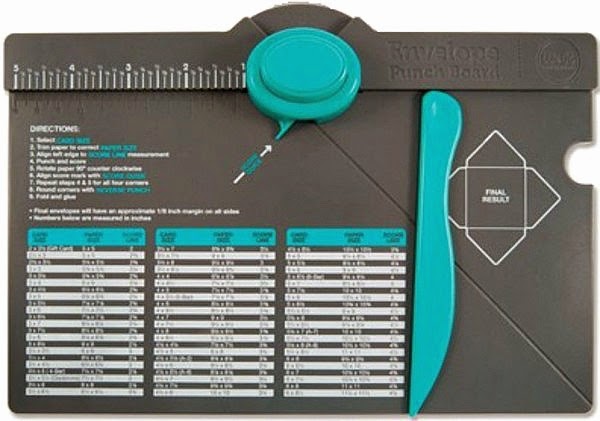
I love all the punch boards by We R Memory Keepers. It has never been so EASY to make your own envelopes, boxes, bags, etc. The envelope punch board comes with a built in ruler on the top, and a scoring tool with its own little storage slot. There is also a handy measurement chart right on the front of the board to tell you what size paper you need to start with to make an envelope for your card size. The one thing I noticed, however, is that the A2 measurements on the board end up with an envelope that is a little bigger than what I expected. For a standard size card, the board tells you to use a 8 1/8″ square piece of paper, I have found that an 8″ square yields the right size envelope for me. (I know, 1/8 of an inch is so slight that it probably doesn’t make a huge difference, but the 8″ results in a standard envelope!)
The envelope punch board is so easy to use! You can really whip out the envelopes with very little effort! Below is a visual run down on how to make a standard envelope. I learn best when there are pictures to look at, so lets take a peek at how it works through lots of photos, then I’ll go over the steps below for everyone who prefers written instructions!
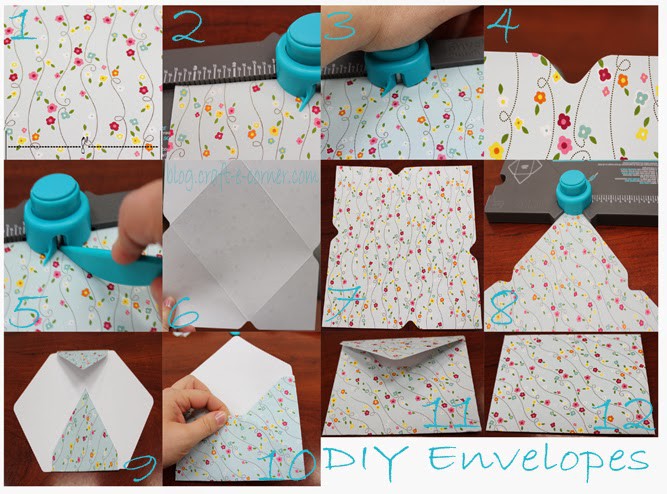
1. You’ll want to start with an 8″x8″ square piece of paper.
2. Line your edge of your paper up with the 3.5″ mark on the top of the punch board.
3. Hold your paper in place and push the middle punch down.
4. This is the punch that the board will make. (Leave your paper where it is, I just wanted to show you what the punch did).
5. Next, take your scoring tool and line it up inside the V of the center piece. There is a channel that you’ll want to get your tool into so you can score all the way down. Getting the scoring tool in the little channel can be a little tricky at first, but you’ll get the hang of it. If you are having problems, you can start at the bottom of the paper and score up towards the top of the punch board instead of going from top to bottom.
6. Next rotate your piece of paper clock wise and line up the score line with the little fish tail end of the center piece. You won’t need to use the ruler on the top for anything really past the first punch. Get the pointy tail part of the center piece right in your grove line and then push the middle piece again. Next, score your line. Keep on doing this until all 4 sides are scored and punched. When you are done, you should have a back that looks like this. Can you see all the score lines?
7. The front of your paper should look like this. TIP: Be careful not to press too hard when you score, you don’t want to tear or rip through the paper!
8. Now turn your Envelope Punch Board around. The center piece has a punch that faces the back too! Put the corners of the top and bottom of the envelope (the bigger flaps) into the center piece and punch them one at a time. This will round the corners.
9. Fold up the smaller side flaps of your envelope. You shouldn’t need a bone folder since you already have nice score lines to follow!
10. Run a little adhesive along one side of the side flap edges. Fold up your bottom part of the envelope. You can leave the middle part sticking up to a point, or you can fold it under like I did here.
11. Your envelope is now ready to use!
12. When you are ready to mail this out, simply run some adhesive around the inside of the top flap and seal it closed (I used my Glue Glider Pro with Permatac cartridge)! If you want to send your envelopes as gifts or make a bunch up to use later, you can use Lick & Stick Envelope Glue so they’ll be just like “regular” envelopes!
Make sure you use an address label when you go to mail these types of envelopes out, you want to be courteous to the post office and this will help ensure that your envelope gets delivered without hassle as well!
How CUTE did these turn out? They will be perfect for the party invites! Jess was ecstatic! PLUS I have a pile of scraps to use for other crafting projects- perfect for the card I showed you earlier this week or any other scrappy card you want to try!
Will you give the We R Memory Keepers Envelope Punch Board a shot? It’s SO easy to use, I made over 100 envelopes in less than an hour!
Happy crafting!
Kala
Leave a comment