On Orders $49+
On Orders $49+


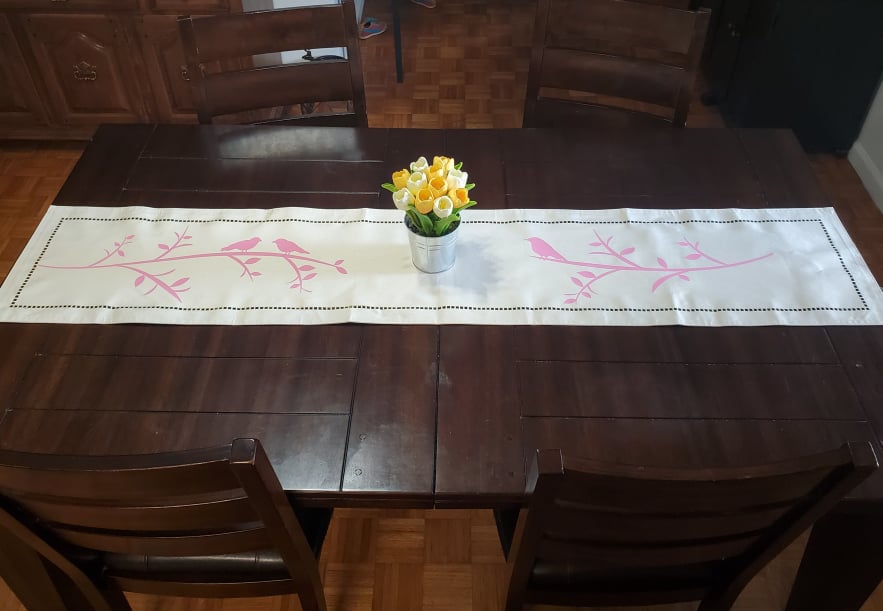
I bought this double-sided table runner on Amazon with the hopes of putting something decorative on it. When the new Smart Materials came out, I knew this was going to be one of my first projects! The ability to cut one long image without a mat made this project super easy!
Materials:
Table Runner
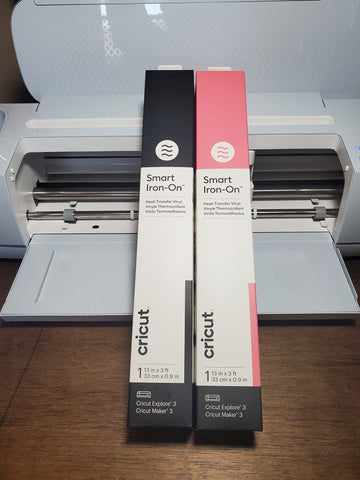
Smart Iron-On Vinyl
Cricut Maker 3 or Explore 3
Cricut tools
EasyPress


I started with laying the table runner out on my table. I measured the space that I had to work with, inside the little decorative border.

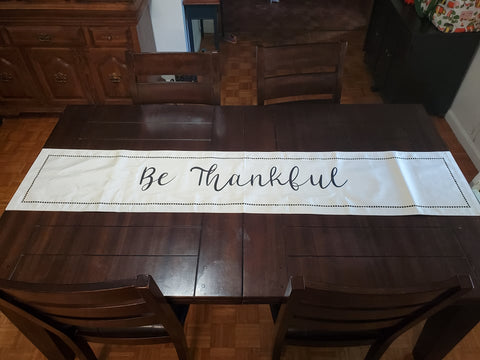
In Design Space I created a rectangle that was the same size as this measurement. I duplicated this rectangle because I knew I was going to do both the front and the back. I started creating my design. I knew I wanted it to say ‘Be Thankful.’ I chose my font and made it fit inside the rectangle. I knew I only had a roll of smart iron-on vinyl that was 3 feet long. I made sure that my design was going to fit in that 36 inches.
On the other side I wanted something a little more springy. I found this image with birds sitting on a branch in Design Space and loved it. I had two rolls of 3 feet in the pink. I duplicated the image and contoured both so that each side was its own image. I sized each side to fit in the rectangle. I made them different colors on my canvas so that Design Space knew that I wanted to cut them out separately and not all on one big roll (if I had a bigger roll I totally would have).

Then I hit make it. It will first ask ‘How will you load all of your materials for this project?’ I selected ‘Without Mat’ as I am working with Smart Iron-on Vinyl.

It will then show you how it will look being cut out of the vinyl. This is also where you will want to mirror your image. I have ruined a lot of vinyl by forgetting to mirror.

When I clicked continue it will ask me what material. Since I told it without mat earlier it will only allow me to pick from the current Smart Materials available. I selected Smart Iron-On.


The load button on my machine started to blink. I took my vinyl out of the box and turned it shiny side down. The shiny side is the transfer sheet and we want the Cricut to cut the vinyl. Just nudge the vinyl under the rollers and click the load button. It will first check to see if you have enough material. When the go button was flashing, I clicked that. Then just watch it do it’s thing. It is so fast!

After it was done cutting, I unloaded the material from my Cricut. I cut off the parts of the vinyl that were not used. I’ll have to put it on a mat to use it but I hate wasting vinyl so I save what I can. Then I weeded it.

I folded both the cut image and the table runner in half. I used these creases to center the design on the table runner.

I then used my EasyPress to press the image onto the table runner. I used the Cricut Heat guide to tell me the temperature and the time.

After it was cool, I peeled off the transfer sheet.

I then did the same process for the other side. I loaded the Smart Iron-on into my machine and let it cut.

I heat pressed it on with my Easy Press.

Let it cool and pulled back the transfer sheet.


I just love how this turned out and how easy it was not having to worry about a mat. Now I have one table runner to use for both spring and fall!
*Working on my PHD in Crafting (Projects Half Done)
~Beth
Wood Plant Pot Stakes with Cricut Iron-On
Leave a comment