On Orders $49+
On Orders $49+


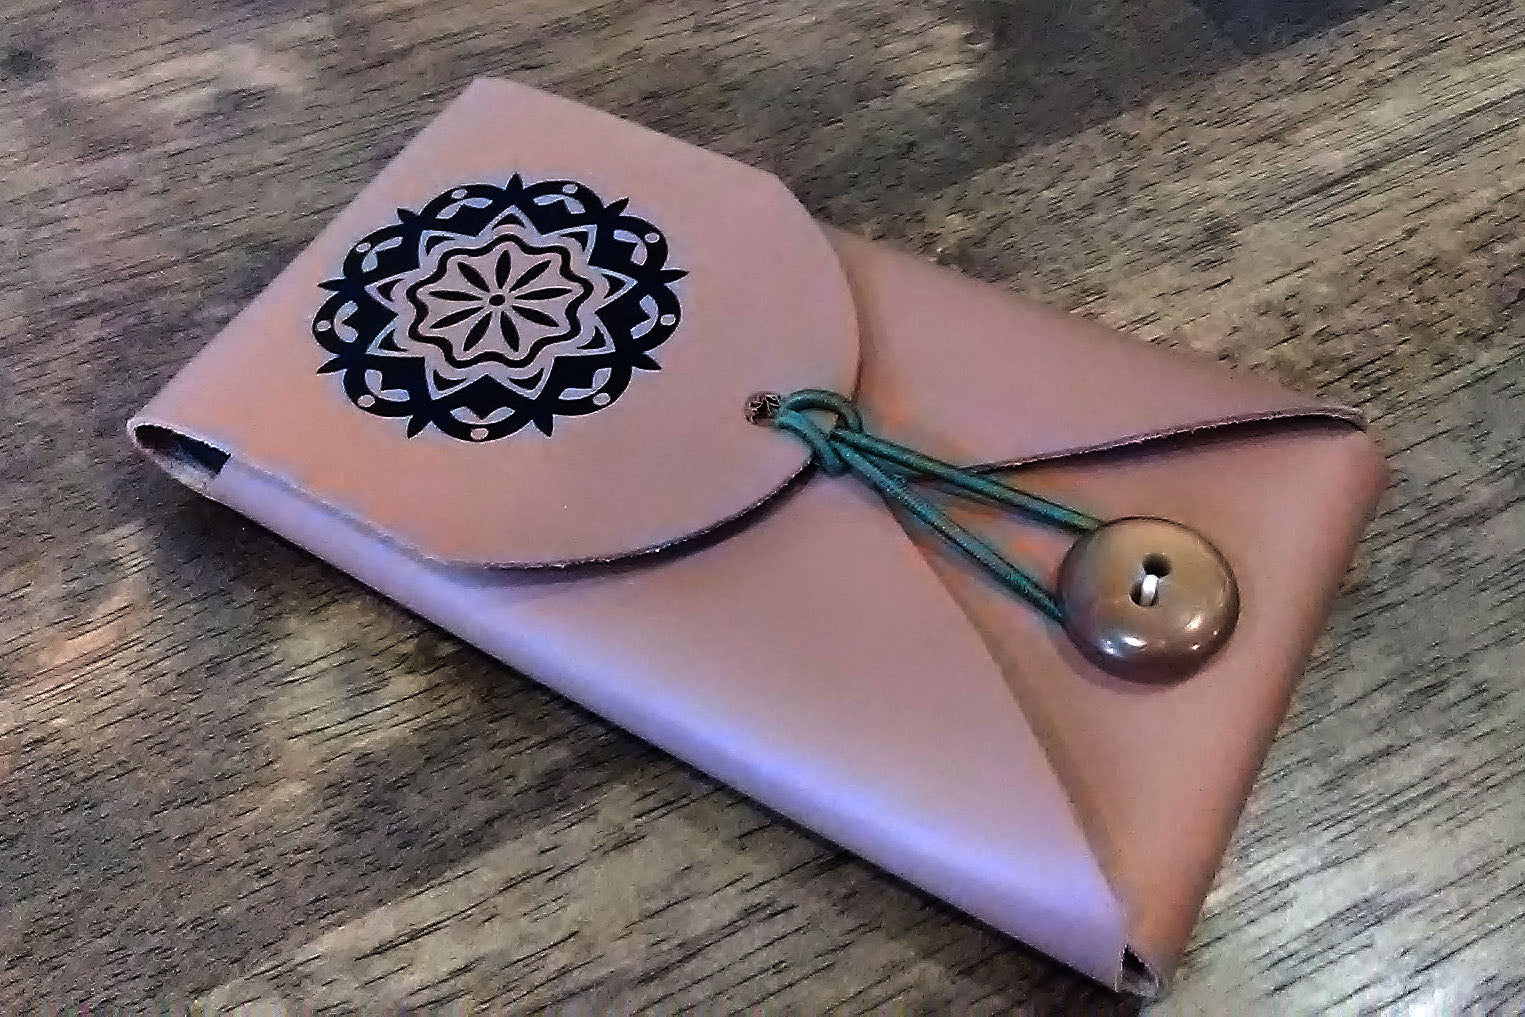
Are you planning on gifting a new phone to someone special this Christmas, or treating yourself to an upgrade? Why not make it extra special by adding a custom-made phone case! With nothing more than the shapes available in Cricut Design Space, you can create a pattern that perfectly fits your phone. This DIY project only requires a few materials such as a sheet of Cricut leather, heavy thread, and black Everyday Iron-on. In this blog post, we'll guide you through the steps to create a unique and functional leather phone case that will be the envy of all your friends.
Materials:
Directions:
Measure the length and width of your phone. Add about .25 inch to each measurement and create a rectangle in Design Space this size. The illustration below shows this rectangle (blue outline) overlaid on the finished case pattern so you can see where the phone sits in the case. The measurements for the other parts of the case will be calculated in relation to the length and width of this base rectangle.
Add a rectangle and a circle to serve as the top flap (shown to the right in the image). The length of the flap should be about 60-70% of the length of the base rectangle.
Add a rectangle and a hexagon for the bottom flap. The length of the bottom flap should be about 50% the length of the base rectangle.
Add 2 pentagons to begin the side flaps. Each of these shapes should extend outward to either side of the base rectangle a distance equal to about 70% of the width of the base rectangle.
Add a pair of very narrow hexagons to complete the side flaps as illustrated below.
Select all the shapes on the canvas and weld them together to create a single cut design.
Cut the design from scrap materials to test how well the pattern you’ve created will fit the phone. I cut several test designs from an old calendar that I had on hand and made some small changes to my design until I was happy with how it would fit. Better to try your design using inexpensive materials than waste leather!

When you’re satisfied your pattern will fit, make the project from Cricut leather using a deep point blade. Be sure to move the star wheels (the little white wheels on the front bar) to the right side before cutting (and return them their usual position afterwards) to minimize machine marks on your leather.

Fold the side flaps around your phone and mark where they overlap.
Stitch the side flaps together using a needle and heavy thread. If necessary, create a starter hole for your needle using another sharp pointed object before stitching.

Stitch a decorative button on the bottom flap about one inch from what will be the bottom of the case.

Wrap your phone in plastic wrap or place it in a plastic bag. Insert the phone into the case and fold the bottom flap up and under the side flaps. Glue the bottom flap in place using contact adhesive. Gluing while the phone is in the case is an easy way to make sure the flap is positioned correctly and the plastic will protect the phone from contact with the glue.

Punch a hole about .25-.5 inch from the end of the top flap. Attach a thin elastic hair band through the hole using a lark’s head knot.

Evaluate the available space on the top flap of the case and determine an appropriate size for a simple design using black iron-on. On my phone case, I felt that something 2x2 inches would fit well in the space on the top flap.
Select your design and size it accordingly in Cricut Design Space. Cut the design from black iron-on, taking care to mirror the design before cutting if appropriate. Weed the design and iron it onto the top flap.


Personalized Phone Accessories Using Cricut (Free SVG)
Comments
Leave a comment