On Orders $49+
On Orders $49+

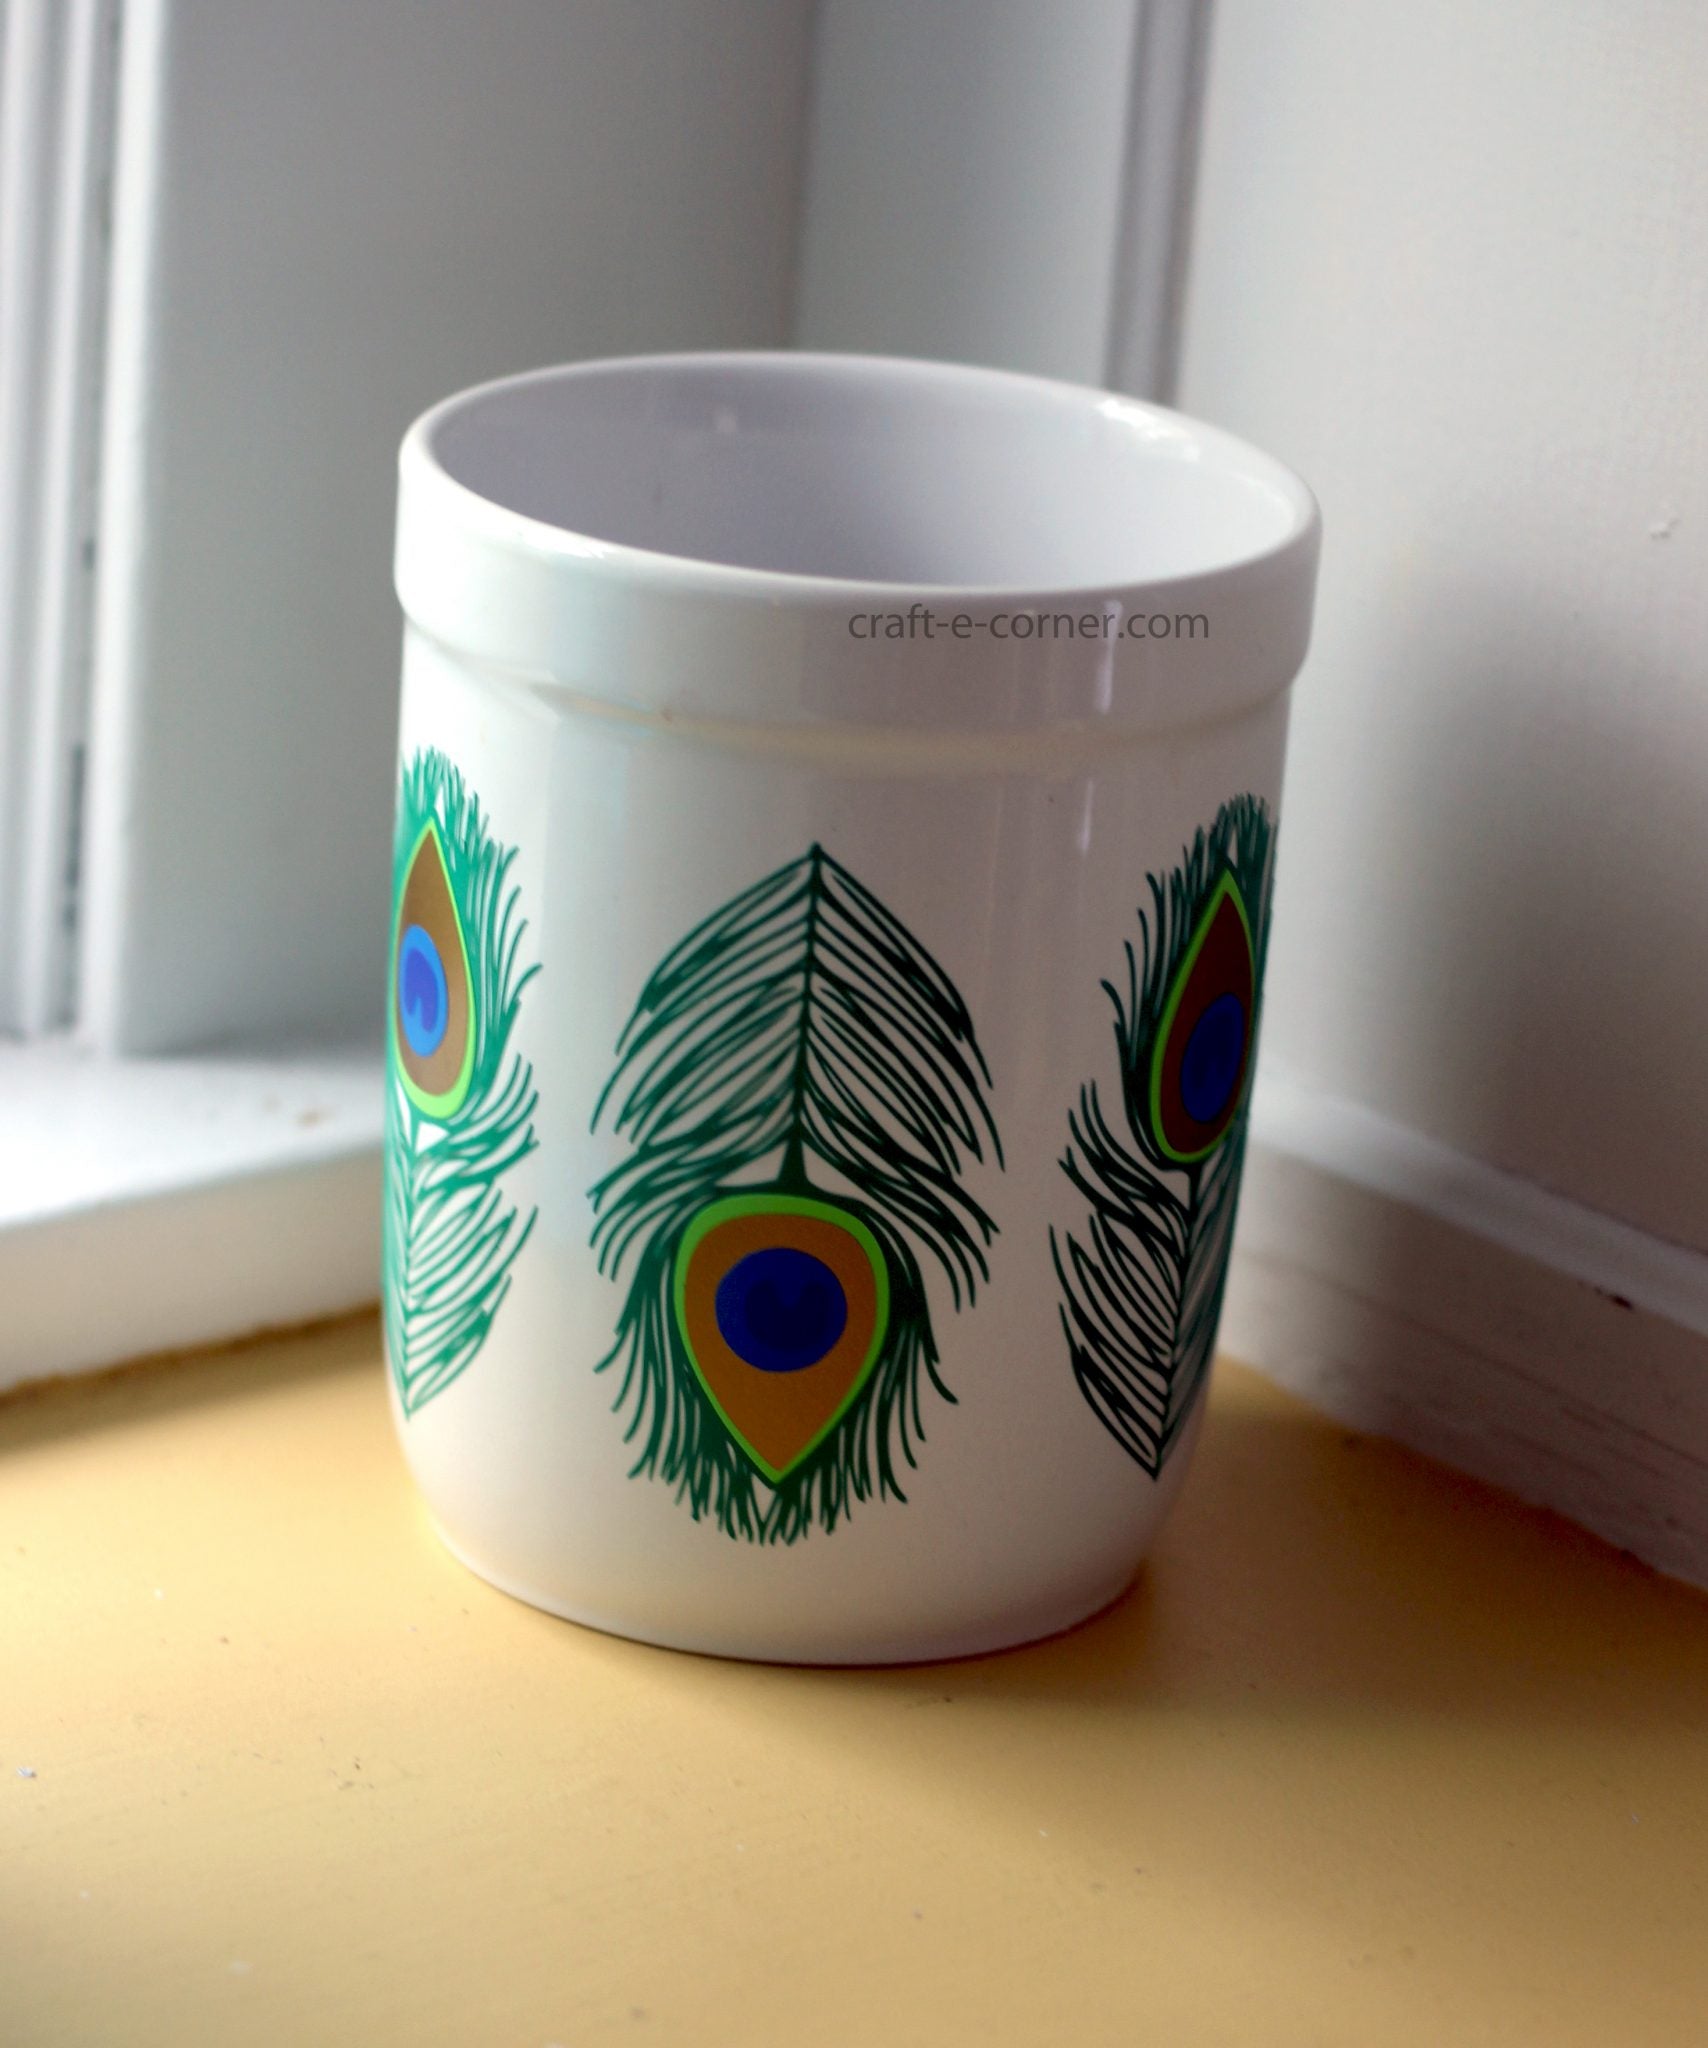
Are you up for a challenge? I think you can make this project, and I think you’ll love the results as much as I love my new utensil holder:

This will be a challenging file if you are new to vinyl, but I designed it to not only because it’s really pretty, but to also give you some practice in weeding and layering. Once you work through this project, you’ll be able to face just about anything!
This is design #9 in our series of 12 Craft-e-Corner Exclusive vinyl designs! >>CLICK HERE TO BUY ALL 12 VINYL DESIGNS<<
Let’s start off by taking a look at the file:

This file is broken up into layers with layering boxes already built right in. To see more about layering, please see the Dahlia Wall Project Post and the Candy Corn Project Post.
I needed 6 total peacock feathers to put them around my utensil holder, so I duplicated the design 6 times over and put them close together to use up as little vinyl as possible:

When I cut the feathers, I started to notice pieces were coming up as the machine cut:

Bits of vinyl were getting caught up in the blade, so I had to open it up and clean it out. To get a full tutorial on how to clean out a blade, check out Silhouette 101: How to Clean A Silhouette Blade (A Tutorial).
I paused cutting several times while cutting the feathers to check the blade. When this layer was done cutting, I could see it was going to be a real challenge:

I really enjoy weeding. I find weeding to be very relaxing and almost therapeutic, but even I felt a bit of a lump in my throat when I looked at the feathers. When cutting detailed files like this, you’ll want to make sure you have a sharp cutting blade - the newer the better. Also, make sure you pause cutting and clean the blade periodically, as mentioned above.

Once my Silhouette Cameo cut the feathers out, I used some scissors to cut each feather off the group so I could work on one at a time. I used a Silhouette hook tool and a pair of tweezers to weed. I also had a bight light set up so I could see the fine lines. While I weeded, I had the feather file up on my computer so I could double check that what I was trying to weed was a removable piece.
Here is a genius tips on weeding something very detailed like this: take a piece of tape, or a scrap piece of vinyl, and wrap it around your finger so it is sticky side out. Use this to catch your scraps:

You won’t believe how much easier that makes it to weed! Just rotate the tape or vinyl occasionally and you’re all set!
It took about an hour and a half to weed these six little feathers. It was a real exercise in patience, but at only 15 minutes per feather, I think I did okay!
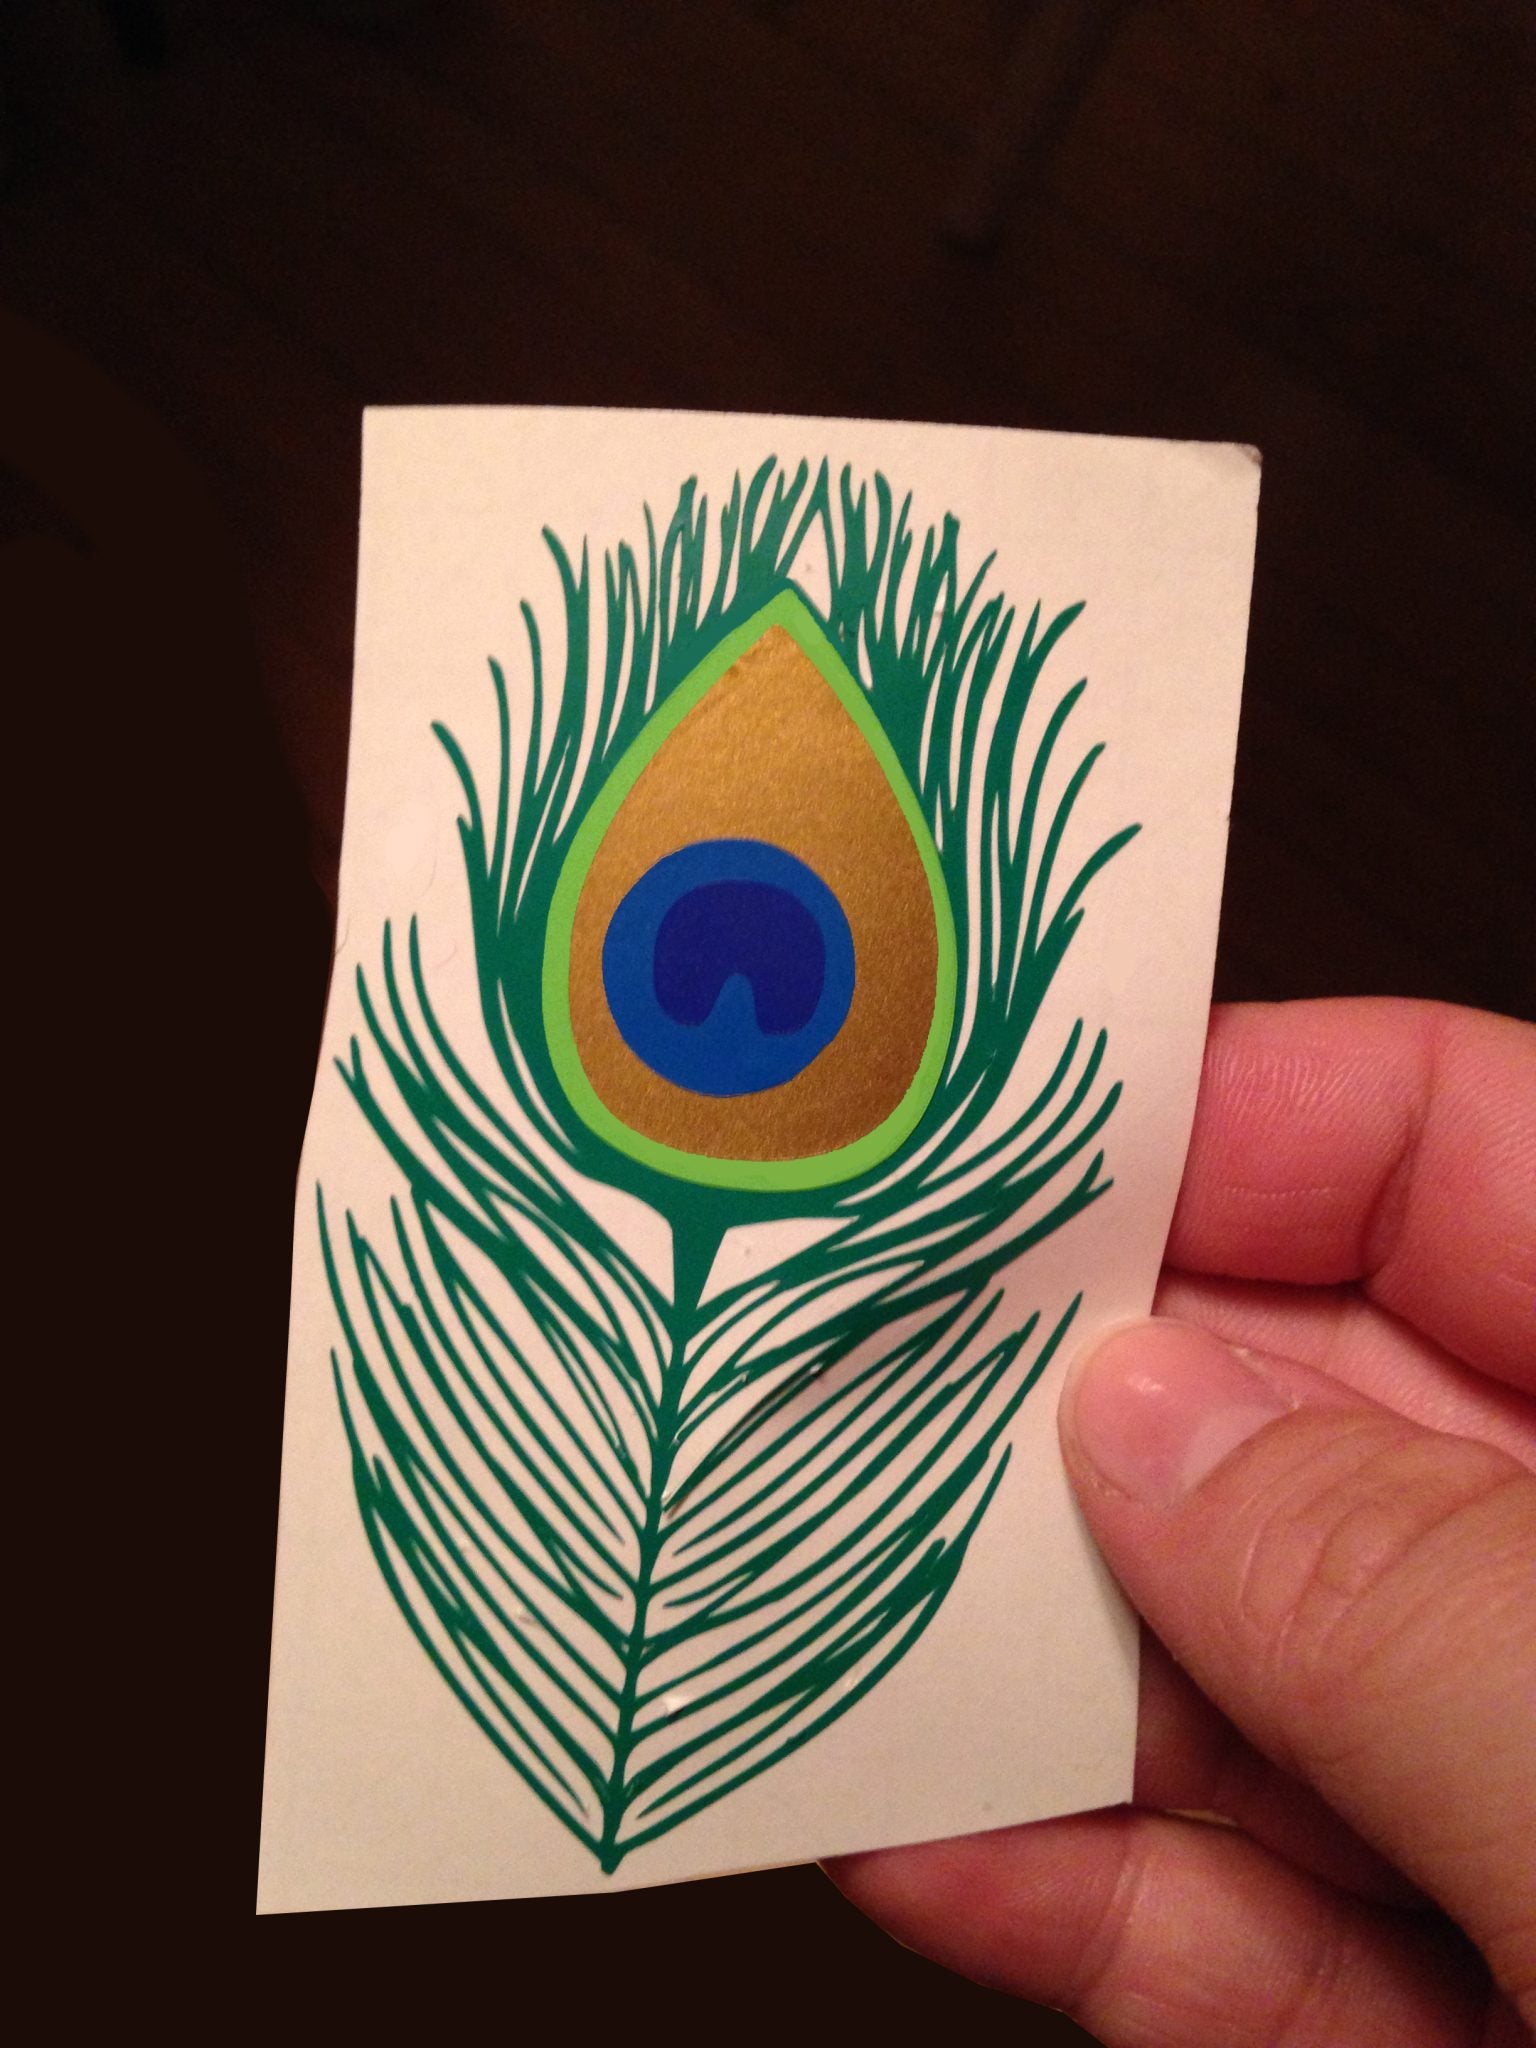
Once the feathers were all weeded, I cut all the other pieces and then used the alignment boxes to line everything up:

Next, I stuck them to my utensil holder. I placed one feather on one side and then put another one on the direct opposite side of the holder. Finally, I spaced the remaining 4 all around the utensil holder. It’s so pretty, I don’t know if I can stand to put it back in the kitchen holding spoons and spatulas! She could go right on a shelf and be a piece all her own:

Here’s another idea for this file. I just put the photo together, but wouldn’t this be such a beautiful statement piece or piece of sofa art? Drool…

Will you give it a go? If you run into trouble, let me know! I am here to help! If you do it successfully, share your photos, I can’t wait to see what you’ve made!
See more about my 12 Exclusive Craft-e-Corner Vinyl Designs here. >>CLICK HERE TO BUY ALL 12 VINYL DESIGNS<<

Leave a comment