On Orders $49+
On Orders $49+


I wanted to give something new a try with my Holiday cards this year. I used the debossing tip for the first time. I love the little extra this gave to my cards. I also used the Cricut Sticker Paper for the top layer. I love that I don’t have to use any tape or glue it just sticks right on.
Materials:
Cricut Maker 3
Debossing tip
Scoring stylus or stylus tip
White Sticker Paper
Light grip mat
Red Cardstock
White Cardstock (if you are making the envelope)

I created my design in Design Space. If you want to make the same card you can find it HERE.
I sized my card to 6X8 so folded it would then be 4X6 but you can really make this to whatever size that will fit on your mat. The black lines are for the debossing.

When my design was the way I wanted it I selected Make it. It then showed the three different mats. This is when I realized that if I wanted to do the Smart Sticker Paper I would need to do this separately. I went back to my canvas and hid the white truck layer for now and clicked Make It again.

The Cricut cut the envelope first. I put my scoring stylus in Clamp A and left my fine point blade in Clamp B. It scored first and then cut out the envelope.

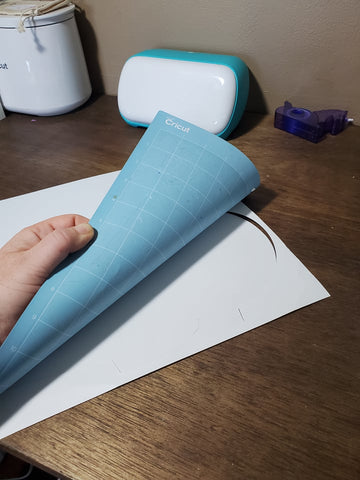
When taking anything off the mat, it is best to turn the mat upside down and peel away the mat from the paper. If you do it the other way around, your paper will have a curl to it.

It then will do the card. I placed my red cardstock on the mat, I left the scoring stylus in Clamp A.

I put the debossing blade in Clamp B. After it was done debossing and scoring it will ask to have the fine point blade be put into the Clamp B.

Here it is after it has been cut.

Using my giant scraper I pressed down on the fold line.

I then went back to my canvas and hid everything but my truck layer. And clicked Make It. It will then ask if you are cutting it on a mat or without a mat. I selected without a mat.

I selected Smart Sticker Paper as my material and loaded it into my Maker 3. I love not using a mat!

It will do a kiss cut on the paper so that it doesn’t cut the backing.

I peeled it off just like a sticker (because it is 😊). And I just stuck it right on top of my debossed card.

To put the envelop together, all you need to do is fold it on the scored lines and glue the sides to the back fold.

I love the look of the debossed holly on the card underneath the white sticker paper. It adds just that little something extra to it. It will be easy to make a bunch of these to send out to friends and family.
*Sometimes plan B works out better than plan A ever could.
~Beth
Last Minute Gift Wrapping with Cricut Joy
Comments
Leave a comment