This week is all about fun fabric projects! Earlier this week, I shared a tutorial on how to use fusible web & iron-on fabric.
Today we are inking on canvas!
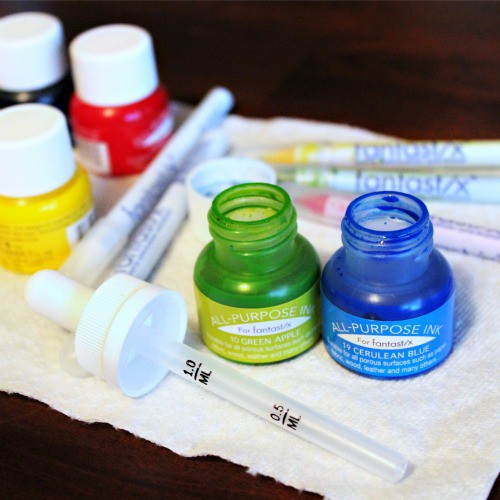
It all started with a few bright and beautiful Tsukineko/Imagine Crafts All Purpose Inks!
These inks are FABULOUS and come in so many colors!
All Purpose Inks can be used on most porous surfaces: fabric, wood, paper, leather, unglazed ceramic and much more! They are a permanent water-based, non-toxic liquid ink. Oh yea, and they are washable too!
For this project, we are going to add some color to this 12×12 Sei canvas sheet. Don’t get me wrong, I love the design of this canvas on it’s own, but I knew it would look beautiful with a pop of color! TIP: If you can’t find an already-printed canvas sheet, you could use a plain canvas sheet and stamp your own design using a permanent black ink!
First things first, set up a spot to work with your inks. I did the project on my kitchen table but I DID put plastic wrap completely under my canvas. The inks are permanent so you might want to do this in an area that can get messy. Also, the ink can leave color stains on your skin, so wearing gloves might be a good idea…
Now let’s get inking! The Inks come in a wide variety of colors that are beautiful as is, but I used an eye dropper and played around with mixing a few colors on a paper plate. The color combinations are endless! Have fun with your colors and don’t be afraid to go BOLD!
I started out by mixing a drop each of Cerulean Blue and Green Apple to create an emerald-ish blue/green color. Using a Fantastix Applicator, I colored in the desired areas. The Fantastix are great and soak up a lot of ink so you don’t have to continuously re-ink them.
Next I mixed Green Apple with a Drop of Lemon Yellow and colored the outer ring in this bright green concoction! The outer dots are solid Lemon Yellow.
For the center I combine Poppy Red with a touch of Cherry Pink. I colored almost the entire inside circle with this color except near the very center. I left the space between the little yellow seed-like shapes un-inked.
Lastly, on the very center of the circle I added solid Lemon Yellow Ink directly to the canvas and blended it outward with my Fantastix. The inks soaked together to blend and create a nice bright orange color between the yellow and red.
It looked FANTASTIX!
(pun intended)
Aren’t the colors beautiful? I have to say I am 100% impressed with the Tsukineko/Imagine Crafts All-Purpose Inks and the quality and colors are great! The bottles that you get are pretty small, but with just a little ink you can go a long way!
WHAT SHOULD I DO WITH MY INKED CANVAS???
A. Cut out the medallion, add fusible web & iron it on a ________. (a canvas farmers market bag for summer???)
B. Finish coloring the canvas sheet and Frame it.
C. Leave it as is and Frame it!
D. Other (Ideas???)
Hope you liked the tutorial and make sure to comment below with your answer and thoughts!
Happy Crafting,
-Abbey-


Leave a comment