
Free Shipping
On Orders $49+
On Orders $49+
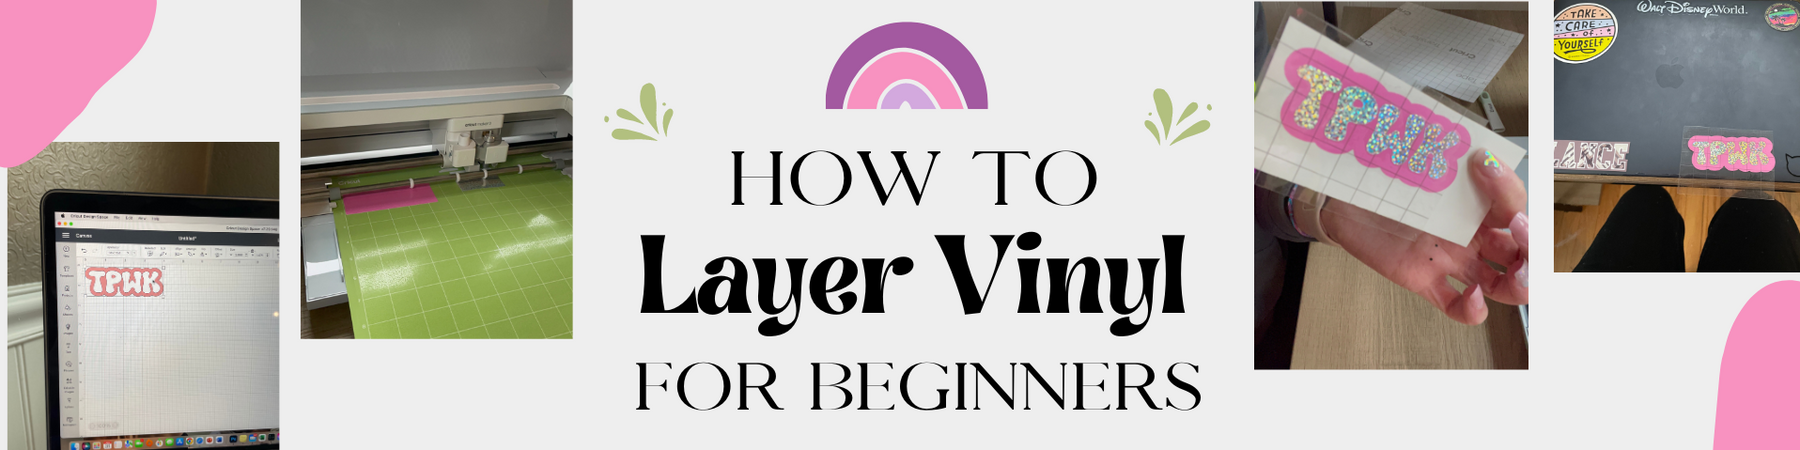


Layering vinyl is such a fun way to add more to your designs and take them to the next level! Starting out a lot of the designs I wanted to make seemed to involve layering different colored vinyl, so I was determined to learn how to do it right away. Here are some steps on how to get started with layering vinyl! Soon enough you will be upping your design potential.
Materials Used:
2. Cricut Premium Permanent Vinyl
4. Tool Kit
Steps:
1. Prepare your design: Start by creating your design in Cricut Design Space. For mine I decided to make a decal for my laptop. For may design I kept it simple and just did a phrase and the offset the text to give it that pink border. Keep in mind that layering involves creating multiple layers of vinyl on top of each other, so you'll need to plan ahead and choose colors and designs that will work well together.

2. Cut your vinyl: Next you will cut your project out. I started by cutting my vinyl with my scissors to the size of my design, to limit the vinyl waste.

I then put my vinyl on my mat to match where my design is in Design Space.

I then chose my base material to get my machine to start cutting.

*When my design was done cutting, I realized that one of the vinyl pieces was the wrong size, so I did have to recut that. Mistakes happen, it wasn't too bad!

3. Weed your vinyl: Carefully remove any excess vinyl from your design using a weeding tool. This will leave only the parts of the vinyl that you want to use for your design.

4. Apply the first layer: You can either use transfer tape to transfer the first layer of vinyl onto your surface or apply your top layer on to the bottom layer like I did. Use a scraper to press the vinyl onto the surface, making sure there are no air bubbles.

5. Repeat with additional layers: Once the first layer is in place, repeat the process with the additional layers of vinyl. Be sure to align the layers as precisely as possible so that the final design looks seamless.

6. Enjoy your design: Your layered vinyl design is now complete! Whether you created a custom t-shirt, wall decal, or other project, you can enjoy your new creation.

Layering vinyl definitely widens the creative horizon and now I feel like I can do so many more projects!
1. Working with Multiple Colors of Cricut Infusible Ink: Art Tote Bag
2. Print Then Cut Updates // Cricut Design Space Tutorial
3. Cricut Rainbow Reflective Iron-on // Dog Shirt Tutorial

Leave a comment